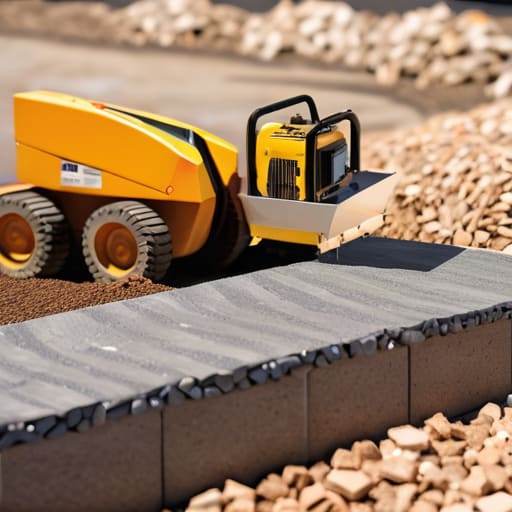
I was standing on a driveway in Surrey last Tuesday, looking at a beautiful set of expensive granite pavers that had dipped nearly two inches in the middle of a walkway. The homeowner was ready to call the manufacturer, swearing the stone was defective, but I just knelt down and poked at the edge. I didn’t need a lab test to tell me what happened; I could see the truth in the uneven surface. Most people think they need to spend a fortune on premium stones or specialized adhesives to stop a driveway from sinking, but if you’re asking how to prevent paving from settling, you’re looking at the wrong end of the project. It’s never the stone that fails you; it’s the invisible mess underneath it that lets you down.
I’m not here to sell you on fancy additives or expensive brand-name products that promise the world. I’ve spent forty-three years watching men make the same mistakes, and I’m going to tell you exactly how to avoid them. We’re going to talk about the things the brochures ignore: the compaction of your sub-base, the way you handle your MOT Type 1, and why your drainage is just as important as your grit. I’ll give you the straight truth on how to prevent paving from settling by focusing on the foundation, because if you get the ground right, the rest is just finishing work.
Table of Contents
Soil Compaction Techniques Building a Foundation That Doesnt Lie
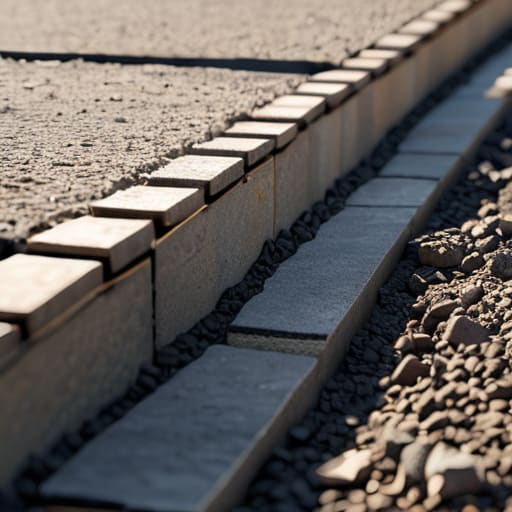
You can buy the most expensive paving stones in the country, but if you lay them on a bed of loose dirt, you’re just building a future sinkhole. I’ve seen it a thousand times: a homeowner spends a fortune on granite sets, only to be calling me two years later because their driveway looks like a mountain range. The problem isn’t the stone; it’s improper subgrade preparation. If you haven’t addressed the actual soil beneath your sub-base, you’re fighting a losing battle from day one.
When we talk about real soil compaction techniques, we aren’t talking about running a little plate compactor over the top layer and calling it a day. You need to go deep. You have to compact in layers—lifts, we call them—usually no more than four inches at a time. If you try to smash down six inches of loose earth all at once, you’ll only compact the top inch, leaving a soft, spongy mess underneath. True stability comes from the bottom up. If that base isn’t rock-solid and uniform, you’ll be dealing with uneven slabs and constant shifting before the first winter even hits.
Drainage Solutions for Paving Fighting the Water That Sinks It All
You can spend a fortune on the best stone and the most expensive sand, but if you don’t manage the water, you’re just building a very expensive swimming pool. I’ve seen plenty of jobs where the lads did a decent job with the soil compaction techniques, but they forgot that water is the one thing that’ll always find a way to undermine your hard work. If you let water sit under those slabs, it turns your sub-base into a slurry, and once that happens, all bets are off regarding paving stone stability.
The trick is to get the water out of there before it even has a chance to settle. You need a proper gradient—not just a “looks about right” slope, but a calculated fall that directs runoff away from your foundation. If you’re dealing with a heavy rain area, you shouldn’t be skimping on drainage solutions for paving like French drains or soakaways. If you ignore the way the water moves across your site, you’ll be back here in two years dealing with uneven flags and sinking sections, wondering why your paving driveway maintenance isn’t working.
The Three Things Everyone Skips (And How to Get Them Right)
- Stop treating the sub-base like a suggestion. If you’re just dumping some loose MOT Type 1 and hoping for the best, you’re asking for a sinkhole. You need to lay it in thin, manageable layers—no more than a couple of inches at a time—and you need to run that plate compactor over every single bit of it until it rings. If you can’t walk on it without leaving a footprint, it isn’t ready for the paving.
- Watch the water, and I don’t just mean the rain. I mean the water people add to the mix on-site because they think it makes the concrete or the bedding mortar easier to spread. It’s a lie. That extra water breaks the bond and leaves voids once it evaporates, and those voids are exactly where your paving starts to dip. If the mix is too stiff, you call for a different batch; you don’t drown it.
- Don’t forget your joints. I’ve seen plenty of lads lay a beautiful surface only to have it crack and shift six months later because they didn’t leave enough room for the ground to breathe. You need consistent, clean joints that allow for thermal expansion. If you butt those slabs up tight like you’re trying to hide something, the first heatwave is going to heave them right out of alignment.
- Check your edge restraints before you even think about the first stone. A paving job without a solid, compacted edge is just a pile of stones waiting to migrate. Whether it’s a concrete haunch or a heavy-duty kerb, that edge has to be locked in. If the perimeter moves, the whole middle follows, and you’ll be back there with a rake and a heavy heart trying to level it out.
- Timing is everything with your curing. You can have the best sub-base in the county, but if you let the top layer dry out too fast in the wind or the sun, you’ll get shrinkage cracks that look like a roadmap. Keep it covered or keep it damp depending on what you’re pouring, but don’t let the weather dictate the finish. The concrete decides when it’s done, not the bloke with the stopwatch.
The Bottom Line on Settling
At the end of the day, if you want a patio or a driveway that stays level, you have to stop obsessing over the pretty stones on top and start looking at what’s happening underneath. I’ve seen enough cracked slabs and sunken paths to know that it always comes back to the same few things: you either didn’t compact your sub-base until it was rock solid, or you let water sit where it shouldn’t. You can buy the most expensive, high-end paving on the market, but if your foundation is a mess of loose soil and poor drainage, that expensive stone is going to sink like a stone in a bog. Don’t try to save a few quid on the prep work; the ground doesn’t care about your budget, it only cares about stability.
My advice to anyone starting a job—whether it’s your own garden or a client’s driveway—is to do it right the first time, even when nobody is watching. It’s tempting to skip a layer of MOT Type 1 or to ignore a bit of standing water because the sun is out and you want to get the job finished, but that’s how you end up with a phone call six months later. Build it on a foundation that doesn’t lie to you. If you respect the sub-base and the way water moves through the earth, your work will stand the test of time. If you don’t, you’re just building a future headache.
Frequently Asked Questions
If I’ve already laid the paving and it’s starting to dip, is there any point in trying to fix it, or am I just looking at a full rip-out?
Look, if it’s just a minor dip, you might get away with lifting a few flags, topping up the bedding sand, and resetting them. But if the ground underneath has actually shifted or washed out, you’re just putting a bandage on a broken leg. If the sub-base is gone, any patch job will sink again by next winter. In that case, stop wasting your money on “fixes” and just rip it out. Do it right once.
How much do I actually need to worry about the type of stone in my sub-base, or does it just need to be thick enough?
Thick enough? If you think thickness is a substitute for quality, you’re asking for a headache in two years’ time. I’ve seen lads pour six inches of cheap, rounded pea shingle thinking they were safe, only to watch the whole patio migrate like a slow-motion landslide. You need angular, crushed stone—something that interlocks. If the stones don’t bite into each other when you compact them, they’ll just roll around under the weight. Material matters more than depth.
Everyone talks about the ground, but how much does the weather during the actual pour affect whether the slab stays level long-term?
Listen, you can have the best sub-base in the county, but if you pour in the wrong conditions, you’re fighting a losing battle. If it’s too hot, the water evaporates before the crystals can actually bond, leaving you with a thirsty, brittle slab that cracks like a biscuit. If it’s freezing, the water expands and wrecks the structure before it’s even set. You don’t just pour when it’s convenient; you pour when the weather lets the concrete do its job.



