I’ve spent forty-three years watching lads lose their shirts because they thought a “complete guide to estimating groundwork” meant staring at a spreadsheet and counting bags of cement. They get so caught up in the cost of the material that they completely ignore the real money-pits: the muck, the spoil, and the state of the soil you’re actually building on. I remember a job back in ’94 where a young lad gave a quote so tight it didn’t even account for the extra hardcore needed to stabilize a patch of soft clay. By the time the truck arrived, he was already in the red, and the slab was doomed before the first shovel hit the dirt.
I’m not here to give you some polished, office-bound theory that falls apart the moment it rains. What I’m going to give you is the truth from someone who has actually stood in the trenches. I’ll show you how to look past the surface and price in the things that actually matter—the sub-base, the drainage, and the hidden variables that turn a profitable job into a nightmare. If you want to stop guessing and start pricing with actual confidence, then listen close.
Table of Contents
Soil Condition Assessment Why the Ground Dictates Your Profit
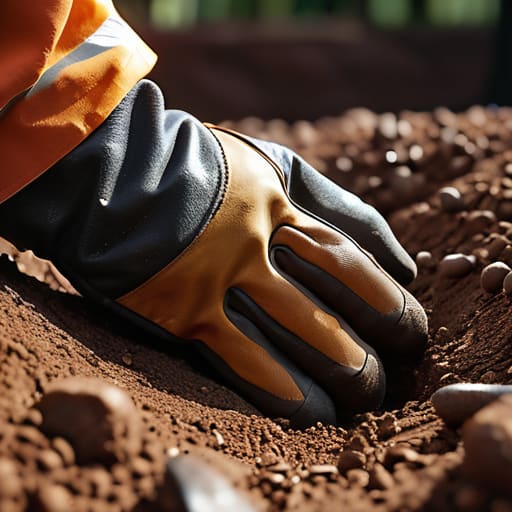
You can sit there with your spreadsheets and your fancy software all day, but if you haven’t poked a spade into the dirt, your estimate is nothing more than a guess. I’ve seen lads lose their entire margin on a job because they assumed they were digging through firm clay when they were actually hitting a pocket of soft, saturated silt. A proper soil condition assessment isn’t just a box-ticking exercise; it’s the difference between a profitable job and one where you’re paying the plant hire company out of your own pocket.
If you don’t account for what’s actually under the topsoil, your excavation volume calculation is going to be a lie. You might think you’re moving ten cubes, but once you start digging and realize the ground is mush, you’ll find yourself hauling away twice as much spoil just to reach something solid. This is where groundwork risk management actually happens. You don’t manage risk by praying the ground stays firm; you manage it by knowing exactly what kind of hell you’re about to dig through before you ever sign the contract.
Excavation Volume Calculation Avoiding the Math That Breaks Budgets
Now, here is where most lads lose their shirt. You sit there with a tape measure and a calculator, figuring out the exact dimensions of the trench, and you think you’re done. You aren’t. If you’re just calculating the neat, geometric volume of the hole, you’re dreaming. You have to account for the bulking factor—that’s the extra volume the soil takes up once you’ve disturbed it and it’s no longer packed tight. If you don’t factor in that the dirt is going to swell once it’s out of the ground, your excavation volume calculation is a fantasy, and you’ll be paying for twice the muck-away skips you actually budgeted for.
Don’t just measure the hole; measure the mess. I’ve seen many a “professional” quote a job based on a perfect substructure material takeoff, only to realize they haven’t accounted for the extra width needed for working space or the slope required to keep the sides from caving in. This isn’t just a math error; it’s poor groundwork risk management. If you aren’t adding a margin for the inevitable unevenness of the bottom or the extra room your lads need to actually move, you aren’t estimating—you’re gambling.
Five Things That’ll Sink Your Estimate Before the First Shovel Hits the Dirt
- Stop treating sub-base depth like a suggestion; if your estimate assumes six inches of Type 1 but you find soft spots that need another four, you aren’t just losing profit, you’re paying for the privilege of fixing someone else’s mistake.
- Factor in the “bulking” of your spoil, because that pile of dirt you just dug out is going to take up way more room in the skip or the truck than the hole it came from, and if you haven’t accounted for that volume, you’ll be paying for extra muck-away trips out of your own pocket.
- Watch the weather like a hawk in your contingency fund, because a week of driving rain doesn’t just delay the pour, it turns your site into a swamp that’ll cost you a fortune in extra plant hire and machine time just to get back to a workable level.
- Don’t you dare forget the cost of the service checks; if you haven’t budgeted the time and the kit to scan for pipes and cables before you start digging, one accidental strike will turn your tidy estimate into a massive, expensive headache.
- Account for the compaction layers, not just the total depth, because if you’re estimating material based on the volume of the hole without calculating how much that sub-base is going to settle and compact, you’ll be short on stone before the day is out.
The Bottom Line: Don't Let the Easy Stuff Sink You
At the end of the day, a groundwork estimate isn’t just about counting bags of cement or guessing how many cubic metres of spoil you’ll be hauling away. If you haven’t accounted for the actual state of the soil or the reality of what’s sitting under the surface, you aren’t estimating—you’re gambling. You can be the best mathematician in the world, but if you ignore the sub-base or fail to factor in the true volume of excavation, you’re just inviting a disaster that will eat your profit margins alive. Remember, the most expensive mistake you’ll ever make is the one you didn’t see coming because you were too busy looking at the concrete truck instead of the ground underneath it.
Look, I know it’s tempting to slap a number on a quote just to get the job moving, but the real pros know that the work happens in the preparation. Take the time to get the math right, check your depths twice, and never, ever assume the ground is going to behave just because the site looks flat. Do the hard yards on the paperwork now, and you won’t be the one standing in a muddy trench at 6:00 PM on a Friday, wondering why your budget has vanished into a crack in the slab. Build it on a solid foundation of facts, and the rest of the job will follow.
Frequently Asked Questions
How much extra should I factor in for "bulking" when I'm calculating how many muck-away loads I'll actually need?
Look, if you’re calculating loads based on the hole you’ve dug, you’re already losing money. Once that soil is out of the ground and disturbed, it breathes; it expands. For standard clay or heavy soil, I always factor in at least 25% to 30% for bulking. If it’s loose sand or rocky stuff, you might need even more. Don’t get caught short with a half-empty skip and a driver charging you for an extra trip.
If I find unexpected soft spots or clay after I've already started digging, how do I handle the cost increase without losing my shirt?
If you hit soft spots or clay halfway through, stop digging immediately. Don’t try to “make do” by just throwing more concrete on top—that’s how you end up with a cracked slab and a lawsuit. You need to dig out the muck until you hit something solid, then replace it with proper MOT Type 1. It costs more in plant and material, but you deal with it via your “unforeseen ground conditions” clause. Better a hit to the margin now than a total failure later.
How do I account for the cost of sub-base materials like MOT Type 1 without getting caught out by fluctuating supplier prices?
Listen, if you’re quoting a fixed price for MOT Type 1 and then waiting three weeks to order it, you’re gambling with your own money. I don’t care how much you trust your supplier; prices move. When you’re estimating, build in a 10% contingency buffer specifically for material fluctuations, or better yet, get a quote that’s valid for only seven days. Don’t get caught playing the middleman between a volatile yard and a fixed contract.