I’ve stood on more sites than I care to count, watching a lad stare at a ticking clock while a line of mixers idles down the road, and I can tell you right now: most people get how to plan a large pour completely backwards. They spend all their time obsessing over the slump, the grade, and the price per cubic metre, thinking that if the mix is right, the job is won. That’s a load of rubbish. I once saw a massive commercial slab crack clean through three weeks after the pour, not because the concrete was rubbish, but because the bloke in charge hadn’t even bothered to check if the sub-base was compacted enough to hold the weight. If you don’t get the groundwork right before the first truck even pulls up, you aren’t planning a pour; you’re just planning a disaster.
In this guide, I’m going to strip away the textbook nonsense and tell you how it actually works when the sun is beating down and the concrete is setting faster than you can spread it. We aren’t going to talk about fancy additives; we’re going to talk about the unseen essentials—the sub-base, the logistics of your access, and the weather windows that make or break your day. I’ll show you how to prepare the site so that when the trucks arrive, you’re in control, rather than just praying the job finishes before the mix goes off.
Table of Contents
Guide Overview
Tools & Supplies
- Measuring tape and chalk line for layout marking
- Level for checking surface flatness
- Calculator for volume calculations
- Concrete mix (calculated by cubic yardage)
- Formwork materials (lumber or melamine boards)
- Rebar or wire mesh for reinforcement
- Release agent or oil for forms
Step-by-Step Instructions
- 1. First thing you do—and I mean before you even pick up the phone to call the plant—is get your hands in the dirt and check your sub-base. If you’ve got soft spots or uncompacted muck sitting under where that slab is meant to go, you might as well be pouring into a sponge. I’ve seen lads spend thousands on a high-spec mix only to have the whole thing crack six months later because they were too lazy to properly compact the hardcore. Get a plate compactor out there and don’t stop until that ground is rock solid.
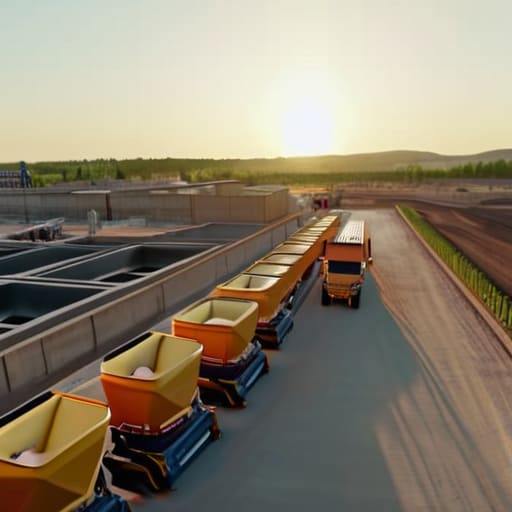
- 2. Once you’re sure the ground isn’t going to betray you, you need to map out your access and discharge points. A large pour isn’t just about the concrete; it’s about the logistics of getting it from the truck to the formwork without making a mess of the site. I always tell my boys to walk the route the truck is going to take. If there’s a narrow gate or a soft verge that’s going to swallow a mixer, you need to know that’s your bottleneck before the driver is sitting there idling and charging you by the minute.
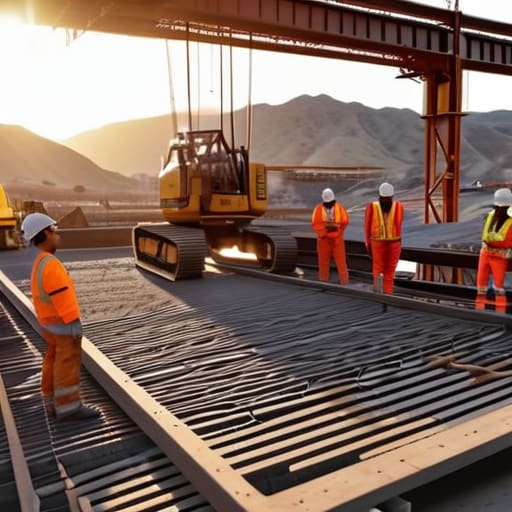
- 3. Next, you sort out your reinforcement and your forms, and you do it properly. I don’t care how much steel you’ve got; if your mesh isn’t sitting on the right spacers, it’s just sitting at the bottom of the slab doing nothing. You want that steel in the middle of the pour, not buried in the mud. Check your formwork for stability too; nothing ruins a morning like a formwork blowout halfway through a load because someone didn’t pin the stakes deep enough.
- 4. Now, let’s talk about the most important part of the planning: your manpower and timing. A large pour is a choreographed dance, and if you’ve only got two blokes to spread and level a twenty-yard load, you’re asking for trouble. You need enough hands to rake, level, and vibrate simultaneously. If you’re running short-handed, the concrete starts to set up in the truck before you’ve even finished the first section, and once that happens, you’re just pouring expensive gravel.
- 5. You need to have your finishing tools ready and waiting on-site. I’ve seen enough jobs go sideways because a lad realized halfway through a pour that his bull float was broken or he was short on screed timber. Get your vibrating pokers, your floats, and your straight edges laid out. And for heaven’s sake, have a clean water source nearby, but tell your crew that adding water to the mix to make it easier to spread is the fastest way to kill your strength.
- 6. Finally, look at the sky and plan for the cure. The pour isn’t finished when the last truck leaves; it’s finished when the slab has reached its design strength without cracking. If it’s going to be a scorcher, you need curing membranes or burlap ready to go immediately. If it’s looking like rain, you need heavy-duty polythene to cover the wet surface. Most people think the job is done when it looks flat, but the curing stage is where the real work happens.
Mastering Site Preparation for Large Pours Before the Trucks Arrive
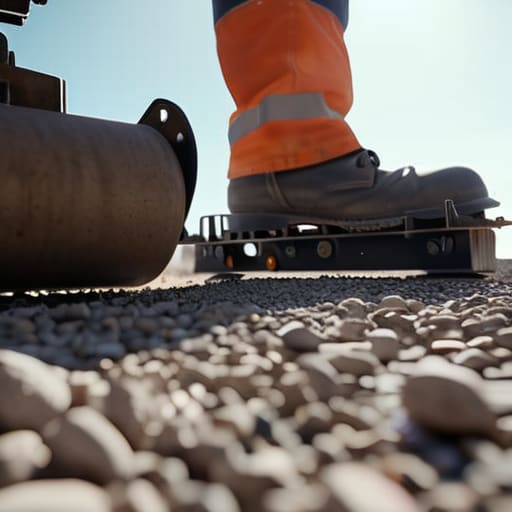
Before you even think about signing off on a delivery ticket, you need to look at what’s under your boots. I’ve seen lads spend a fortune on high-spec mixes only to have the whole slab heave six months later because they skimped on the compaction. When it comes to site preparation for large pours, your sub-base is your insurance policy. If that ground isn’t rock-solid and properly graded, you aren’t pouring concrete; you’re just pouring money into a future crack. Don’t just eyeball the level—check it, test it, and for heaven’s sake, make sure your drainage won’t turn your site into a bog halfway through the job.
Once the ground is sorted, your focus has to shift to the clock. Managing a big job is a game of timing, and if your concrete pour scheduling is off by even thirty minutes, you’re asking for trouble. You need to be thinking about preventing cold joints in large pours by ensuring your crew is ready to move as fast as the trucks are arriving. If the first section is setting up before the next load is even backed in, you’ve already failed. It’s about the rhythm between the driver, the pump, and the finishers.
Managing Concrete Delivery Logistics to Avoid the Disaster of Cold Joints
You can have the best sub-base in the county, but if your trucks are sitting idle in traffic while your first load starts to stiffen, you’re heading for a disaster. Most lads think the job starts when the chute hits the hopper, but managing concrete delivery logistics is actually about timing the gap between the trucks. If you’ve got a twenty-minute delay between loads and your finishers can’t keep up, you’re going to end up with a cold joint. That’s a line through your slab that no amount of trowelling will ever fix. It’s a permanent scar where one batch hardened before the next one arrived to bond with it.
To stop this happening, you need to treat your concrete pour scheduling like a military operation. Don’t just call the plant and say “send them over”; you need to know exactly how many cubic metres are coming and, more importantly, the interval between them. I’ve seen many a site ruined because the foreman thought he could squeeze in an extra load without checking if the finishers were actually ready. You have to coordinate the trucks with your crew so that the rate of placement always stays ahead of the setting time. If the trucks outpace the men, you’re finished.
Five Things That’ll Save Your Skin (and Your Reputation)
- Check your sub-base one last time with a spade, not just your eyes. If you find soft spots or uncompacted muck under that hardcore after the trucks are idling, you’re looking at a cracked slab within twelve months, and it won’t be the concrete’s fault.
- Stop the “water-on-site” madness. I’ve seen too many lads add a splash of water to the drum to make the mix “work better” for spreading; all you’re doing is killing the strength and inviting shrinkage cracks that’ll haunt you forever.
- Plan your joints like your life depends on it. Don’t wait until you’re halfway through a massive pour to decide where the control joints go; if you don’t have your saw or your jointing tools ready to move the second that concrete starts to set, the slab will crack wherever it feels like.
- Get your lighting right if you’re working into the evening. I’ve seen more mistakes made in the twilight of a long pour than in the midday sun, and a mistake made in the dark is usually a mistake you can’t fix once it’s hardened.
- Have a backup plan for the weather, not just a prayer. If the clouds are bruising up and a downpour looks likely, you need to know exactly how you’re going to cover that wet surface or if you’re calling the plant to hold the trucks back.
Don't Let the Easy Part Fool You
At the end of the day, a successful large pour isn’t about how well you move the screed; it’s about everything you did while the trucks were still parked up. If you’ve sorted your sub-base so it isn’t going to settle like a sponge, managed your delivery timing to prevent those dreaded cold joints, and kept a close eye on the weather, then you’ve done the hard graft. Most people think the job starts when the chute opens, but I’m telling you, the real work happens in the preparation. Don’t let a bit of laziness with the ground or a rushed delivery turn a professional job into a costly crack-filled mess that you’ll be hearing about for the next ten years.
I’ve seen plenty of lads try to make up for poor planning by adding water to the mix just to get it flowing easier, and I’ve seen the cracks that follow. It’s tempting to take shortcuts when the pressure is on, but respect the process and the concrete will respect you. When you finally step back and look at a slab that’s level, tight, and solid, you’ll know it wasn’t luck—it was the discipline you showed before the first drop even hit the ground. Do it right the first time, and you won’t have to go back to fix it later.
Frequently Asked Questions
If I'm pouring in temperatures above 25 degrees, how do I stop the surface from cracking before it's even set?
If you’re pouring in 25-degree heat, you’re fighting a losing battle against evaporation. The water leaves the surface faster than the cement can hydrate, and that’s when you get those nasty plastic shrinkage cracks. Stop thinking about the pour and start thinking about the shade. Dampen your sub-base before you start, keep your tools wet, and for heaven’s sake, get your curing compound or wet burlap on that surface the second you’ve finished the screed. Don’t let it breathe.
How much extra mix should I actually order to account for site irregularities without being left with a mountain of waste?
Look, if you’re ordering exactly what the math says on paper, you’re asking for trouble. Ground isn’t a perfect plane; it’s got dips, soft spots, and forms that bulge under pressure. I always tell people to add 5% to 10% to the total. If your sub-base is a bit uneven or you’re pouring deep, lean toward 10%. It’s a lot cheaper to pay for an extra cube now than to pay a premium for a short-load delivery halfway through the pour.
When I'm managing a large area, how do I know if my screeding team is actually getting it level or if they're just masking a bad sub-base?
Look, if you’re seeing your lads working too hard with the screed bar, they aren’t leveling; they’re performing surgery. A good screed should glide. If they’re constantly digging deep to fill hollows or piling up to hide a hump, they’re just masking a rubbish sub-base with expensive cement. Check the levels before the pour. If the ground isn’t consistent, no amount of clever screeding is going to stop that slab from cracking later.