I remember standing on a site in Gloucestershire back in ’94, watching a lad pour a beautiful, clean retaining wall, only to see it start leaning like a drunk on a Friday night less than a year later. The wall itself was solid, the mix was spot on, but the man behind the machine had completely ignored the real enemy. Everyone wants to talk about the strength of the concrete or the depth of the footing, but they never ask how drainage behind a wall works until they’re staring at a structural nightmare. They think a bit of gravel and a prayer will do the trick, but water doesn’t care about your budget or your fancy architectural plans; it only cares about finding a way to push that wall over.
I’m not here to sell you on expensive, over-engineered gadgets that won’t save a botched job. I’m going to tell you exactly how to manage the pressure so you aren’t calling me in five years to look at a crack. We’re going to talk about the stuff people actually skip—the weep holes, the geotextiles, and the specific way you layer your backfill. I’ll give you the straight truth on how to build something that actually stays put, because if you don’t get the water out of the equation, you’ve already lost the battle.
Table of Contents
Hydrostatic Pressure Relief Winning the War Against Invisible Weight
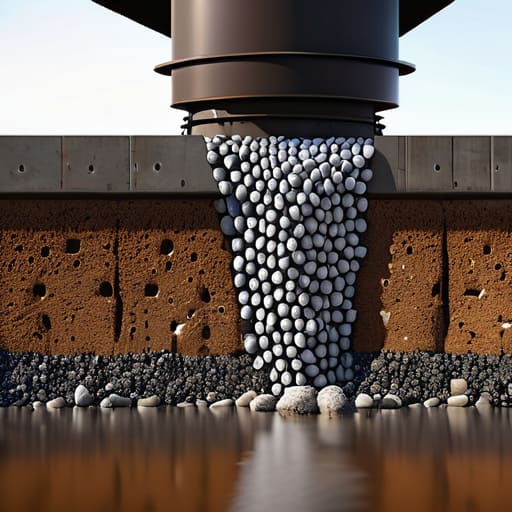
You can build the thickest, most reinforced wall in the county, but if you haven’t planned for hydrostatic pressure relief, you’re just building a very expensive dam. People see a wall and think about the concrete and the steel, but they forget that water is heavy—really heavy. When the ground gets saturated, that water doesn’t just sit there; it pushes. It builds up a weight behind that structure that no amount of rebar is going to stop if the water has nowhere to go.
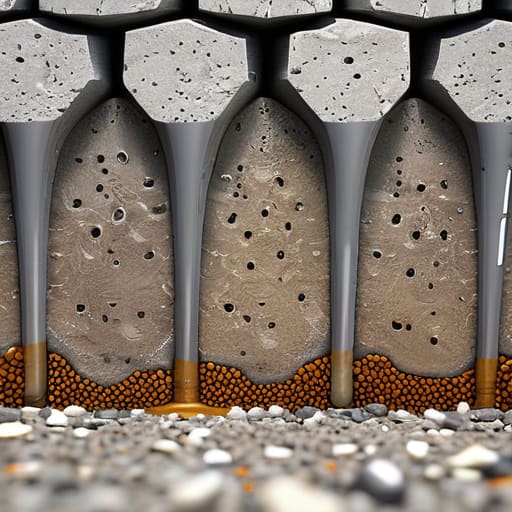
That’s why I always tell my lads: you don’t just throw dirt back against a wall and hope for the best. You need a clear path for that liquid weight to escape. This starts with proper backfill material selection—using clean, angular stone instead of whatever muddy clay you dug out of the trench. You wrap that stone in a layer of geotextile fabric to keep the fines from clogging everything up, and you run a perforated drain pipe at the base to carry the load away. If you skip the pipe or use the wrong stone, you aren’t managing water; you’re just waiting for the pressure to win.
Backfill Material Selection Why Cheap Dirt Kills Your Wall
I’ve lost count of how many times I’ve stood in front of a leaning wall and seen the exact same mistake: a homeowner or a budget-conscious contractor trying to save a few quid by using the site’s natural soil as backfill. Let me tell you something—if you’re throwing clay, silt, or whatever “dirt” you dug up during the excavation back against that wall, you’re essentially building a dam, not a drainage system. Fine soil holds onto water like a sponge, and once that moisture gets trapped, you’re asking for trouble.
Proper backfill material selection isn’t about being fancy; it’s about physics. You need clean, angular crushed stone or gravel that allows water to move through it freely. This is where the geotextile fabric role in drainage becomes non-negotiable. You wrap that stone and your perforated drain pipe in a good filter fabric so the fine particles from the surrounding earth don’t migrate into your gravel and clog everything up. If you skip the fabric or use the wrong stone, you’ve just built a very expensive, very slow-moving underground swamp that will eventually push your wall right out of position.
Five Ways to Stop Your Wall from Becoming a Dam
- Don’t trust your eyes on the weep holes. If you’ve got holes in the face of the wall, they aren’t just for decoration; they’re your emergency exits. If they get plugged up with silt or mortar droppings during the build, that water stays trapped behind the masonry, and that’s when the pressure starts building up to push the whole thing over.
- Get the perforated pipe in early and get it right. I’ve seen too many lads toss a bit of plastic pipe in the trench and hope for the best. That pipe needs to be at the bottom, wrapped in a proper geotextile membrane, or it’ll be choked with fine grit before the first winter is even out. A blocked drain is just a pipe full of expensive mud.
- Stop using the soil you dug out for your backfill. I don’t care how much it saves you in skip fees; if you’re putting heavy, clay-based soil right up against the back of that wall, you’re basically building a dam. You need clean, free-draining aggregate—crushed stone or gravel—to create a path for the water to actually reach your drainage system.
- Mind the vertical separation. You can’t just dump gravel against the wall and call it a day. You need a consistent column of clean stone that runs from the base all the way up to the top of the retained ground. If there’s a gap in that stone layer, the water will find that pocket of dirt, sit there, and start working on your joints.
- Watch the surface water before it even gets to the wall. If you’ve got a garden or a driveway sloping towards the back of that structure, you’re asking for trouble. You need a way to divert surface runoff—a small channel or a proper grade—so the water isn’t constantly being fed into the very system you’re trying to drain.
Don't Let Your Hard Work Go Under
At the end of the day, you can build the most impressive-looking retaining wall in the county, but if you haven’t sorted the drainage, you’ve just built a very expensive dam. You can’t fight physics with a bit of extra cement or a thicker slab. It comes down to the basics: getting the right granular backfill in place, ensuring your weep holes aren’t blocked by silt, and making sure that perforated pipe is actually doing its job instead of sitting in a soup of mud. If you skip the sub-surface management to save a few quid on gravel or labor, you aren’t saving money—you’re just scheduling a future failure.
I’ve seen too many lads try to take shortcuts because they thought the wall was strong enough to “just hold” the weight. It never is. The ground is always going to win if you don’t give the water a way out. My advice? Do it right the first time, even if it’s the part of the job nobody sees and nobody wants to pay for. There is a massive amount of pride in knowing that the real strength of your work isn’t just in the stone or the concrete you can see, but in the invisible systems you’ve buried deep underground. Build it to last, not just to look good for the handover.
Frequently Asked Questions
If I’ve already poured the concrete and noticed water seeping through the joints, is it too late to fix the drainage behind it?
Look, if you’re seeing water weeping through the joints, you’ve already lost the battle. The pressure is building, and it’s looking for the path of least resistance—which happens to be your new concrete. Is it too late? Technically, no, but you’re looking at a massive, expensive headache. You’ll likely have to excavate behind that wall to fix the drainage properly. If you just patch the cracks, you’re just masking a symptom while the rot continues underneath.
How do I know if my perforated pipe is actually doing its job or if it's just sitting in a soup of silt and mud?
You don’t check a pipe by looking at it; you check it by looking at the ground around it. If you’ve got standing water or a boggy patch right against the face of the wall after a decent rain, that pipe is useless. It’s likely choked with silt because someone skipped the geotextile wrap. If the water isn’t moving away from the structure, your pipe is just an expensive straw sitting in a mud soup.
Can I just use whatever soil I've got on-site for the backfill, or am I guaranteed to have a structural headache if I do?
If you use whatever dirt you’ve got on-site, you aren’t just asking for a headache—you’re practically inviting the wall to collapse. Most site soil is full of fines and organic matter that holds water like a sponge. Once that gets trapped behind your wall, it turns into heavy, pressurized sludge. You want clean, free-draining aggregate. If you try to save a few quid on backfill now, you’ll be paying for it in structural repairs later.