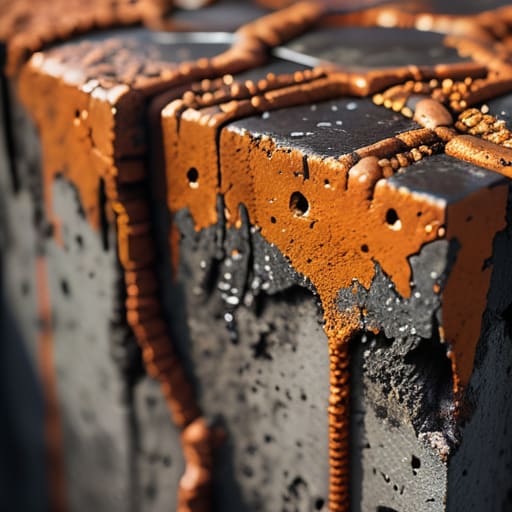
I remember standing on a site in the pouring rain back in ’94, watching a lad try to shove a thick, dry mix into a corner of a footing. He was sweating, cursing, and trying to make up for a bad mix by just pushing it harder. When we stripped the shutterwork the next morning, it looked like a piece of Swiss cheese. That’s the thing about people who think they can just “fix it in the finish”—they don’t realize that understanding how honeycombing occurs isn’t about some complex chemical reaction or a faulty batch from the plant. It’s usually just a result of poor discipline on the ground, whether that’s a rebar cage that’s too crowded to let the aggregate flow or a crew that’s too tired to use the vibrator properly.
I’m not here to give you a lecture from a textbook or some overpriced consultant’s report. I’m going to tell you exactly what I learned from forty-three years of watching concrete fail and succeed. We’re going to strip away the excuses and look at the real culprits: the placement, the vibration, and the sheer laziness that leads to those ugly voids. I’ll show you how to spot the mistakes before the truck even arrives, so you aren’t left staring at a mess you can’t hide.
Table of Contents
Rebar Congestion Issues When the Steel Blocks the Flow
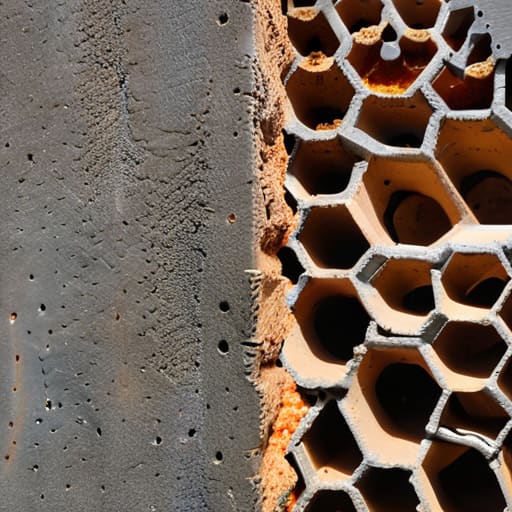
You can have the best mix design in the county, but if your steel fixers have been too generous with the rebar, you’re fighting a losing battle before the chute even opens. I’ve stood on more sites than I can count where the cages looked like a bird’s nest. When you’ve got too much steel packed into a tight space, you get rebar congestion issues that act like a dam. The aggregate hits that wall of metal and stops dead, while the paste tries to squeeze through the gaps. If there isn’t enough “breathing room” between the bars, you aren’t pouring concrete; you’re just jamming rocks into a cage.
This is where the real trouble starts. When the aggregate gets stuck, you end up with voids in concrete structures that no amount of surface trowelling can fix. You might think you can just hammer it into place, but if the flow is blocked, you’re looking at a structural nightmare. Even with improper concrete vibration, you can’t force a thick, heavy mix through a gap that’s too small to pass. If the steel is too tight, the vibration just shakes the air pockets into place instead of knocking them out.
Improper Concrete Vibration Leaving Voids in Concrete Structures
Now, let’s talk about the tool that most lads treat like an afterthought: the poker. I’ve seen it a thousand times—a young lad on a gang, thinking he can just dip the vibrator into the wet mix every few minutes and call it a day. That’s not vibrating; that’s just playing in the mud. Improper concrete vibration is the fastest way to turn a professional pour into a structural nightmare. If you aren’t getting that needle deep enough to penetrate the previous lift, or if you’re pulling it out too fast, you’re leaving air pockets trapped in the mix like bubbles in a bad lager.
When you skip the thorough work, you end up with voids in concrete structures that look like a honeycomb from a distance but act like a sieve up close. It isn’t just about the look, either. Those gaps ruin the concrete permeability and strength, letting moisture and salts crawl straight into the heart of the slab. You can have the most expensive mix from the plant, but if you’re too lazy to run the vibrator properly, you’ve essentially paid top dollar to pour a sponge.
Five Ways You’re Setting Yourself Up for a Mess
- Stop treating the aggregate like it’s liquid. If your mix is too “stiff” or your coarse aggregate is oversized for the gap you’re trying to fill, it’s going to bridge. Once those stones lock together and block the flow, you’ve got a pocket of air trapped behind them that no amount of poking is going to fix.
- Watch your drop height. I’ve seen lads try to be clever by dumping the chute from a meter or two up to save their backs. All that does is cause segregation—the heavy stones drop straight to the bottom and the paste stays on top. You end up with a pile of rocks at the base and a hollow shell where the mortar should be.
- Don’t be stingy with the vibrator, but don’t go mad either. You need to penetrate the lift, not just dance around the surface. If you aren’t inserting the poker deep enough into the previous layer to knit them together, you’re just creating air pockets that’ll stay there for the next fifty years.
- Check your formwork stability before the truck even arrives. If your shutters are bowing or leaking under the pressure of a heavy pour, the fines—the cement and sand—are going to wash out through the gaps. What you’re left with isn’t just honeycombing; it’s a structural skeleton with no meat on its bones.
- Stop adding water to the drum just because the lads are complaining about the workability. I know, it makes it easier to spread, but you’re messing with the slump and the way the material settles. A mix that’s too wet can actually cause the aggregate to sink, leaving you with a honeycomb of voids right where the strength needs to be.
The Bottom Line on Honeycombing
At the end of the day, honeycombing isn’t some mysterious structural defect that just happens to you; it’s a direct result of poor decision-making on site. Whether you’ve crammed too much rebar into a narrow footing, left the lads too lazy with the poker vibrator, or tried to squeeze a mix that was too stiff through a tight formwork, you’ve essentially invited the air in. You can blame the batching plant all you like, but if you haven’t checked your congestion or ensured your crew is actually doing the work to settle that aggregate, you’re just setting yourself up for a repair job you’ll regret later. It’s about the discipline of the pour, not just the chemistry of the mix.
If you want to sleep well at night knowing your foundations aren’t going to crumble or leak, stop looking at the concrete and start looking at your preparation. A successful pour is won or lost in the hour before the truck even turns into the site entrance. Get your steel right, get your vibration plan sorted, and for heaven’s sake, don’t take shortcuts just because the sun is going down. Do the job properly the first time, and the concrete will do its part. If you respect the process, the structure will respect you.
Frequently Asked Questions
If I’ve got a tight rebar cage, can I just use a more fluid mix to get it through, or am I just asking for trouble later?
You’re asking for trouble, plain and simple. I’ve seen it a hundred times: some lad thinks he can fix a tight cage by adding water or cranking up the slump to make it “flow.” All you’re doing is washing out the cement paste and leaving the aggregate to settle like a pile of gravel. You’ll end up with a weak, porous mess that’ll crumble the first time it takes a real load. Don’t fix a spacing problem with a water problem.
How can I tell if the honeycombing is just a surface nuisance or if the structural integrity of the whole slab is shot?
Look, if it’s just a bit of “skin” peeling off or a few small pits on the surface, you can usually patch it and move on. But if you can see the aggregate sitting loose or, heaven forbid, you can see the rebar through the gap, you’ve got a problem. If that void goes deep enough to compromise the cover over the steel, the whole thing is shot. If the honeycombing is deep and irregular, stop talking and call a structural engineer.
Is there any way to fix the voids once the concrete has already set, or is it a complete write-off?
It’s rarely a complete write-off, but don’t go thinking a bit of mortar and hope will fix it. If it’s just cosmetic, you can chip out the loose bits, clean it properly, and use a high-strength repair mortar. But if those voids go deep—if they’re hitting your steel or compromising the structural integrity—you’re looking at something much more serious. You might need to jackhammer it out and start again. Never patch over a structural lie.