I’ve lost count of how many times I’ve stood in a customer’s hallway, listening to them pour money down the drain on “specialist” sealants and fancy sprays, only to find the same damp patch appearing two weeks later. People love to blame the weather or the quality of the bricks, but they never want to look at the actual mechanics of how penetrating damp occurs. It’s rarely a mystery, and it’s almost never because the building itself is “bad.” It’s usually because someone took a shortcut on the damp-proof course, ignored a botched render job, or failed to manage how water sheds away from the foundation. You can slap all the expensive coatings you want on a wall, but if the source of the ingress is still there, you’re just painting over a disaster.
I’m not here to sell you a magic potion or some high-tech chemical spray that promises the world. What I’m going to give you is the truth from forty-three years of seeing exactly where the water gets in and why it stays there. We’re going to look past the surface-level symptoms and get stuck into the real structural failures that let moisture migrate through your walls. By the time I’m done, you’ll understand the sequence of events that leads to a wet wall, and more importantly, how to fix it properly the first time.
Table of Contents
External Wall Moisture Ingress the Mistakes You Didnt See
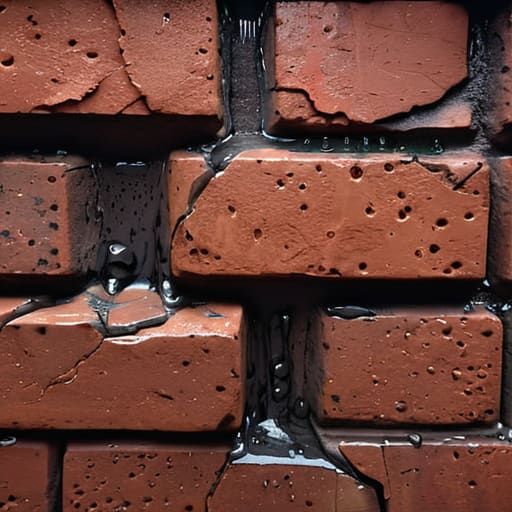
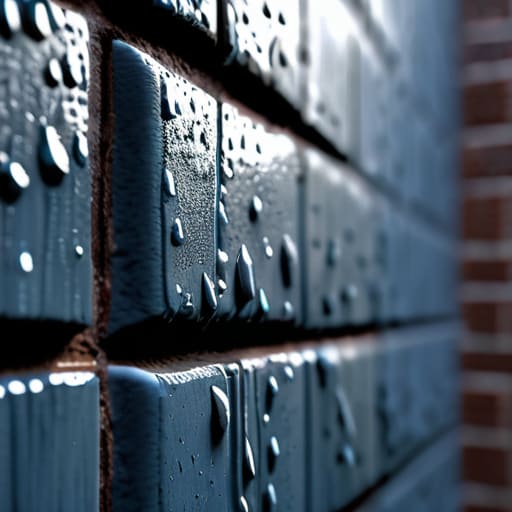
You’ll see people staring at a wet patch on their living room wallpaper and blaming the rain. They’re half right, but they’re missing the real story. Most external wall moisture ingress doesn’t happen because the rain is heavy; it happens because the building’s skin has been neglected or poorly installed. I’ve seen countless houses where the pointing was rushed or the brickwork was laid without a proper weep hole, turning the entire cavity into a sponge. When you skip the details on the outside, you aren’t just saving time—you’re inviting the elements to settle in.
It’s usually the small things that lead to serious structural damage from damp. A hairline crack in the render or a bit of crumbling mortar might look insignificant, but once wind-driven rain finds its way in, it doesn’t stop. It travels behind the face of the brick, soaking into the core where you can’t see it until the plaster starts bubbling. You can’t fix a damp wall by just painting over it; if you haven’t addressed how the water is actually getting through the envelope, you’re just painting over a disaster waiting to happen.
Signs of Water Penetration Before the Damage Is Done
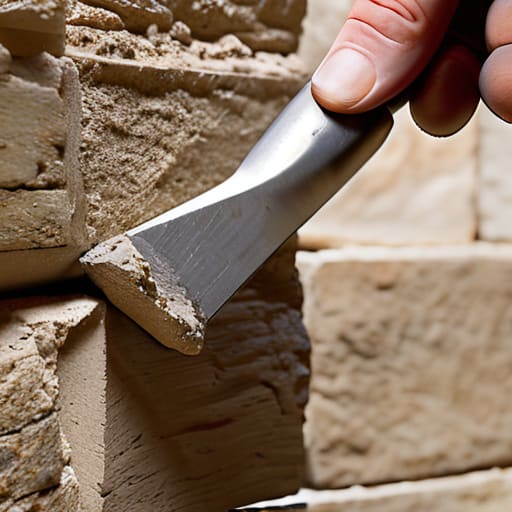
Most people wait until they see a massive, dark stain or a patch of black mould before they start worrying, but by then, the battle is already half-lost. If you’re looking for the real signs of water penetration, you need to look closer than the obvious rot. I’ve seen plenty of jobs where the owner didn’t notice a thing until the plaster started crumbling like a dry biscuit. Keep an eye out for salt deposits—that white, powdery stuff on the brickwork—or a slight “spalling” where the face of the brick is starting to flake off. That’s not just age; that’s water getting in, freezing, and expanding because the weatherproofing was never right to begin with.
You should also be watching for any odd smells or a persistent “musty” scent that clings to a room even after you’ve aired it out. If you notice the paint bubbling or peeling in specific patches, don’t just slap a new coat on top and call it a day. That’s a classic symptom of external wall moisture ingress trying to find a way out. If you ignore those small warnings, you aren’t just dealing with a bit of wet masonry; you’re inviting serious structural damage from damp that’ll cost ten times more to fix later.
Stop Chasing the Damp and Start Looking at the Build
- Check your pointing before you blame the brick. If the mortar’s crumbled away or the joints are recessed, you’ve essentially built a sponge that sucks rain straight into the core of the wall.
- Look at the ground level, not the ceiling. If your paving or flowerbeds have been built up too high, you’ve buried the damp proof course and given the water a direct highway into your internal masonry.
- Stop ignoring the cracks in your render. A hairline fracture might look nothing when it’s dry, but once the wind starts driving rain against it, that crack becomes a funnel that bypasses every bit of protection you thought you had.
- Watch your guttering and downpipes like a hawk. Half the time “penetrating damp” is just a leaky joint or a blocked gutter dumping a concentrated stream of water directly onto a specific patch of wall for six months straight.
- Don’t trust a “quick fix” with cheap sealant. If the substrate is moving because the sub-base wasn’t compacted right, that fancy silicone is going to tear itself apart in a season, and you’ll be right back where you started.
The Hard Truth About Keeping the Wet Out
Look, if you’ve followed what I’ve said, you’ll realize that penetrating damp isn’t some mysterious ghost haunting your masonry; it’s a mechanical failure. It’s the result of a blocked gutter, a poorly pointed brick joint, or a render that was applied when the temperature was all wrong. You can spend a fortune on fancy sealants and decorative finishes, but if you haven’t addressed the root cause—whether that’s a cracked lintel or a ground level that’s sitting too high against the damp proof course—you’re just painting over a disaster. You have to fix the sequence of the build and the integrity of the envelope, otherwise, you’re just throwing money into a puddle.
At the end of the day, building something that lasts requires a bit of discipline and a lot of respect for how water moves. Don’t be the person who tries to shortcut the prep work or ignores a small crack because it’s “not worth the hassle.” I’ve seen enough failed walls to know that the small things always find a way to become big problems. If you take the time to get the details right—the drainage, the pointing, and the weatherproofing—you won’t be calling me in five years to ask why your living room smells like a swamp. Do it right the first time, or prepare to do it twice.
Frequently Asked Questions
If I've just had my render redone, why am I still seeing damp patches appearing near the ground level?
If you’ve just spent a fortune on new render and you’re still seeing damp at the base, stop looking at the finish and start looking at what’s underneath. Render is just a skin; it isn’t a magic shield. If your DPC is bridged by a bit of patio, or if your sub-base hasn’t been graded to pull water away from the footings, that moisture is going to find its way up regardless of how pretty the walls look.
Can a poorly compacted sub-base or a bad drainage setup actually force water into my brickwork?
Listen, you can have the best bricks and the most expensive mortar in the world, but if the ground underneath is a sponge, you’re finished. A poorly compacted sub-base turns into a reservoir, holding water right against your footings. If your drainage is rubbish, that water has nowhere to go but up and into your masonry. It’s hydrostatic pressure, plain and simple. You aren’t just fighting rain; you’re fighting the ground you built on.
How much of this damp is actually caused by the wrong mortar mix being used in the original build?
Look, I’ve seen it a thousand times. People blame the bricks, but it’s usually the mortar that’s let them down. If some cowboy used a mix that was too strong—like a heavy cement-to-sand ratio—it becomes harder than the brick itself. When the building moves or breathes, the brick cracks instead of the joint. Or worse, they use a mix too weak that just washes away. If the mortar isn’t right, the wall’s a sponge.