I’ve lost count of how many times I’ve stood on a driveway six months after a job, watching a homeowner point at a spiderweb of cracks and ask me what went wrong. They always want to talk about the mix or the temperature, but they’re looking at the wrong end of the problem. Most people think learning how to lay tarmac is about mastering the roller or getting the heat just right, but that’s a load of rubbish. If you haven’t spent the last three days obsessing over the compaction of your sub-base, you aren’t laying a driveway; you’re just laying a temporary patch that’s destined to fail.
I’m not here to give you some glossy, textbook version of a construction manual. I’ve spent forty-three years getting my hands dirty, and I know exactly where the shortcuts lead. In this guide, I’m going to walk you through the real process—the bits nobody bothers to photograph—from the unseen groundworks to the final compaction. I’ll tell you how to prepare the base so it actually holds, how to manage the heat, and how to avoid the rookie mistakes that turn a weekend project into a costly nightmare.
Table of Contents
Guide Overview
Tools & Supplies
- Rake for spreading and leveling the material
- Plate compactor for densifying the surface
- Tamper for smoothing edges and small areas
- Shovel for moving and shaping the tarmac
- Tarmac/Asphalt mix (volume based on area and depth)
- Sub-base material/MOT Type 1 (to create a solid foundation)
- Bitumen emulsion (as a tack coat for adhesion)
Step-by-Step Instructions
- 1. First things first, you need to get that sub-base sorted, and I mean properly sorted. You can’t just throw some crushed stone down and hope for the best. You need a solid layer of MOT Type 1, and you need to compact it until it doesn’t budge an inch under a heavy vibrating plate. If you see any soft spots or “pumping” when you’re compacting, stop everything and dig it out. If your foundation is soft, your tarmac is just a very expensive way of masking a hole in the ground.
- 2. Once you’re happy with the base, you’ve got to deal with the edges. I’ve seen too many lads leave the edges unsupported, and within six months, the whole perimeter starts crumbling away like a biscuit. You need to install robust edge restraints—whether that’s concrete kerbs or a heavy-duty timber frame—that are pinned down tight. These edges aren’t just for looks; they are what keep the tarmac from spreading outward when a heavy vehicle drives over it.
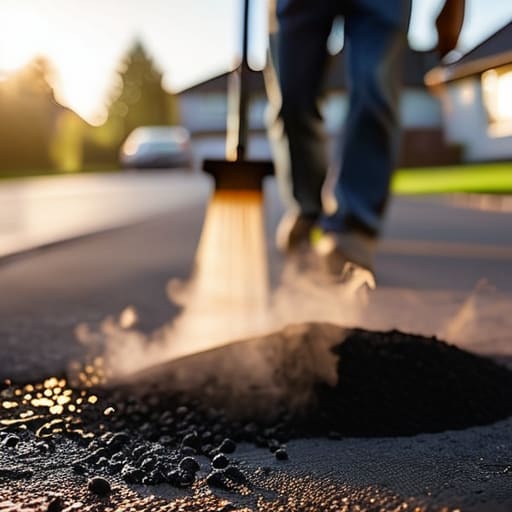
- 3. Now, get your temperature right. If you’re ordering hot rolled asphalt, it needs to arrive hot. I don’t care if the supplier says it’s “good enough”; if that mix has cooled down too much in the truck, it’s going to be a nightmare to work with. You want it steaming when it hits the ground. If you try to spread cold or lukewarm tarmac, you’ll never get the compaction you need, and you’ll end up with a surface that looks like a bag of gravel by next winter.
- 4. Start spreading the mix, but don’t just dump it in a big pile in the middle and hope to push it out. Work from the edges inward, or work from the lowest point up. Use a rake to get the material roughly where it needs to be, making sure you maintain a slight fall for drainage. If you don’t have a consistent fall to drain, you’re just building a very expensive pond. Keep the layers even; if you go too thick in one spot and too thin in another, you’re asking for trouble.
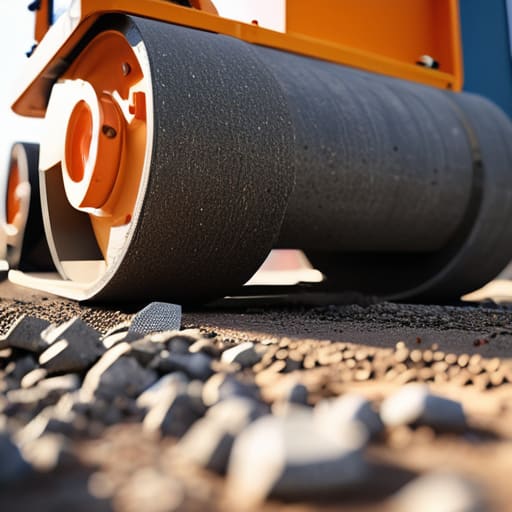
- 5. This is where most amateurs fail: the compaction. You need a heavy vibrating roller, and you need to use it properly. Don’t just bounce it around aimlessly. You start with light passes to set the material, then move to heavier passes to lock it all together. You’re looking for a smooth, tight finish where the aggregate is fully seated. If you see any “shoving” or movement in the mix while you’re rolling, you’ve either lost your heat or your base isn’t stable.
- 6. Finally, keep the bloody traffic off it. I know, everyone wants to drive their car over the new driveway the second you pack your tools away, but you can’t. Tarmac needs time to set and stabilize under its own weight and the ambient temperature. If you disturb the surface while it’s still settling, you’ll leave permanent indentations that no amount of patching will ever truly fix. Leave it alone and let the chemistry do its job.
Sub Base Preparation for Paving the Invisible Foundation
Listen, I’ve seen more expensive driveways ruined by a lazy sub-base than by any faulty batch of bitumen. You can buy the best road surfacing equipment in the country, but if you’re laying your layers over soft spots or uncompacted muck, you’re just wasting your time and your client’s money. Real sub-base preparation for paving isn’t about just throwing down some MOT Type 1 and calling it a day; it’s about ensuring that every inch of that hardcore is compacted in thin, manageable layers. If you try to smash down six inches of stone all at once with a vibrating plate, you’ll only compact the top bit, leaving a hollow pocket underneath that’ll swallow your tarmac whole within a year.
I always tell the young lads: the sub-base is your insurance policy. You need to be obsessive about it. Get your plate compactor out, run it until the ground feels like solid rock, and don’t stop just because you’re tired. If you haven’t done the hard graft on the foundation, those tarmac driveway installation steps you’re so proud of won’t mean a damn thing when the first heavy vehicle rolls over it.
Tarmac Temperature Requirements Why Timing Beats Effort
Listen, you can have the best road surfacing equipment money can buy and the most expensive mix in the yard, but if that load arrives cold, you’re just moving expensive gravel around. Tarmac isn’t like mortar; it doesn’t just sit there and wait for you. It has a clock ticking from the moment it leaves the plant. You need to be obsessed with tarmac temperature requirements because once those bitumen binder properties start to change and the mix loses its heat, you’ve lost the battle. If it’s too cold, it won’t knit together, and you’ll end up with a surface that looks alright on day one but turns into a sieve within a year.
I’ve seen lads try to push through a pour on a freezing November morning, thinking they can just work harder to make up for it. That’s a fool’s errand. If the mix isn’t hitting the right thermal window, your asphalt compaction techniques won’t mean a damn thing. You can roll it until you’re blue in the face, but if the binder has already stiffened, you aren’t compacting—you’re just bruising the surface. Watch the thermometer, not your watch.
Five Things That’ll Save Your Tarmac (And Your Reputation)
- Stop treating the sub-base like a suggestion; if you haven’t compacted that MOT Type 1 until it’s rock hard, you’re just laying a very expensive layer of mud that’s going to sink the moment a heavy van drives over it.
- Watch the clock and the thermometer, because if that mix has gone cold before it’s rolled, you aren’t laying tarmac anymore—you’re just spreading cold, useless gravel that’ll never bond.
- Don’t be that person who thinks “eyeballing it” is enough for the edges; if your side forms aren’t straight and sturdy, your edges will crumble and ravel within six months, leaving you with a mess that looks like it was done by a child.
- Put the water hose away; I don’t care how “stiff” the mix looks, adding water to make it spread easier is the quickest way to ruin the bitumen and ensure the whole lot fails the first time it gets a proper soaking.
- Roll it while it’s hot and roll it properly; you need to get that compaction done while the material is still workable, otherwise you’ll be left with a surface that’s nothing but air pockets waiting to turn into cracks.
Don't Get Cocky Before the Final Roll
At the end of the day, laying tarmac isn’t some magic trick you perform with a shovel and a bit of luck. If you’ve done the work right, you haven’t spent most of your time actually touching the black stuff; you’ve spent it sweating over the sub-base compaction and checking the thermometer to make sure the mix isn’t going to seize up before you’ve even got it leveled. You’ve managed the edges, you’ve respected the temperature, and you haven’t taken the easy way out by rushing the finish. If you’ve skipped the prep or tried to fight the weather, you aren’t laying a driveway—you’re just laying a future headache that’ll be cracking and rutting before the first heavy car rolls over it.
Look, I know it’s tempting to just get the material down and get the job finished so you can move on to the next one. But there is a massive difference between a surface that looks decent on a sunny afternoon and a surface that actually holds its ground for the next twenty years. Take pride in the stuff no one sees. When you walk away from a job, I want you to be able to stand on that tarmac, look at the edges, and know deep down that the foundation underneath is solid enough to sleep on. That’s the difference between a laborer and a proper tradesman.
Frequently Asked Questions
How thick do I actually need to go with the sub-base before I start worrying about the tarmac layer itself?
Listen, if you’re asking about thickness, you’re already thinking about the wrong thing. You should be thinking about compaction. But to answer you: for a standard driveway, I wouldn’t dream of starting that tarmac until I’ve got at least 150mm of MOT Type 1 down, compacted in layers. If it’s for a heavy vehicle, push it to 200mm. Anything less and you aren’t building a driveway; you’re just laying a thin black carpet over a sponge.
If the weather turns and it starts drizzling mid-pour, do I stop everything or can I push through?
If it’s just a light mist, you might get away with it, but the moment it starts drizzling, you stop. Rain isn’t just wet; it’s uncontrolled water. If it hits your fresh tarmac, it’ll mess with the binder and ruin your mix ratio. You’ll end up with a surface that looks fine today but turns to gravel in two years. Cover it up, wait it out, and don’t let some deadline force a bad pour.
How do I know if I’ve compacted the base enough, or am I just guessing with the plate compactor?
If you’re guessing, you’ve already lost. You don’t look at the machine; you look at the material. When you run that plate over a well-compacted sub-base, it shouldn’t feel like it’s dancing or bouncing on top of the stone. It should feel heavy, dead, and solid. If you can still see individual stones shifting or “pumping” under the vibration, you’re still just moving dirt around. If it feels like a single, unyielding mass, you’re getting there.



