I spent thirty years watching lads get excited about the brand of sand or the colour of the finish, only to watch that same wall flake off in sheets six months later. They’ll spend a fortune on the fancy top coat, but they won’t tell you if they actually checked the substrate or if the masonry was bone dry before they started. If you’re looking up how to render a wall because you want a smooth, pretty surface, you’re already halfway to a disaster. The truth is, the finish is the easy bit; the real work is in the prep and the bond you create before the trowel even touches the mix.
I’m not here to give you a glossy brochure version of a DIY guide. I’m going to tell you exactly how to do it so you don’t end up calling me in two years asking why your render is cracking. We’re going to skip the fluff and focus on the grit: prepping the surface, managing the moisture, and getting your mix right. By the time we’re done, you’ll understand that knowing how to render a wall is less about being an artist and more about being a proper craftsman.
Table of Contents
Guide Overview
Tools & Supplies
- Hawk and trowel for applying and smoothing render
- Float for smoothing the surface finish
- Bucket and mixing paddle for preparing mortar
- Measuring tape for calculating surface area
- Render mix (sand and cement or pre-mixed) sufficient for area
- Bonding agent or primer for adhesion
- Water for mixing and cleaning tools
Step-by-Step Instructions
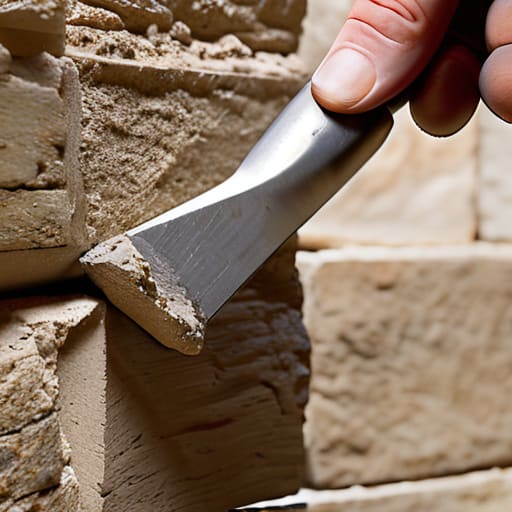
- 1. Before you even think about opening a bag of render, you need to strip that wall back to something honest. If you’ve got old, flaking paint, crumbling mortar, or bits of loose brick, none of it matters because the new stuff won’t stick to a lie. Get a stiff wire brush and a hammer and start hacking away until you’re looking at solid, clean masonry. If the substrate is soft or damp, you’re fighting a losing battle before you’ve even started.
- 2. Once you’ve got a clean surface, you have to deal with the suction. If you’re rendering onto old, thirsty bricks, they’ll suck the moisture out of your mix so fast the render will crack and fall off before it’s even set. You need to dampen the wall down—not soaking it, just enough to take the edge off that thirst—or better yet, apply a bonding agent. If you skip this, you aren’t building a wall; you’re just painting it with mud.
- 3. Now, let’s talk about the scratch coat. This isn’t the pretty finish people see in the brochures; this is the backbone of the whole job. You want a relatively coarse mix that you can spread thick enough to fill the voids in the brickwork. Once it’s on, you need to key it—scratch it with a comb or a piece of wire—to give the next layer something to bite into. If that scratch coat isn’t solid, the whole thing is just a decorative shell waiting to peel.
- 4. While that first layer is curing, you need to be checking your weather. I’ve seen too many lads start a job on a blistering afternoon only to watch it turn to dust by sunset. If it’s too hot, you need to shade the wall or mist it down; if it’s too cold, you’re looking at frost damage. You can’t rush the chemistry, and you certainly can’t argue with the sun.
- 5. Once the scratch coat is firm, it’s time for the second coat, often called the float coat. This is where you start to level things out and get the surface true. You aren’t aiming for perfection yet, but you are aiming for a flat plane. Use a straight edge to make sure you aren’t building up high spots or leaving hollows, because every mistake you make now is just going to be magnified later when you try to finish it.
- 6. The final step is the finish coat, and this is where people usually get impatient and ruin everything. You need a finer mix here, applied thin and smooth. Use a sponge or a float depending on the look you’re after, but for heaven’s sake, stop working it once it starts to set. If you keep fussing over a patch that’s already tightening up, you’ll pull the render right off the wall and end up with a mess that looks like a topographical map.
The Hidden Math Getting Your Sand and Cement Proportions Right
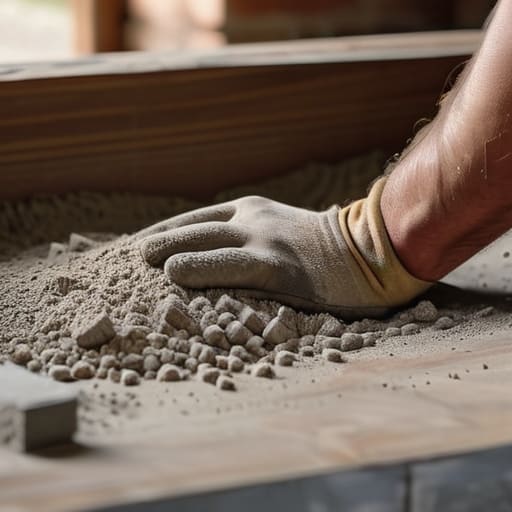
Now, listen. You can have the best trowels and the finest sand in the county, but if your mix is rubbish, you’re just wasting your time and my patience. Everyone wants to rush the job, but the cement render mix ratio is where most amateurs trip up. They think more cement means a stronger wall. That’s a load of nonsense. If you go too heavy on the cement, the mix becomes too brittle; it’ll shrink as it dries and pull itself apart before you’ve even finished your tea. You aren’t building a dam; you’re coating a surface.
For a standard scratch coat, I’ve always stuck to a 4:1 or 5:1 ratio of sand to cement. You need enough “glue” to grab the brickwork, but enough sand to give it some breathing room. If you’re preventing render cracking, you have to respect the chemistry. I’ve seen lads add extra cement to “beef it up” only to watch the whole face of the wall flake off six months later. Get your sand and cement proportions right from the start, or don’t bother picking up the bucket at all.
Beyond the Trowel Essential Rendering Tools and Equipment for Stability
Listen, you can buy the fanciest trowel in the shop, but if you’re working with a bucket and a broken stick, you’ve already lost the battle. Most lads think they can just wing it with whatever’s in the van, but proper rendering tools and equipment are what stand between a smooth finish and a patch job that looks like a topographical map. You need a decent hawk to hold your mix, a straight edge that isn’t warped, and a sponge that hasn’t been left to rot in the sun. If your tools are rubbish, your application will be uneven, and once that render sets, you aren’t fixing it without starting from scratch.
More importantly, don’t overlook the small stuff that actually keeps the structure sound. I’ve seen too many jobs where they skip the proper gauge or use a dirty bucket, which messes up your sand and cement proportions before you’ve even touched the brickwork. If your mix is inconsistent because your measuring gear is a joke, you’re inviting trouble. It’s not just about the aesthetic; it’s about ensuring the bond holds when the weather turns. Get the right kit, keep it clean, and stop treating your tools like an afterthought.
The Three Things They Won't Tell You in the Instruction Manual
- Stop looking at the surface and start looking at the substrate. If that brickwork is crumbling, dusty, or soaked through like a sponge, your render is dead on arrival. You can use the most expensive mix in the world, but if the wall underneath isn’t clean, dry, and structurally sound, that render will peel off in sheets before the first frost hits.
- Watch the sky, not just the clock. I’ve seen too many lads start a job on a baking hot afternoon only to watch the render flash-dry and crack like a desert floor. If the sun is beating down or there’s a stiff wind blowing, you’re asking for trouble. You want a steady, cool environment—not a race against the heat.
- Don’t be that person adding water to the mix just to make it “slap” better. I know the temptation when the mix feels a bit stiff, but you’re just diluting the strength and inviting shrinkage cracks. If it’s too dry, adjust your proportions, don’t just drown it. A wet mix is a weak mix, plain and simple.
- Respect the bond by using a primer or a bonding agent if the wall is stubborn. You can’t just slap wet cement onto a smooth surface and expect it to stay. If the wall is particularly dense or non-porous, you need to give that render something to bite into. Skipping the prep work here is just a fancy way of scheduling a repair job for next month.
- Manage the curing like your life depends on it. Once the render is on, the job isn’t done. You need to control how it dries. If it dries too fast, it cracks; if it stays wet too long, it can soften. You need to keep a close eye on it—dampen it down slightly if it’s drying too quick, but don’t turn it into a soup. It’s about patience, not speed.
The Hard Truth About a Good Finish
At the end of the day, you can have the fanciest hawk and trowel in the shed, but it won’t save a job that was rushed. If you’ve ignored the substrate prep, messed up your sand-to-cement ratios, or tried to push a render onto a wall that was baking in the midday sun, you’re just painting over a disaster. Remember, rendering isn’t about how smooth you can make it look in the first ten minutes; it’s about ensuring that once it sets, it stays put. You’ve got to respect the mix, watch the weather, and never—under any circumstances—skip the preparation just to get the job finished before tea time. The prep is the job.
I’ve spent forty-three years watching men take pride in a shiny finish only to see it flake off six months later because they were too lazy to check the moisture levels. Don’t be that man. There is a real, quiet satisfaction in standing back from a wall and knowing it’s solid because you did the invisible work right. It’s not about being fast; it’s about being correct. If you do it by the book, you won’t be getting any phone calls in two years asking why your wall is shedding skin. Do it once, do it right, and let the work speak for itself.
Frequently Asked Questions
My wall is already showing hairline cracks; can I just render straight over them or do I need to fix the substrate first?
If you render straight over those cracks, you’re just painting a pretty picture on a sinking ship. Those hairline cracks are telling you the substrate is moving or drying unevenly. If you don’t address why they’re there—whether it’s a shifting foundation or a lack of movement joints—that new render will crack in exactly the same spots within a month. Find the source, stabilize the base, and maybe rake them out and fill them properly first.
Is it worth it to use a bonding agent, or am I just adding another layer that's going to peel off if the wall isn't clean?
Listen, if you’re asking that, you’re already thinking the right way. A bonding agent isn’t a magic fix for a filthy wall. If there’s dust, efflorescence, or loose grit on that substrate, you can pour the best SBR or PVA in the world on it and it’ll still peel off like old wallpaper. Clean the hell out of it first. Once it’s spotless, use the agent. It’s not an extra layer; it’s the glue that makes sure your hard work actually stays put.
How do I know if the weather is actually too cold or too dry to start, because I don't want to spend all day on a render that's going to bake and crack by tea time?
Look, don’t just trust the weather app on your phone; look at the sky and feel the air. If the sun is beating down and there’s a stiff breeze, that render is going to bake and crack before you’ve even finished your tea. If it’s bone-dry, get the hose ready or don’t bother. Conversely, if the temperature is dropping toward freezing, walk away. If it can’t cure, it won’t bond.