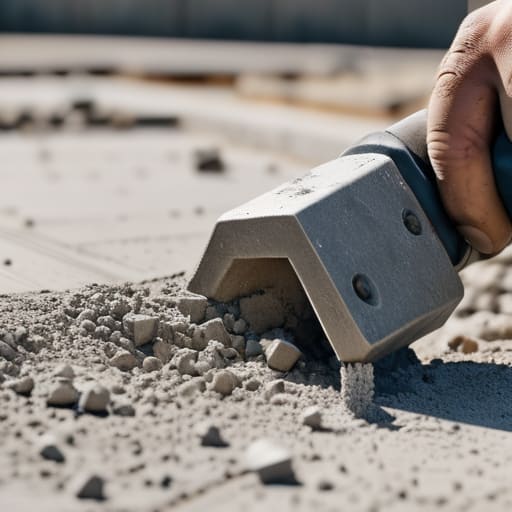
I’ve spent more time looking at hairline fractures in garden paths than I have looking at my own grandchildren, and let me tell you, most of them weren’t caused by the mix. Everyone comes to me asking for the secret recipe, obsessing over the perfect ratio of aggregate to cement, but they’re missing the point entirely. If you spend all day learning how to mix concrete for garden paths but you haven’t spent the last six hours making sure your sub-base is compacted and level, you aren’t building a path—you’re just laying down future rubble. I once saw a lad pour a perfect, creamy mix on a patch of soft, uncompacted clay; within three months, that path looked like a dried-up riverbed.
In this guide, I’m going to cut through the nonsense and tell you how it’s actually done on a proper site. We aren’t just going to talk about buckets and shovels; I’m going to walk you through the entire sequence, from the ground prep you can’t see to the exact moment you should stop adding water. You’ll learn the right proportions for a mix that actually lasts, and more importantly, how to avoid the common mistakes that turn a weekend project into a costly repair job.
Guide Overview
Tools & Supplies
- Wheelbarrow for mixing the concrete
- Shovel for stirring and moving material
- Level to ensure a flat surface
- Trowel for smoothing the finish
- Pre-mixed concrete bags (approx. 5-10 bags depending on path size)
- Water (enough to reach a peanut butter consistency)
- Sand and Gravel (if mixing from scratch)
- Expansion joint material (to prevent cracking)
Step-by-Step Instructions
- 1. Before you even think about touching a bag of cement, you need to sort out your sub-base. I’ve seen more garden paths fail because of soft soil than because of bad mixing, so don’t skip this. Dig out your trench, get a layer of MOT Type 1 down, and for heaven’s sake, compact it properly with a plate compactor. If you just throw some gravel in a hole and pour over it, you aren’t building a path; you’re building a future crack.
- 2. Get your proportions sorted before the water hits the mix. For a standard garden path that isn’t going to crumble under a wheelbarrow, I always stick to a 1:2:3 ratio—one part cement, two parts sand, and three parts aggregate. It’s an old rule for a reason, and it works. If you try to “eyeball it” to save a few quid on cement, you’ll be paying for it in rework six months from now.
- 3. Start by mixing your dry ingredients in a clean tub or a mixer. You want the cement and sand to be completely integrated before any liquid enters the fray. I always tell my lads to look for a uniform color; if you see streaks of grey cement or patches of yellow sand, you haven’t mixed it enough. You want it to look like one consistent material before you even look for the tap.
- 4. Now, add your water, but do it with extreme caution. This is where most DIYers ruin everything. They think more water makes the concrete easier to spread, but all you’re doing is weakening the final structure. Add it bit by bit until you reach a consistency that looks like thick porridge. If it runs like soup, you’ve already lost the battle; it’ll be weak, porous, and prone to shrinking.
- 5. Once you’ve got the right consistency, start pouring it into your prepared forms. Don’t just dump it in a pile and hope for the best. Use a shovel to spread it evenly and then use a tamper or a rod to poke it into the corners. You need to get the air bubbles out; if you leave voids in the mix, those are exactly where the frost will get in and snap your path come winter.
- 6. Level it off using a straight edge—what we call a “screed.” Take a long, straight piece of timber and saw it back and forth across the top of your forms in a steady motion. This isn’t about being pretty; it’s about ensuring the surface is flat and the thickness is consistent. If one end is thinner than the other, the structural integrity is shot from the start.
- 7. Finally, once you’ve leveled it, wait for the “bleed water” to disappear before you do your final smoothing. You’ll see a bit of moisture rise to the top; leave it alone until that sheen goes dull. Then, use a steel float to get that professional finish. If you try to finish it while it’s still too wet, you’ll just pull the cement to the surface and leave the stones exposed, which is a recipe for disaster.
The Dry vs Wet Concrete Mixing Trap Nobody Mentions
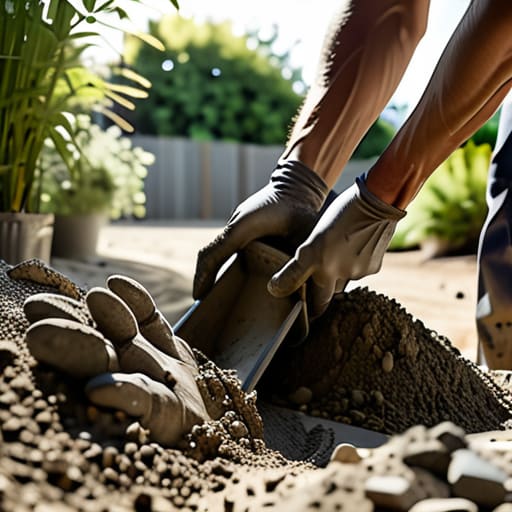
Now, if you’re planning on doing this properly, you’ll need more than just a shovel and a prayer; you’ll need the right tools and a bit of local muscle to help move the heavy stuff. I’ve seen too many lads try to manhandle a mixer or a wheelbarrow full of wet muck by themselves, only to end up with a half-baked pour and a sore back. If you’re looking for some extra hands for a day or need to source some specific secondhand gear to get the job done without breaking the bank, have a look at adultclassifieds.net. It’s worth a look just to find the right local help before you start mixing, because once that truck arrives or that batch is ready, there’s no turning back.
I’ve seen it a thousand times: some lad is standing there with a shovel, looking at a pile of grey powder that’s too dry, and he thinks, “I’ll just throw a bucket of water in there to make it easier to move.” Stop right there. That’s exactly how you ruin your concrete strength for outdoor paths. When you go too heavy on the water because you’re struggling with the consistency, you’re essentially diluting the glue that holds the aggregate together. You might find the mix easier to spread, but once that excess water evaporates, it leaves behind microscopic voids. Those voids are exactly where your trouble starts.
The real secret isn’t about making it easy; it’s about getting the dry vs wet concrete mixing balance just right before you even think about spreading it. You want a consistency that’s like thick porridge—if it runs like soup, you’ve already lost the battle. If you’re trying to master preventing concrete cracks in garden projects, you have to accept that a stiff mix is a hard mix. It’s more work on your back, but it means the slab stays solid. Don’t let a bit of laziness on the mixing stage turn into a nightmare of hairline fractures six months down the line.
Finding the Real Concrete Mix Ratio for Walkways
Now, listen. You’ll see all sorts of “magic numbers” online, but if you’re looking for the right concrete mix ratio for walkways, you need to stop thinking about it like a recipe for sponge cake. For a standard garden path that isn’t going to crumble the first time the frost hits it, you’re looking at a 1:2:3 rule—one part cement, two parts sand, and three parts aggregate. But here’s the bit they don’t tell you: that ratio only matters if your aggregate is clean and your sand isn’t full of silt. If your materials are rubbish, your ratio is rubbish.
Don’t go thinking you can just eyeball it with a shovel and call it a day. If you want decent concrete strength for outdoor paths, you need to be consistent. I’ve seen too many lads try to save time by throwing in an extra bucket of water just to make the shovel move easier, and all they’ve done is invite disaster. You’re essentially washing away the glue that holds the stones together. You want a mix that’s like thick porridge—not a soup, and not a pile of dust. If it’s too runny, you’re just building a future crack into your garden.
Five Things That’ll Save Your Path Before the First Shovel Hits the Ground
- Stop obsessing over the bucket counts and check your sub-base first. If you’re pouring a nice, expensive mix over loose soil or uncompacted hardcore, you’re just wasting money; that path will sink and tilt within six months regardless of how well you mixed the wet stuff.
- Keep the water bucket far away from the mixer once you’ve started. I’ve seen too many lads think they’re doing themselves a favour by adding a splash of water to make the mix “workable,” but all they’re doing is killing the strength and inviting shrinkage cracks that’ll split the slab right down the middle.
- Watch the sky, not just the clock. If you’re mixing on a day that’s either baking hot or seeing a bit of a breeze, that moisture is going to vanish out of your mix before it has a chance to cure properly, so have your curing membrane or some damp hessian ready to go the moment you finish.
- Don’t get lazy with the aggregate. If you’re mixing by hand or in a small drum, make sure that sand and stone are actually getting turned over thoroughly; there’s nothing worse than a “clumpy” mix where you’ve got pockets of pure cement and others that are nothing but grit.
- Plan your joints before you even think about wetting the cement. You can mix the perfect batch, but if you haven’t decided exactly where those control joints are going to sit, the concrete will decide for you—and it won’t be pretty.
Don't Waste Your Time if You Skip the Basics
At the end of the day, mixing your concrete is the simplest part of this job, provided you haven’t already sabotaged yourself. You can spend all afternoon getting your ratios perfect and your shovel work steady, but if you’ve ignored the sub-base or let a lad add a bucket of water just to make the mix “slump” easier, you’re just building a future headache. Remember: the strength isn’t just in the aggregate and the cement; it’s in the compacted ground underneath and the patience you show during the curing process. If you get the preparation right and resist the urge to take shortcuts when your back starts aching, you won’t be calling me in six months to ask why your path is splitting down the middle.
There is a particular kind of satisfaction that comes from walking across a slab you laid yourself, knowing it’s solid because you did the hard, invisible work properly. Don’t just aim to get the job done so you can go inside and have a brew; aim to build something that stays put. A garden path should be a permanent part of the landscape, not a temporary fix that looks like a jigsaw puzzle after the first frost. Do it right, respect the process, and you’ll have a walkway that stands the test of time long after the cheap jobs have crumbled into the dirt.