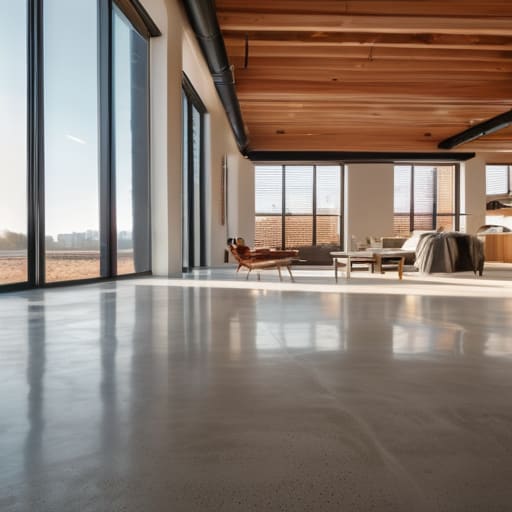
I’ve spent forty-three years watching lads stare at a concrete mixer like it’s a magic wand, thinking that if they just order the right grade, the job is done. It’s nonsense. You can buy the most expensive mix in the country, but if you haven’t spent the morning obsessing over your compaction or checking the moisture in your sub-base, you’re just pouring money into a hole that’s going to crack by Christmas. Most people looking for a “complete guide to concrete floors” are searching for fancy finishes or expensive additives, but they’re looking in the wrong direction. They’re looking at the surface, when they should be looking at the dirt.
I’m not here to sell you on some glossy, magazine-style dream. I’m going to give you the truth from someone who has spent more time on his knees in the mud than in a dry office. This isn’t a textbook; it’s a no-nonsense breakdown of what actually matters: the sub-base, the weather, and the curing. I’ll show you why the hour before the truck arrives is more important than the pour itself, so you don’t end up calling me in six months to ask why your floor is splitting apart.
Table of Contents
Why the Sub Base Dictates Your Floor Flatness and Levelness Standards
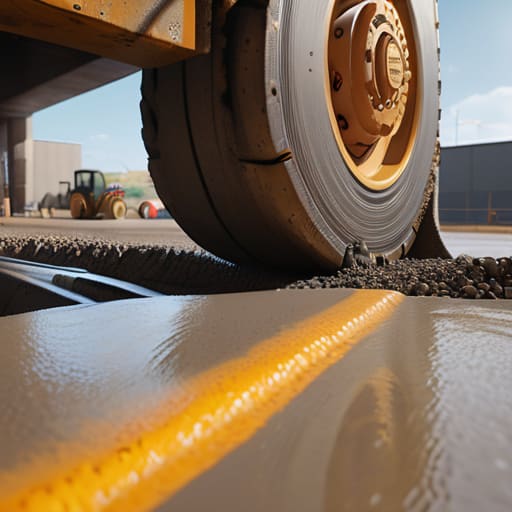
You can buy the most expensive mix in the country and hire the best finishers in the county, but if your sub-base is a mess, you’re just pouring money into a hole. I’ve seen it a thousand times: a crew arrives, the truck is idling, and they start spreading concrete over ground that hasn’t been compacted properly. It doesn’t matter how much you swear you’ve leveled it; the moment that weight hits, the ground settles unevenly. You’ll end up with a wavy surface that no amount of power trowelling can fix. If you want to meet actual floor flatness and levelness standards, you have to stop looking at the surface and start looking at the dirt.
A soft or inconsistent sub-base is the primary culprit behind preventing concrete cracks from being a realistic goal. If you’ve got pockets of organic matter or poorly compacted hardcore, the slab will move. And when the slab moves, it snaps. Whether you’re looking at industrial vs residential concrete flooring, the rule remains the same: the sub-base is the foundation of your geometry. If the base isn’t dead-level and rock-solid, your finished floor is nothing more than a ticking time bomb.
The Concrete Slab Installation Process More Than Just Pouring Mud
Most people think the concrete slab installation process starts when the chute opens on the back of the truck. They’re wrong. By then, the real work is already half-done or, if you’ve been lazy, already ruined. You’ve got to have your formwork braced tight enough to hold the weight, your reinforcement—whether it’s mesh or rebar—lifted off the ground on proper chairs so it actually sits in the middle of the pour, and your screeding tools ready to go. If you’re standing around waiting for the driver to find his way to the site without a plan for where that wet mix is going, you’re just inviting a disaster.
Once the mud is out, the clock starts ticking. You’ve got a narrow window to get your bull float over it, strike it off, and get those edges neat. This is where people start getting sloppy, especially when they’re trying to rush through decorative concrete floor finishes. They forget that you can’t just slap a finish on top of a surface that hasn’t been properly consolidated. If you don’t manage the bleed water and you start trowelling too early, you’re just trapping moisture under a skin that’ll flake off in six months. It’s about patience and timing, not just moving fast.
Five Things That’ll Save Your Slab (And Your Reputation)
- Stop the “Watering Down” Habit. I’ve seen it a thousand times—a lad gets a stiff mix and thinks he’s being helpful by adding a hoseful of water to make it spread easier. You aren’t making it easier; you’re just killing the strength and inviting shrinkage cracks. If the mix is too dry, tell the driver, don’t fix it with a garden hose.
- Watch the Weather, Not the Clock. If the sun is beating down and the wind is picking up, that surface is going to dry out faster than you can screed it. You’ll end up with plastic shrinkage cracks before the concrete has even set. You either cover it, mist it, or you wait for a better day.
- Don’t Skimp on the Joints. A crack is going to happen; physics won’t let it not. Your job isn’t to stop the movement, it’s to tell the concrete where to crack. If you don’t cut your control joints deep enough or space them right, the slab will choose its own path, and it won’t be where you want it.
- Curing is Where the Work Actually Happens. Most people think once the surface looks “set,” the job is done. Wrong. If you don’t keep that moisture in—whether it’s through curing compounds or wet burlap—you’re just letting the strength bleed out into the air. A slab that dries too fast is a slab that fails.
- Check Your Reinforcement Before the Mud Hits. I don’t care how much mesh or rebar you’ve bought; if it’s sitting on the dirt at the bottom of the pour, it’s doing absolutely nothing. It needs to be in the middle of the slab, held up by chairs, not dragged along by the rake. If it’s not in the right place, don’t bother pouring.
The Lesson Learned the Hard Way
Look, if you’ve followed this through, you know the truth: a concrete floor isn’t just a slab of grey mud sitting on the surface. It’s a system. If you try to skip the heavy lifting of compacting that sub-base, or if you think you can cheat the curing process by letting it dry out too fast in the sun, you’re just building a future headache. You can buy the most expensive mix in the country, but if your groundwork is soft and your joints are poorly placed, that money is being poured straight into a crack. Remember, the pour is the easy bit; it’s the preparation and the patience that actually keep the floor intact.
At the end of the day, I don’t care how pretty the finish looks when the truck leaves. I care about how that slab looks in five years when the ground has settled and the seasons have changed. Do the job right the first time—not because it’s easy, but because doing it twice is a waste of everyone’s time. If you respect the sequence, respect the weather, and respect the ground underneath, you’ll walk away with a floor that lasts. If you don’t, well, don’t be surprised when I’m the one you’re calling to ask why it’s splitting.
Frequently Asked Questions
How do I know if my sub-base is actually compacted enough, or if I'm just pressing down on loose rubbish?
Look, you can’t just eyeball it and hope for the best. If you’re just pressing down on loose rubbish, you’re building a future crack. Get a heavy-duty plate compactor—not one of those little vibrating things meant for paving slabs—and run it until the ground feels solid under your boots. If the machine bounces or you see the material shifting sideways instead of packing down, it’s not ready. If it doesn’t ring true, don’t pour.
When the driver starts offering to add water to the mix to make it "workable," how do I stop him without causing a scene?
Look, I’ve seen it a thousand times. The driver sees you struggling with a stiff mix and thinks he’s doing you a favour. He’s not. He’s just turning your expensive strength into expensive gravel.
What’s the real way to tell if a crack is just a bit of character or a sign that the whole slab is going to heave?
Look, if it’s a hairline crack that stays where it is, it’s likely just shrinkage—standard character. But if that crack is widening, or if you see the edges lifting like a hinge, you’ve got a structural problem. That’s movement. Check the sub-base; if the ground’s shifting or moisture is playing games underneath, that slab is heaving. A crack is a symptom, but a lifted edge is a death sentence for the floor.



