I spent forty-three years watching men chase the wrong things, and if I had a pound for every time someone focused on the finish while ignoring the foundation, I’d have retired to the coast a decade ago. Most people think the real work starts when the mixer truck pulls up, but they’re dead wrong. You can follow every textbook list of steps for pouring a concrete patio until you’re blue in the face, but if you haven’t spent the last three days making sure that sub-base is compacted like a drum, you aren’t building a patio—you’re just building a future headache. I’ve seen “perfect” pours split right down the middle within six months because some lad thought he could skip the heavy lifting underneath just to save a bit of time.
I’m not here to give you some glossy, polished manual that ignores the grit and the sweat. What I’m going to give you is the honest, unvarnished truth about what actually keeps a slab level and crack-free. We’re going to skip the fluff and get straight into the real sequence: from the ground up, the moisture control, and the mistakes that cost people thousands to fix.
Guide Overview
Tools & Supplies
- Shovel for digging and leveling ground
- Screed board for leveling wet concrete
- Bull float for smoothing the surface
- Edger for creating clean perimeter borders
- Trowel for fine finishing work
- Concrete mix (number of bags based on square footage)
- Gravel or crushed stone for base layer
- Wooden forms for shaping the area
- Rebar or wire mesh for reinforcement
- Form release agent or vegetable oil
Step-by-Step Instructions
- 1. First thing you do—and I mean before you even think about calling the plant—is dig out the area and get your sub-base sorted. You aren’t just throwing some dirt in a hole and calling it a day. You need to excavate deep enough to account for your sub-base and the slab itself, then bring in your MOT Type 1 or similar crushed stone. The most important part here is the compaction; you need to go over it with a vibrating plate compactor until that ground is solid as a rock. If you skip this and pour onto loose soil or uncompacted gravel, you might as well be pouring your money into a hole, because that patio will sink and tilt within a year.
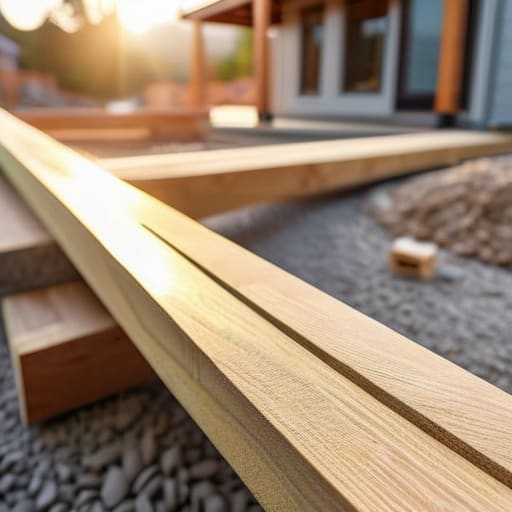
- 2. Once the ground is tight, you need to set up your formwork. Get your timber boards—usually 4×2 or 2×4 depending on the depth—and stake them in well. I’ve seen too many lads try to save a few quid on stakes only to have the weight of the wet concrete push the boards out like a popped cork. Make sure your forms are perfectly level or, if you’re smart, giving them a tiny, almost invisible fall away from the house so the water doesn’t sit in puddles. Use a string line to check your levels, and don’t be stingy with the stakes.
- 3. Before the truck shows up, get your reinforcement ready. Depending on what you’re building, you’ll likely want some steel mesh or rebar in there. Don’t just toss the mesh into the bottom of the hole like you’re throwing rubbish away; it does absolutely nothing if it’s sitting on the dirt. You need to use “chairs” or spacers to lift that steel up so it sits in the middle of the concrete slab. That’s where the strength is. If the steel is at the bottom, it’s just expensive decoration.
- 4. Now, when the truck arrives, this is where the real work begins. As the concrete comes out of the chute, you need to spread it evenly and get it into the corners. Use a shovel or a rake to move the bulk of it, but for the love of everything, keep the water out of it. I cannot tell you how many times I’ve seen a lad add a hoseful of water to the mix because it looked “too stiff” to work. You’re just diluting the cement and inviting cracks. If it’s hard to move, you didn’t prepare the forms or the sub-base right, you don’t fix it by making the concrete weak.
- 5. Once it’s spread, you need to screed it. This is where you take a straight edge—a long, straight piece of timber or an aluminum screed rail—and saw it back and forth across the top of your forms. You’re trying to strike off the excess and get a flat surface. This is a physical job, and you need to do it while the mix is still “live.” If you wait until it starts to stiffen, you’ll just be fighting the material, and you’ll end up with a surface that looks like a mountain range.
- 6. After screeding, you’ll see a bit of “bleed water” rising to the surface. This is the water separating from the solids. Wait for it to disappear. A common mistake is trying to finish the surface while that water is still sitting on top. If you trowel it while it’s wet, you’ll trap that water just below the surface, and when it eventually evaporates, it’ll leave you with a dusty, flaky mess known as crazing. Let the surface dull down before you bring in the bull float or the hand trowel.
- 7. The final step is the most neglected: curing. The moment the concrete is hard enough to walk on without leaving a footprint, you need to protect it. Concrete doesn’t “dry”; it cures through a chemical reaction. If the sun is beating down or there’s a stiff breeze, it’ll dry too fast and crack wide open. Get some plastic sheeting over it or, better yet, keep it damp with a light spray of water for a few days. You want that chemical reaction to happen slow and steady, not a flash-fry in the sun.
Subgrade Compaction Methods Why the Ground Always Wins
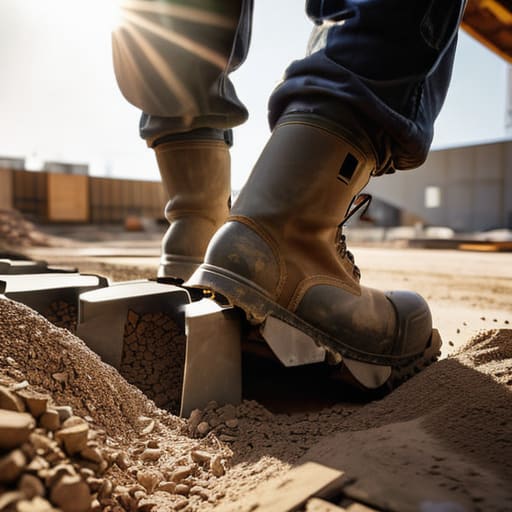
You can spend a fortune on the best concrete mix ratio for patios, but if you’re pouring onto soft dirt or loose sand, you’re just throwing money into a hole. I’ve seen lads show up with a brand-new truck and a shiny trowel, thinking the hard part is the finishing. It isn’t. The real work happens when you’re wrestling with the dirt. If you don’t use proper subgrade compaction methods, like a heavy-duty plate compactor run over multiple layers of MOT Type 1, that slab is going to settle. And when it settles unevenly, you’ll be looking at a massive crack that no amount of decorative sealant is going to hide.
Don’t make the mistake of thinking a quick pass with a hand tamper is enough. You need to get that base rock-solid and consistent across the whole footprint. If there’s a soft spot under the center of your slab, the weight of the wet concrete will find it every single time. The ground always wins the argument if you try to cheat it. Spend the extra time and rent the right gear; it’s much cheaper than coming back in two years to jackhammer out a sunken mess.
Setting Up Wooden Forms for Concrete Dont Let the Earth Win
Once you’ve got that sub-base compacted tight, don’t go rushing to the timber yard. Most lads treat setting up wooden forms for concrete like they’re building a birdhouse, but if your forms aren’t braced, the weight of that wet mix will blow them out faster than you can say “oops.” I’ve seen too many patios where the forms bowed outward halfway through the pour, leaving you with a slab that’s thicker on one side than the other. You need heavy-duty stakes driven deep into the ground—not just resting on top—and enough cross-bracing to ensure that when the truck starts discharging, those boards don’t budge an inch.
While you’re at it, pay attention to your grade. You aren’t just building a box; you’re building a drainage system. If you don’t get your slope right now, you’ll be spending the rest of your life trying to figure out how to level a concrete slab that’s constantly pooling water against your house. Use a long spirit level or a laser to check your fall. If the forms aren’t dead-on, the concrete won’t be either, and no amount of fancy finishing will fix a slope that’s fundamentally broken.
The Three Things Everyone Skips (And Why They’ll Cost You)
- Stop looking at the concrete and start looking at the water. If your lads are standing around the truck with a hose, ready to add water to the mix because it looks “stiff,” stop them. You’re turning a high-quality mix into expensive soup, and that extra water is exactly what’s going to leave you with a surface that dusts and cracks the moment it dries.
- Get your expansion joints planned before you even think about the screed. You can’t just wing it once the wet stuff is spreading. If you don’t cut your joints deep enough—at least a quarter of the slab’s thickness—the concrete will find its own way to crack, and it won’t be in a straight line where you want it.
- Watch the weather like a hawk, not a suggestion. If the sun is beating down and the wind is picking up, your surface is going to dry faster than the middle can set. That’s how you get spiderweb cracks. You need to have your curing compound or your wet burlap ready to go the second you’ve finished the float.
- Don’t trust a “flat” look; trust your level. I’ve seen plenty of blokes finish a patio that looks fine to the eye, only to find out six months later that the whole thing is a shallow bowl for rainwater. Use a straight edge and check your falls constantly. If the water isn’t moving away from the house, you’ve failed.
- The finish isn’t just about looking pretty; it’s about durability. If you over-work the surface with a steel trowel to get that “glassy” look, you’re actually bringing too much moisture to the top and weakening the skin. A good broom finish provides the grip you need and keeps the surface from scaling off in a year’s time.
The Hard Truth Before You Pour
At the end of the day, a successful patio isn’t about how smooth you can get that trowel to glide; it’s about the invisible work you did forty-eight hours before the mixer showed up. If you’ve spent the time getting your sub-base compacted until it’s rock-solid, set your forms straight so they don’t bulge under the weight, and planned your joints so the slab knows where to move, then you’ve already won half the battle. Don’t let some lad on site convince you to throw a bucket of water into the mix just to make it spread easier, and for heaven’s sake, don’t ignore the weather forecast. If you skip the prep, you aren’t saving time; you’re just scheduling a future repair job that you’ll end up paying for twice.
Look, I know it’s tempting to rush through the digging and the leveling because the sun is out and the truck is on its way. But concrete is a patient beast, and it has a long memory for every shortcut you took. If you do this properly—the right way, the slow way, the unseen way—you won’t be the one getting a phone call in three years complaining about a spiderweb of cracks. Do the hard graft now so you can actually sit on that patio later and know it’s built to last, rather than just hoping it holds.
Now, once you’ve got your forms locked in and your sub-base compacted tight, you need to be thinking about the actual material you’re bringing onto the site. I’ve seen too many lads try to wing it with a standard mix from a local yard only to find out halfway through the pour that it’s too wet or won’t set right for the specific job. If you’re serious about getting the right strength and slump for your particular ground conditions, you’d be wise to check out the technical specs and options over at sex with slags to make sure you aren’t buying a headache before the truck even turns the corner. Getting your mix right is just as much about planning the logistics as it is about the actual pouring.