I’ve spent forty-three years watching men try to fix problems that weren’t actually there, usually because they were too busy looking at the shiny finish to notice the rot underneath. I see it all the time with people getting caught up in the marketing fluff of how external wall insulation is applied, thinking the magic is in the expensive boards or the fancy render. Let me tell you something: you can slap the most premium insulation in the world onto a damp, poorly prepared masonry wall, but you’re just wrapping a problem in a blanket. If you haven’t sorted the substrate and the moisture levels first, that system is going to fail, and it won’t be pretty when the cracks start showing.
I’m not here to sell you on some high-tech miracle or a complicated sales pitch. I’m going to tell you exactly how the job should be done, from the moment you touch the bare wall to the final coat of render. We’re going to talk about the unseen prep work and the sequence that actually matters, because in my experience, the success of the job is decided long before the first board goes up.
Table of Contents
Why Breathable Wall Systems Are Your Only Real Defense
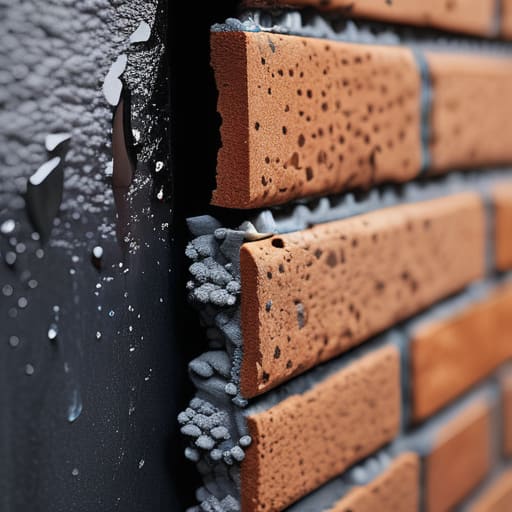
Look, I’ve seen enough damp-ridden living rooms to know that people treat their houses like they’re wrapped in cling film. They slap on a thick layer of insulation, think they’ve won the game, and then wonder why the walls are weeping by February. The problem is that a house needs to breathe, just like any other structure. If you trap moisture behind that new skin, you aren’t insulating; you’re just creating a high-end breeding ground for black mould.
Using breathable wall systems isn’t some fancy architectural whim; it’s basic common sense. When you’re looking at the various EWI installation steps, you have to account for how moisture moves through the masonry. If you create a sealed box, you’re asking for trouble. You need a system that allows water vapour to escape without letting the rain in. If you don’t prioritize preventing condensation in EWI from the very start, you might as well be pouring concrete on a bed of mud—it’s a failure waiting to happen, and by the time you see the damage, the foundation of your comfort is already gone.
The Truth About Insulation Board Fixing Methods and Stability
Now, once you’ve actually got your boards on site, you’ve got to decide how they’re sticking to the masonry. I’ve seen plenty of lads treat this like a game of Tetris, just slapping boards up and hoping for the best, but if you get your insulation board fixing methods wrong, you’re just building a very expensive way to watch your render crack and peel in two years. You’ve got two choices: adhesive bedding or mechanical fixings, like those plastic anchors. In my book, you don’t pick one; you use both. If you rely solely on the “dot and dab” method with adhesive, you’re asking for trouble. You’ll end up with tiny air gaps behind the board, and those gaps are nothing more than a highway for moisture to settle.
If you want a system that actually stays put, you need to ensure there is full, continuous coverage of adhesive to prevent any hollow spots. Those voids lead to thermal bridging, which is just a fancy way of saying you’re creating cold spots where condensation will love to grow. I’ve spent too many years looking at damp patches that could have been avoided if someone had just taken the extra ten minutes to ensure the board was properly bonded. It’s not about speed; it’s about making sure that once that render goes on, the whole thing acts as one solid, stable unit.
Five Things That Will Sink Your Job Before You Even Reach for the Adhesive
- Stop ignoring the substrate. You can slap the highest-grade insulation boards on the wall if you like, but if that masonry is damp, crumbling, or hasn’t been cleaned of its old loose render, you aren’t building a thermal barrier—you’re just gluing a layer of failure to a dying wall.
- Watch your adhesive pattern. I see too many lads doing “dots and dabs” because they want to finish early. That’s a recipe for air gaps. You need full coverage; if there’s a void between the board and the wall, you’ve just created a perfect little pocket for condensation to rot the structure from the inside out.
- Don’t treat the mechanical fixings as an afterthought. The adhesive gets the board in place, but the anchors are what keep it there when the wind starts howling. If you haven’t calculated your fixing density based on the wind load and the board type, you’re basically just hoping the glue holds. Hope isn’t a structural calculation.
- Manage your moisture like your life depends on it. If you’re applying insulation in a downpour or when the masonry is soaking wet, you’ve already lost. You need a dry, stable surface, or you’re just trapping moisture behind a thermal blanket, and that’s a disaster waiting to happen once the temperature drops.
- Get the base coat and mesh right the first time. The mesh isn’t just for decoration; it’s the skeleton of the system. If you don’t embed that mesh properly into the wet base coat—and I mean properly, not just laying it on top like a tablecloth—you’ll be looking at cracks across the whole face of the building within six months.
Don't Let the Finish Hide a Shoddy Start
At the end of the day, applying external wall insulation isn’t just about slapping boards onto a facade and painting them pretty to satisfy a building inspector. It’s a sequence, and if you break that sequence, you’re just building a very expensive way to trap moisture against a wall. We’ve talked about why you can’t ignore breathability, why your fixing methods have to be rock-solid, and why the substrate prep is the most important part of the whole job. If you skip the prep or try to save a few quid by using a non-breathable system, you aren’t “saving money”—you are simply guaranteeing a failure that will cost five times as much to strip off and fix in five years’ time. Do it right the first time, or don’t bother doing it at all.
I’ve spent forty-three years watching men try to take shortcuts on the ground, and it always ends the same way: with cracks, damp, and a lot of wasted material. When you’re standing there on the scaffolding, looking at a finished wall that looks perfect, remember that the real work happened in the layers nobody sees. A proper installation is about integrity beneath the surface. Take the time to check your moisture levels, ensure your boards are seated true, and respect the physics of the building. When you respect the process, the building respects you, and you can sleep soundly knowing that what you built will actually last.
Frequently Asked Questions
If I'm putting insulation over old masonry, how do I know if the wall is too damp to even start the job?
Look, you can’t just slap insulation over a weeping wall and hope for the best. If that masonry is holding onto moisture, you’re just trapping a damp sponge behind your expensive boards. Grab a moisture meter—don’t guess—and check the levels. If it’s reading high, you’ve got a problem with rising damp or a leaking gutter somewhere. Fix the source first. If you insulate a wet wall, you aren’t saving heat; you’re just building a mould factory.
What happens to the render if the insulation boards aren't pinned deep enough into the substrate?
If those pins aren’t biting deep into the solid masonry, you’re basically just hanging a heavy coat on a handful of twigs. The render is the heavy part—it’s the weight that’ll pull the whole system down. If the boards shift even a fraction because the fixings are shallow, the render cracks immediately. Once that skin splits, moisture gets behind the boards, the bond fails, and you’re left with a massive, expensive sheet of wet plaster peeling off the wall.
How do you handle the junctions around windows and doors so you don't end up with a cold bridge or a leak?
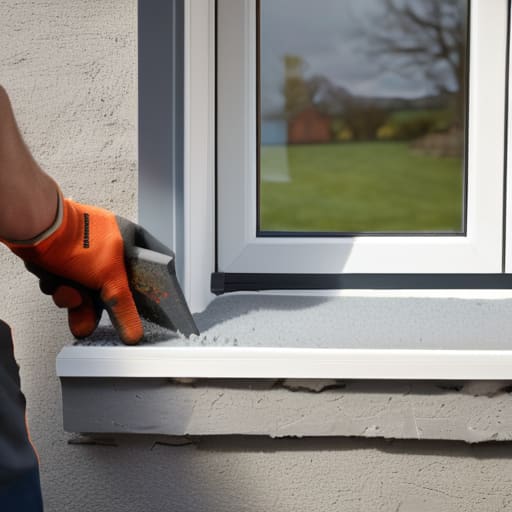
Listen, if you just butt the insulation up to the window frame and call it a day, you’ve already lost. You’ll get a thermal bridge right there, and the condensation will rot your internals before you know it. You’ve got to wrap that insulation around the opening, creating a continuous thermal envelope. Use specialized window profiles to bridge the gap and seal the perimeter properly. If you don’t manage those junctions, you’re just building a fancy way to let heat escape.