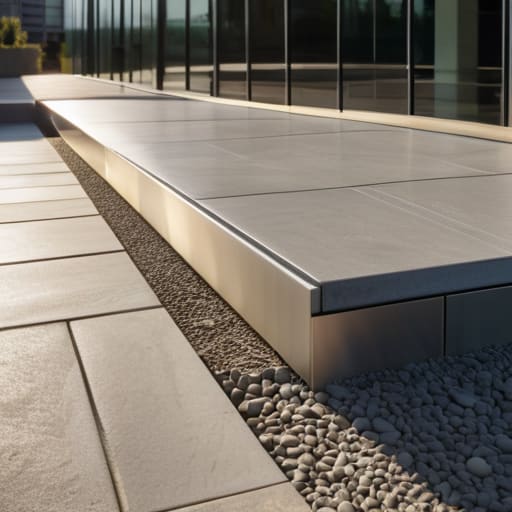
I remember standing on a job site back in ’98, watching a lad try to level out a concrete ramp that was already doomed. He was obsessing over the broom finish, making it look real pretty for the inspector, while the sub-base underneath was nothing more than loose, uncompacted muck. That’s the problem with most people when they talk about how ramps and accessibility are handled; they focus on the surface level because it’s what they can see. They think if the concrete looks smooth and the slope seems right to the eye, they’ve done the job. But I’ve seen enough “compliant” ramps shatter and sink within six months because nobody bothered to look at what was happening beneath the slab.
I’m not here to give you a lecture on building codes or some fancy architectural theory you can’t use on a Tuesday morning. I’m going to tell you how it’s actually done when you want something to stay put. I’ll be walking you through the real sequence—from the compaction of the subgrade to the way you manage the pour and the joints—so you don’t end up with a costly, dangerous mess.
Table of Contents
Why Ada Compliance Standards Fail on Bad Sub Bases
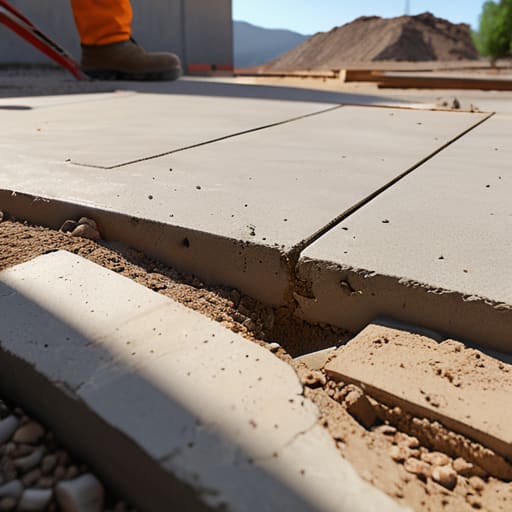
I’ve seen it a hundred times: a contractor gets the forms perfectly level, checks his transit twice, and swears he’s met every single one of the ADA compliance standards on the books. He’s got the right mix, the right finish, and the slope is dead on. But he’s forgotten the most important part—the dirt underneath. If you’re building a ramp on top of loose, uncompacted fill or soil that hasn’t been properly stabilized, all those measurements don’t mean a damn thing.
The moment the seasons change and the ground shifts, that ramp is going to settle unevenly. A slope that was perfectly within the wheelchair ramp slope requirements in July is going to be a dangerous, lopsided mess by January. You can’t just pour a slab and hope for the best; you have to treat the sub-base like the foundation of a house. If you skip the heavy compaction or fail to get a proper layer of MOT Type 1 down, you aren’t building an accessible entrance—you’re building a future liability that’ll crack and tilt before the first inspection.
The Hidden Cost of Ignoring Universal Design Principles
Most people look at a ramp and see a finished surface, but I see a massive liability waiting to happen. When you ignore universal design principles just to shave a few quid off the labor, you aren’t actually saving money; you’re just deferring a massive bill. I’ve seen plenty of sites where they meet the bare minimum of the paperwork but fail the reality test. They’ll get the slope technically right on the drawing, but if they haven’t accounted for how a person actually moves through a barrier-free environment design, that ramp becomes a useless, dangerous obstacle the moment it settles.
The real cost isn’t the concrete—it’s the rework. If you treat accessibility as a “bolt-on” feature at the end of the job instead of building it into the groundwork, you’re asking for trouble. You might hit your ADA compliance standards on paper, but if your transition from the ramp to the landing is uneven or your tactile paving isn’t integrated into the sub-base correctly, you’ll be ripping it all up in two years. Doing it right the first time means thinking about the person using it, not just the inspector checking the box.
Five Things That Actually Make or Break a Ramp
- Stop obsessing over the finish and start obsessing over the compaction. I’ve seen lads spend three hours getting a broom finish looking like silk, only for the whole ramp to tilt two inches to the left six months later because they skimped on the sub-base compaction. If that ground isn’t solid, your expensive concrete is just a heavy layer of moving mud.
- Watch the water like a hawk on pour day. Some lad will want to throw a bucket of water into the mixer or onto the slab to make it “workable” so he can spread it faster. That’s fine for his back, but it’s death for the strength. You add too much water to a ramp, you’re basically pouring a sponge, and a sponge isn’t going to hold up a wheelchair for twenty years.
- Don’t treat the transition like an afterthought. A ramp isn’t just a slope; it’s where it meets the existing ground. If you don’t grade that landing perfectly so it’s dead level, or if you create a lip where the ramp meets the driveway, you haven’t built an accessibility feature—you’ve built a trip hazard.
- Get your joints right the first time. People think because a ramp is a small area they can skip the control joints, but concrete wants to move. If you don’t plan exactly where those cracks are going to happen, the ground will decide for you, and it won’t be in a straight line.
- Check your weather before you call the truck. If you’re pouring a ramp in the midday sun without a plan to cure it, or if you’re doing it right before a frost hits, you’re asking for trouble. A ramp that dries too fast or freezes too soon will be brittle, and a brittle ramp is a failing ramp.
Don't Build a Liability
Look, I’ve seen enough cracked ramps and shifting landings to know that you can’t cheat the physics of the ground. If you ignore the sub-base, skip the proper compaction, or try to save a few quid by watering down the mix to make it easier to spread, you aren’t just cutting corners—you’re building a lawsuit. Accessibility isn’t just about the slope of the concrete once it’s hard; it’s about the unseen layers beneath it that keep that slope steady for the next twenty years. You can follow every regulation in the book on paper, but if your foundation is soft, your compliance is nothing but a temporary illusion.
At the end of the day, I want to leave you with this: do the job right the first time, even when nobody is watching the subgrade. A ramp is more than just a piece of concrete; it’s a way for someone to get where they need to go without fear. When you take pride in the preparation—the digging, the leveling, and the curing—you aren’t just a contractor, you’re building something that actually works for people. Stop worrying about how the finished surface looks in a photograph and start focusing on making sure it stays where you put it.
Frequently Asked Questions
If the sub-base is solid, how do I know if the concrete mix itself is actually strong enough to handle the weight of a motorized wheelchair without scaling or pitting?
Listen, if you’ve done the sub-base right, you’ve won half the battle. For a motorized chair, you aren’t just looking at weight; you’re looking at point loads and surface durability. Don’t just take the driver’s word for it. Ask for the delivery ticket. You want a minimum of 4,000 PSI with an air-entrained mix if you’re outdoors. That air helps prevent the scaling and pitting you’re worried about. If they’re adding water to the truck to make it flow better, tell them to get lost.
How do I manage the curing process on a ramp to make sure the surface doesn't become too slick for someone to actually use once it's dry?
You’re worried about the finish, but you’re thinking about it too late. If you want a ramp that isn’t a skating rink, you don’t just “manage” the curing; you manage the texture during the set. Don’t let the lads over-trowel it to a mirror shine just to make it look pretty. Use a broom finish while the bleed water is still retreating. If you wait until it’s hard to fix a slick surface, you’re just adding more concrete on top of a mistake.
When am I supposed to cut the control joints on a long accessibility run so I don't end up with a massive crack right through the middle of the slope?
You don’t wait until it looks dry; you wait until it’s right. If you wait too long, the shrinkage crack is already decided, and you’re just chasing it. If you do it too early, you’ll crumble the edges and ruin the finish. I always tell my lads: wait until the concrete is hard enough to walk on without leaving a footprint, but still “green” enough to cut like butter. Get a saw out and get it done before the slab decides where it wants to break.



