I remember standing on a site in ’98, watching a lad dump three feet of loose soil into a trench and then proceed to run a vibrating plate over the top of it like he was playing a game of hopscotch. He thought he was doing the job, but I knew right then that the slab we were pouring the next morning was already dead in the water. Most people think compaction is just about making the ground hard, but they don’t realize that if you don’t know how to compact backfill correctly, you’re basically just pouring expensive concrete onto a sponge. You can have the best mix in the world, but if that sub-base hasn’t been worked in tight, controlled lifts, that ground is going to move, and your finished work will follow it straight into the dirt.
I’m not here to give you some textbook lecture or a list of fancy machinery you can’t afford; I’m here to tell you how it actually works when the weather is turning and the clock is ticking. I’m going to walk you through the real sequence—from choosing the right material to the exact way you need to layer and lift it—so you stop wasting time and money on repairs.
Table of Contents
Guide Overview
Tools & Supplies
- Hand Tamper (manual heavy metal plate for small areas)
- Plate Compactor (rented motorized machine for large areas)
- Shovel (for spreading and leveling material)
- Wheelbarrow (for transporting soil)
- Fill Dirt or Structural Soil (volume based on trench/hole size)
- Water (sprayer or hose to achieve optimum moisture content)
Step-by-Step Instructions
- 1. First thing you do is check your material. If you’ve been handed a load of muck that’s got too much organic matter or clay in it, stop right there. You can’t compact garbage. You want clean, granular fill—crushed stone or well-graded gravel is what I’d trust any day of the week. If it’s too wet, it’ll turn into a slurry under the compactor; if it’s too dry, it won’t bind. You’re looking for that sweet spot of moisture where it holds its shape when you squeeze it in your hand.
- 2. Don’t you dare just dump a three-foot pile of fill into the trench and think you’re halfway done. That’s how you end up with a sinkhole in two years. You have to work in lifts, and I mean thin ones. I’m talking about 6 to 8 inches at most. If you try to compact a massive layer all at once, the machine will vibrate the top, but the bottom will stay as loose as a bag of feathers. You build it up slowly, layer by layer, or you don’t build it at all.
- 3. Before you even turn the machine on, you need to spread that layer out manually with a rake. You want it even and level across the whole width of the trench. If you leave a big hump in the middle or a low spot at the edges, your compactor isn’t going to hit it uniformly, and you’ll end up with soft spots that’ll crack a slab faster than a sledgehammer. It’s tedious work, but it’s the only way to ensure the density is consistent from wall to wall.
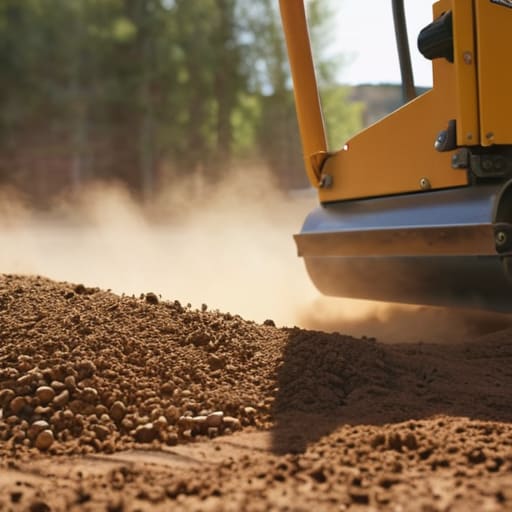
- 4. Now, pick the right tool for the job. If you’re working in a tight spot against a footing or a wall, you’ll need a tamping rammer—what some call a “jumping jack”—to get that heavy, vertical force. For wider, open areas, a plate compactor is fine, but don’t get lazy. You need to run the machine over the entire area, overlapping your passes. If you miss a patch, you’ve just created a permanent weakness that’s waiting to fail.
- 5. You’ll know you’re doing it right when the ground actually starts to feel different under the machine. It should stop bouncing and start feeling solid and dead. If the machine is still dancing or jumping around too much, you haven’t hit your density yet. I always tell my lads: if you can still push a screwdriver into the layer with your thumb, you’ve failed the test and you need to go over it again.
- 6. Once you’ve finished a lift, do a quick check around the edges and corners where the big machine couldn’t reach. This is where people get sloppy. Use a hand tamper to get into those tight gaps against the concrete or the timber forms. A slab is only as strong as its weakest point, and usually, that’s the very edge where nobody bothered to pack the dirt tight.
- 7. Finally, keep a sharp eye on your moisture levels as you go. As you compact, the ground is going to lose some of its water to evaporation or the compaction process itself. If the material starts looking dusty and light, it’s getting too dry to bond. Give it a light misting with a hose—don’t turn it into a swamp, just dampen it—and then get back to compacting. You want it tight, you want it consistent, and you want it done right the first time.
Mastering Lift Thickness for Soil Compaction Without Shortcuts
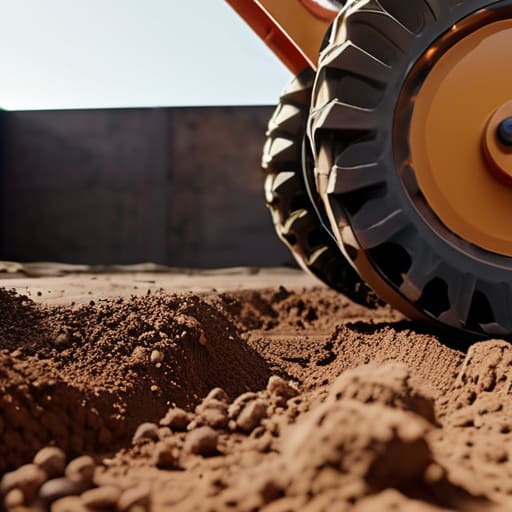
Look, I’ve seen too many lads try to save time by dumping six inches of fill into a trench and running a machine over the top like they’re smoothing out a tablecloth. That’s not groundwork; that’s just playing in the dirt. If you aren’t managing your lift thickness for soil compaction properly, you aren’t actually compacting anything—you’re just creating a hard crust on top of a hollow pocket of air. You need to be working in layers, usually no more than four to six inches at a time, depending on what you’re dealing with. If you try to skip these layers, you’re essentially building a house on a sponge, and you can bet your life that slab will be cracking before the first winter frost hits.
It’s not just about the depth, though; it’s about what’s happening inside that layer. You’ve got to keep an eye on the soil moisture content for compaction like a hawk. If the ground is bone dry, it won’t knit together; if it’s a swamp, you’re just churning mud. You want it just right—damp enough to hold its shape when you squeeze a handful, but not so wet that it leaves a footprint. Getting this right is the only way you’re truly preventing foundation settlement down the line.
Why Soil Moisture Content for Compaction Is Your Only Truth
You can have the best mechanical plate compactor usage in the world, but if your soil is bone-dry or turned into a soup, you’re just moving dirt from one hole to another. I’ve seen lads spend all day running a machine over dusty, parched fill, thinking they’re doing a proper job, only to watch that ground shrink and crack the slab six months later. You’ve got to get the soil moisture content for compaction spot on. If it’s too dry, the particles won’t slide into place; if it’s too wet, you’re just compressing water, which is a recipe for disaster.
The real test isn’t looking at it; it’s the “hand test.” Grab a handful of that fill and squeeze it. It should hold its shape without dripping water or crumbling like a biscuit. If it’s behaving like wet clay, stop what you’re doing and let it dry out. Getting this right is the only way you’re preventing foundation settlement down the line. Most people skip this bit of common sense, but in my experience, the moisture is the difference between a solid base and a ticking time bomb.
Five Things the Site Manager Won't Tell You, But the Ground Will
- Don’t trust the machine alone; you’ve got to walk the edges. A big vibrating plate or a roller is great for the middle of a wide trench, but it won’t reach the corners or the sides near your footings. If you don’t get in there with a hand rammer or a smaller whip, you’ll end up with “soft spots” right against your structure, and that’s exactly where the settlement starts.
- Watch your material like a hawk. If you’re bringing in “clean fill” that’s actually half-rotten topsoil or full of organic bits, you might as well be compacting a pile of wet leaves. Once that organic matter rots away in six months, your slab is going to follow it down into the hole. Stick to proper granular material or engineered fill—nothing else.
- Stop trying to save time by skipping the test. I’ve seen lads try to “feel” if it’s tight enough, but your hands don’t know what a prover does. If the job is structural, you use a nuclear density gauge or a sand cone. If you can’t prove it’s compacted, you haven’t finished the job; you’ve just made a mess.
- Be wary of “over-compacting” the same spot too many times. There’s a sweet spot. If you keep running that plate over the exact same patch of dirt for twenty minutes, you’ll start pulverizing the material into dust or, worse, shaking the existing foundation loose. Compact it until it’s tight, then move on.
- If it’s raining, stay off the backfill. I know the schedule is tight and the client is breathing down your neck, but if you’re compacting mud, you’re just churning it into a slurry. You’ll trap water in the voids, and when that water eventually evaporates or moves, it leaves a void behind. If the ground is a sponge, walk away until it’s workable again.
Don't Let Your Hard Work Sink
At the end of the day, it all comes down to what you can’t see once the job is finished. You can buy the most expensive mix from the plant and hire the best finishers in the county, but if you’ve been lazy with your backfill, you’re just building a house on a sponge. Remember: watch your moisture levels like a hawk, don’t you dare try to cheat the system with massive lifts, and make sure you’re compacting in thin, tight layers. If you skip the prep and ignore the sub-base, you aren’t saving time—you’re just scheduling a future failure that you’ll be the one getting the phone call to fix.
I’ve spent forty-three years watching men try to shave an hour off a job by skipping the compaction, and I’ve seen every single one of them pay for it when the ground starts to settle and the cracks start to show. There is a certain kind of pride in knowing that what’s underneath your slab is as solid as the day you poured it. Do the job right the first time, even when nobody is watching and nobody is paying you extra to do it. A proper foundation isn’t just about concrete; it’s about having the discipline to do the invisible work that actually matters.
Frequently Asked Questions
I’ve got a small space between a new wall and a driveway; can I just use a handheld rammer or am I going to end up with a hollow spot?
You can use a handheld rammer, but don’t think that’s a magic wand for tight corners. If you just run the machine down the middle and ignore the edges where the plate can’t reach, you’re begging for a void. You’ll end up with a hollow spot right against that wall, and as soon as the ground settles, your driveway is going to tilt or crack. Get a heavy hand tamper for those edges; you’ve got to pack it tight everywhere, or you haven’t done the job.
How do I know if I've actually hit the right compaction level, or am I just guessing by how much the machine bounces?
Look, if you’re judging compaction by how much the plate compactor is bouncing, you’re playing a dangerous game. A bouncy machine just means you’ve got air or too much water, not necessarily density. If you want the truth, you use a penetrometer or a sand replacement test—but if you’re out there without gear, use your eyes and a heavy tamper. If the ground feels “springy” or leaves a deep footprint, you’ve failed. It should feel dead underfoot.
If I’ve already poured the slab and I see a dip forming near the edge, is it too late to fix the backfill underneath?
Too late? It’s already gone wrong, isn’t it? If you’re seeing a dip, that ground is moving under you right now. You can’t “fix” backfill through a finished slab; you’re just watching the settlement happen in real-time. You’ve either got a void or your compaction was rubbish. You’ll likely have to cut out the slab, get back down into that muck, fix the sub-base properly, and pour again. Do it right once, or do it twice.