I’ve lost count of how many times I’ve stood on a job site, looking at a pristine, expensive slab of concrete, only to watch a hairline crack spiderweb across it six months later. Most people think the concrete failed, but they’re dead wrong. The failure happened weeks ago, long before the first truck even rolled up the drive. The real culprit is almost always a lazy approach to how to compact a sub base. I once saw a lad on a housing site try to save a few hours by skimming over the compaction with a plate compactor, thinking the weight of the pour would settle everything. I stopped him right there; if you don’t get that ground dead solid before the mix arrives, you aren’t building a foundation, you’re just building a future headache.
In this guide, I’m going to strip away the fluff and tell you exactly how to get it right the first time. I’ll walk you through the proper layers, the right moisture levels, and the specific gear you need to ensure your ground is actually stable. No fancy jargon or textbook nonsense—just the straight truth on how to compact a sub base so you never have to go back and fix a sunken patio or a cracked driveway ever again.
Table of Contents
Guide Overview
Tools & Supplies
- Plate Compactor or Rammer (heavy machinery for dense packing)
- Hand Tamper (for tight corners and edges)
- Shovel (for spreading and leveling material)
- Rake (for smoothing the sub base surface)
- MOT Type 1 or Crushed Stone (volume based on area and depth)
- Water (to assist in achieving optimal moisture content)
Step-by-Step Instructions
- 1. First thing you do is clear the lot. I don’t care how much you paid for the site; if there’s organic matter, roots, or even just thick clumps of topsoil left in there, you’ve already lost. That stuff rots or compresses over time, and when it does, your slab moves. You need to strip it back until you’re looking at the true subgrade, and you strip it back further than you think you need to.
- 2. Once you’ve got the ground bare, you need to get the moisture levels right. If the ground is bone-dry, it won’t knit together; if it’s a bog, you’re just moving mud around. You want it damp but not dripping. I’ve seen lads try to compact bone-dry dust, and it’s a waste of time—it’ll just settle a month later. Give it a light spray with the hose so it’s just right, then get to work.
- 3. Now, you start laying your aggregate in layers. This is where the amateurs fail—they try to dump six inches of MOT Type 1 in at once and expect a machine to do the magic. It doesn’t work like that. You need to spread it out in lifts of no more than 100mm at a time. If you go deeper than that, the bottom of the layer stays loose while the top looks fine, and that’s a recipe for a cracked driveway.
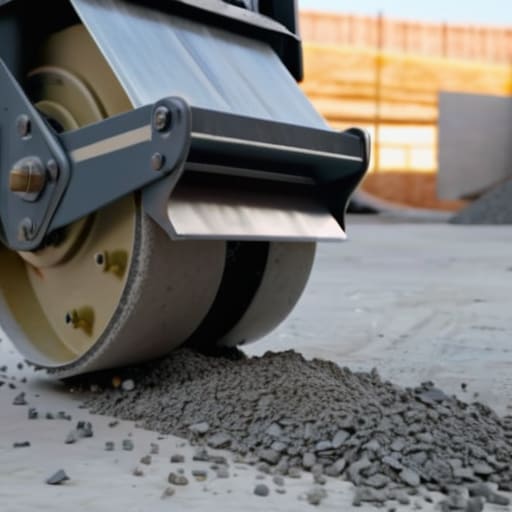
- 4. Pick the right tool for the job. If you’re doing a small garden path, a hand rammer might suffice, but for anything substantial, you need a vibrating plate or a twin-drum roller. You want a machine that actually shakes the life into the stones so they lock together. I’ve seen guys try to save a few quid by using a light little wacker plate on a heavy-duty foundation, and I can tell you from forty years of experience, that slab will be moving before the first frost.
- 5. Run your machine in a pattern that actually makes sense. Don’t just wander around aimlessly. You need to overlap each pass by about half a width of the machine to ensure you aren’t leaving any uncompacted ridges between the tracks. Work from the edges inward, and keep your passes consistent. If you’re seeing the material “pump” or bounce under the machine, stop—you’ve hit a soft spot and you need to dig it out and replace it.
- 6. Once you’ve finished a layer, you do the “test.” I don’t trust a machine; I trust my boots. Walk all over it. If you can see a footprint or if the ground feels even slightly spongy underfoot, it’s not done. You keep compacting or you add more material until that surface is as solid as a rock.
- 7. Finally, check your levels one last time before the next lift or the pour. You need a consistent, flat surface that matches your finished height calculations. If you’ve got dips and humps now, they’ll be magnified once the concrete is in, and no amount of screeding is going to fix a bad base once the truck starts discharging.
Selecting Sub Base Material Types That Wont Lie to You
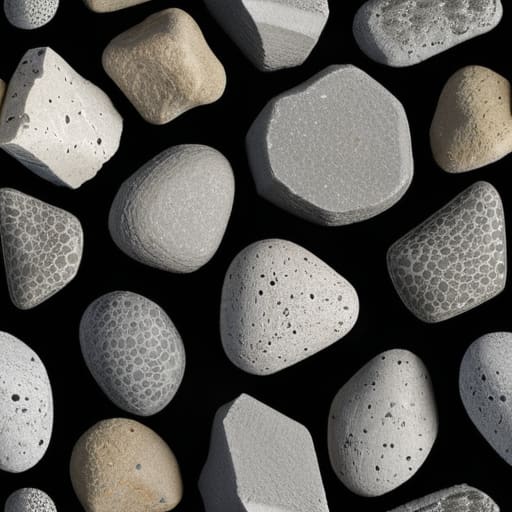
Now, don’t let some lad in a clean hi-vis vest sell you on cheap, rubbish fill just because it saves a few quid on the delivery. I’ve seen too many jobs go south because someone used “clean” sand or poorly graded fines thinking it was good enough. When you’re looking at different sub base material types, you want something with a proper range of particle sizes—what we call well-graded. You need the small bits to fill the gaps between the big ones. If you use something too uniform, you’ll never reach achieving maximum density, no matter how much you run that machine over it. It’ll just shift under the weight of the slab like a bag of marbles.
If you’re using MOT Type 1, you’re usually on the right track, but you’ve got to watch the moisture content for compaction. If it’s bone dry, it won’t bind; if it’s a swamp, you’re just moving mud around. I always tell my lads: if the material doesn’t hold its shape when you squeeze a handful, it isn’t ready for the pour. Get the moisture right, and the compaction will do the work for you.
Achieving Maximum Density Through Proper Moisture Content for Compaction
Now, here is where most lads get it wrong. They look at a pile of MOT Type 1 and think if it’s dry, it’s ready to go. That’s a mistake that’ll cost you a cracked slab in two years’ time. You aren’t just moving dirt around; you are trying to achieve maximum density by forcing those particles to lock together. If the material is bone dry, the grains just slide past each other like marbles on glass. You need just enough water to act as a lubricant, helping those stones find their seat. I always say you want it feeling like a wrung-out sponge—damp enough to hold its shape when you squeeze a handful, but not so wet that it turns into a soup.
If you see puddles forming while you’re working, you’ve gone too far. Too much water actually pushes the fines away and leaves you with a hollow, weak layer. On the other hand, if you’re struggling with vibratory plate compactor usage because the machine is just bouncing off the surface without biting, your moisture content is likely too low. You want that machine to hum, not jump. Getting the moisture right is the difference between a solid foundation and a ticking time bomb.
Five Things That’ll Save Your Slab (And Your Reputation)
- Stop chasing the surface. If you’re just running a plate compactor over the top layer and calling it a day, you’re building a house of cards. You need to compact in thin, manageable layers—no more than a few inches at a time—or you’re just packing air into the top while the bottom stays soft as sponge.
- Watch your moisture like a hawk. I’ve seen lads try to compact bone-dry Type 1 and wonder why it won’t settle, and I’ve seen them try it in a swamp and wonder why it’s bouncing. It needs to be damp enough to hold its shape when you squeeze a handful, but not so wet that it turns into soup.
- Don’t be a hero with the equipment. If you’re trying to compact a heavy-duty driveway with a little petrol whip that looks like it belongs in a garden, you’re wasting your time. Use a machine with enough weight and frequency to actually do the work; if the machine is struggling, your sub-base is going to struggle too.
- Check your edges. The middle of a slab is one thing, but the edges are where the real trouble starts. Most people get lazy once they reach the perimeter, but that’s exactly where the ground is most likely to shift or settle. Get that compaction tight right up to the formwork.
- Test it before the concrete truck is idling at the gate. I don’t care how much you want to get the job done—walk on it, probe it, or better yet, use a penetrometer if you’re serious. If you can see movement or leave a deep footprint, you aren’t ready to pour. Once that concrete arrives, the clock is ticking, and you can’t fix a bad base once it’s buried.
Don't Skimp on the Foundation
Look, I’ve seen it a thousand times: a lad gets a decent delivery of MOT Type 1, spreads it out, gives it a quick once-over with a plate compactor, and thinks he’s done the job. He hasn’t. If you haven’t checked your moisture levels, if you haven’t layered that material in thin, manageable lifts, and if you haven’t made sure that sub-base is rock solid before the first drop of concrete hits the ground, you’re just building a future headache. You can buy the most expensive high-strength mix in the country, but it won’t save you if your base is soft or uneven. Remember, the compaction is where the real work happens; the pour is just the victory lap.
At the end of the day, your reputation is built on what people can’t see once the job is finished. Nobody comes to your house to admire the three inches of compacted stone buried under a driveway, but they’ll certainly come knocking when that driveway starts sinking or cracking in two years’ time. Do the job right the first time, even when it’s back-breaking and nobody is watching. There is a certain kind of pride in knowing that the ground underneath is absolutely dead right, and that’s the only way I’ve ever chosen to work.
Frequently Asked Questions
I’ve got a bit of clay mixed in with my MOT Type 1; is that going to cause me nothing but grief come pouring day?
Grief? It’ll be a nightmare. If you’ve got clay clumping in that Type 1, you aren’t compacting stone; you’re just smashing mud around. That clay stays soft, holds onto water like a sponge, and eventually, it’ll heave or settle under the weight of the slab. You’ll end up with cracks that no amount of expensive concrete can fix. Get it out, or get better material. Don’t try to bury a mistake under a pour.
How do I know if I've actually hit the right density, or am I just guessing because the ground feels firm under my boots?
If you’re just relying on how it feels under your boots, you’re gambling with someone’s foundation. A firm surface can still be hollow underneath if you haven’t hit the depth. You need a proof roll. Drive a heavy, loaded truck or a roller over it; if you see any deflection or “pumping”—where the ground moves like a sponge—it’s not ready. If it stays dead still under weight, you’re getting somewhere.
If I'm working in a tight corner where the heavy roller can't get, what’s the best way to make sure I'm not leaving a soft spot that'll sink later?
Listen, if the roller can’t reach it, you’re in the danger zone. That’s where the soft spots live. You can’t just wing it with a hand tamper and hope for the best. Get yourself a heavy-duty plate compactor—a decent one, not a toy. Work in thin layers, maybe 50mm at a time, and get right into those corners. If you can’t get the machine in, you’d better be prepared to do the work twice.



