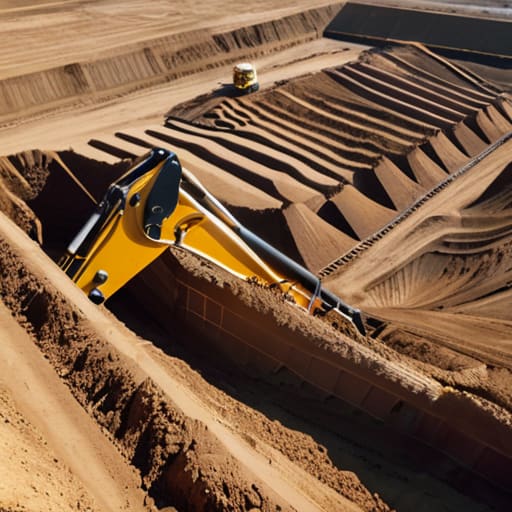
I remember standing on a site in ’94, watching a lad with a shiny new excavator and a clipboard full of useless diagrams. He was so focused on the depth of the cut that he didn’t even notice the ground was nothing but soft, weeping clay that’d turn to soup the moment it rained. He thought he knew how excavation should be planned because he had a digital readout, but he’d completely ignored the character of the soil. That’s the problem with most modern planning; people spend a fortune on fancy software and high-end machinery, but they forget that you can’t engineer your way out of a bad sub-base.
I’m not here to sell you on expensive gadgets or complicated spreadsheets that don’t mean a thing when the mud starts moving. I’m going to tell you how it actually works when you’ve got boots in the dirt and a deadline looming. I’ll show you the real fundamentals—the stuff about drainage, compaction, and soil stability that actually dictates whether your slab stays level or ends up as a cracked mess in three years. We’re going to talk about the ground, because if you get the hole wrong, the concrete doesn’t stand a chance.
Table of Contents
Underground Utility Mapping Seeing What the Surface Hides
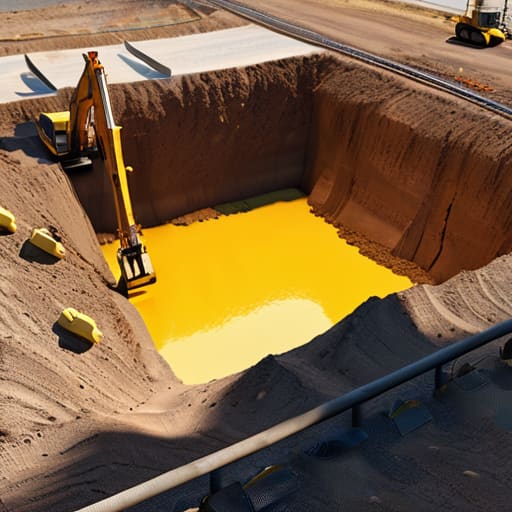
You can have the best mix design in the world and a crew that works like clockwork, but none of that matters if you hit a high-pressure gas main with a bucket teeth halfway through your dig. I’ve seen lads get cocky because the surface looks clear, only to find out a decade ago that a local council laid some drainage pipes without even bothering to mark them. That’s why underground utility mapping isn’t just a box-ticking exercise for the office; it’s the difference between a productive Tuesday and a site shutdown that costs you thousands.
Don’t just rely on those old, faded paper plans from the water board, either. They’re often wrong, or at the very least, they don’t show you exactly how much the ground has shifted since they were drawn. You need to be using proper site investigation techniques—get the CAT scans done and actually verify them. If you’re skimping on the utility check to save a few quid on the initial stage, you aren’t being efficient; you’re just gambling with your equipment and your safety.
Soil Stability Management Why the Ground Dictates the Pour
You can spend all your money on the highest grade of C35 mix, but if you’re pouring it onto ground that moves like a sponge, you’re just wasting a delivery. I’ve seen too many lads think that once they’ve dug the hole, the hard work is done. That’s nonsense. Proper soil stability management starts long before the first shovel hits the earth. If you haven’t accounted for the water table or the way the clay behaves when it gets a bit damp, you aren’t building a foundation; you’re building a slow-motion disaster.
I always tell my younger lads that you need to understand the dirt you’re standing on. Relying on a quick visual check isn’t enough; you need proper site investigation techniques to know what’s happening six feet down. If the soil is shifting or the load-bearing capacity is rubbish, no amount of steel reinforcement is going to stop that slab from cracking six months down the line. You have to respect the ground, or the ground will eventually show you exactly how much it doesn’t respect your work.
Five Things You’ll Regret Skipping Before the Trucks Arrive
- Get your drainage sorted before you even think about depth. I’ve seen lads dig a perfect trench, pour a beautiful slab, and then watch it crack six months later because they didn’t account for how water sits in the sub-soil. If the water doesn’t have a way out, your concrete is just a very expensive dam.
- Don’t trust a single piece of paper for your site levels. You can have the best surveyor in the country, but you need to walk the ground yourself. Check the natural fall of the land against your planned excavation depth; if you’re fighting gravity from the start, you’re going to be fighting it for the next twenty years.
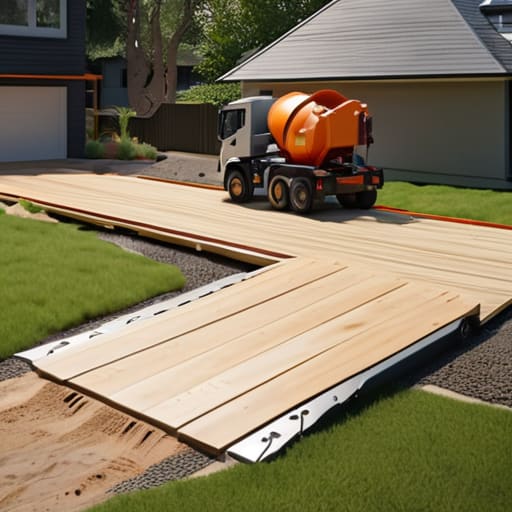
- Plan for your access, not just your hole. There is nothing worse than digging out a massive area only to realize the concrete truck can’t get within fifty yards of the pour without sinking into the mud or crushing a driveway. If the ground can’t hold the weight of the delivery, your excavation plan is a fantasy.
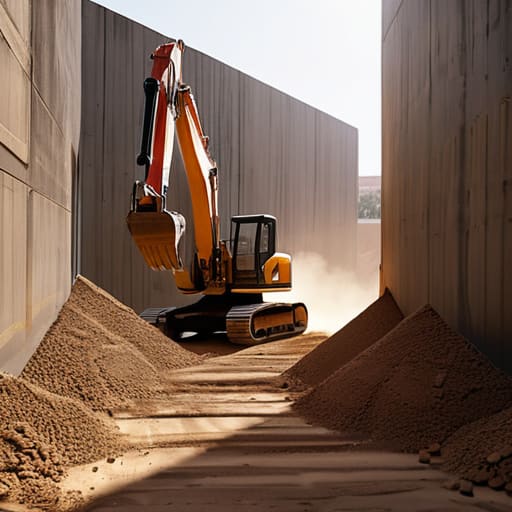
- Know your spoil management. People always forget that once you dig it up, that dirt has to go somewhere. If you haven’t planned exactly where the muck is being piled or hauled away, you’ll end up with a site so cluttered you can’t even move a shovel, let alone get a proper sub-base compacted.
- Respect the weather window in your timeline. If your excavation plan doesn’t include a “Plan B” for heavy rain, you’re asking for trouble. A sudden downpour can turn a well-planned dig into a soup-filled pit of loose silt, and once that sub-grade is contaminated with mud and water, you’ve already lost the battle.
Don't Let the Easy Way Out Cost You Everything
At the end of the day, a proper excavation plan isn’t about ticking boxes on a clipboard; it’s about respect for the ground you’re standing on. You’ve looked at the utilities so you don’t hit a live line, and you’ve assessed the soil so you aren’t pouring a slab that’s going to sink the moment the first heavy rain hits. If you skip the mapping or ignore the stability of the sub-base, you aren’t “saving time”—you are simply scheduling a failure. I’ve seen too many lads try to rush the digging phase just to get the trucks on site sooner, only to spend the next ten years explaining to a homeowner why their driveway looks like a dried-up riverbed. The groundwork is where the battle is won or lost.
My advice is simple: treat the hour before the pour with more respect than the pour itself. If the excavation isn’t right, the most expensive, high-spec concrete in the world won’t save you. Take the time to do it properly, check your levels twice, and never compromise on the sub-base just to satisfy a deadline. It might feel like you’re moving slow when you’re out there digging and checking, but you’ll sleep a whole lot better when the concrete sets and you know it’s actually going to stay where you put it. Build it to last, not just to finish.
Frequently Asked Questions
If the soil test says it’s fine, do I still need to worry about the water table shifting during the dig?
Listen, a soil test is just a snapshot in time—it’s a single frame from a movie that’s still playing. It tells you what’s there today, not what’s coming when the clouds burst or the seasons shift. If you’ve got a high water table, that ground can turn from solid as a rock to a soup of silt and muck faster than you can call the plant hire. You don’t just plan for the soil; you plan for the water.
How much extra room do I actually need to leave around the perimeter for the sub-base without making the excavation unnecessarily expensive?
Listen, don’t go digging out the whole garden just to save a few quid on a skip. You need enough room to actually work. I always tell my lads: leave at least 150mm to 300mm of extra width around the edge. If you’re too tight, you can’t compact the sub-base properly against the forms, and you’ll end up with a soft edge that cracks the moment a car drives over it. Give yourself the space to do it right.
When am I actually ready to call the concrete truck—is it once the hole is dug, or is there a specific way the sub-base needs to sit before it's "done"?
If you think the job is done just because the hole is dug, you’re already looking at a crack in six months. You don’t call the truck when the dirt is moved; you call it when the sub-base is compacted, leveled, and ready to hold the weight. I want to see a firm, even layer of MOT Type 1, rolled tight and checked for moisture. If that base isn’t dead-steady, the concrete’s just a fancy way of masking bad groundwork.