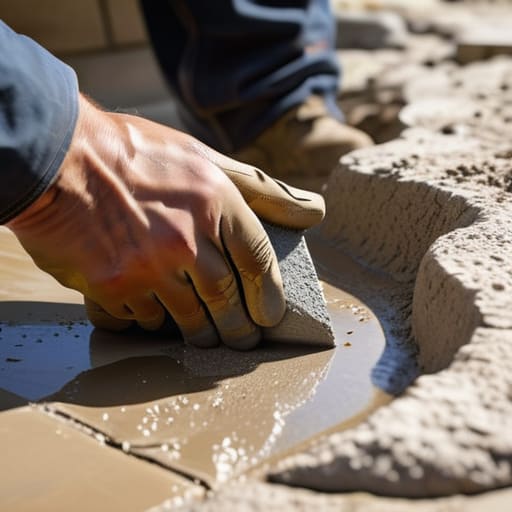
I remember standing on a job in Surrey ten years ago, looking at a client’s brand-new sandstone patio that was already rocking like a ship at sea. The stones were expensive, the grout was expensive, and the homeowner was devastated, but they’d made the classic mistake: they thought the job was about the stone. They’d spent weeks obsessing over the colour and texture, but they hadn’t spent a single second worrying about the sub-base. If you’re looking for a guide on how to lay natural stone paving, let me tell you right now: the stone is the easy part. If you don’t get the groundwork sorted before the first slab even touches the mortar, you aren’t building a patio, you’re just building a future headache.
In this guide, I’m not going to bore you with fancy marketing talk or tell you which stone looks best in a catalogue. I’m going to show you the real sequence of events that keeps a patio flat for twenty years instead of twenty months. We’ll cover everything from digging out the right depth and getting your sub-base compacted tight, to the exact way you need to bed the slabs to avoid hollow spots. I’ll give you the straight truth on how to do it properly, so you can stop worrying about cracks and start enjoying your garden.
Table of Contents
Guide Overview
Tools & Supplies
- Shovel for excavating the sub-base
- Plate compactor to stabilize the ground
- Rubber mallet for setting stones without cracking
- Spirit level to ensure even surfaces and drainage
- Angle grinder with diamond blade for custom cuts
- Natural stone slabs (total area + 10% for waste)
- Sub-base aggregate/crushed stone (depth of 4-6 inches)
- Sharp sand or grit sand (bedding layer)
- Jointing compound or polymeric sand (for gaps)
- Weed membrane to prevent growth under stones
Step-by-Step Instructions
- 1. First thing you do—and I mean before you even look at a single slab—is get your hands dirty with the sub-base. You dig out the area deep enough to account for your MOT Type 1, your bedding layer, and the stone itself. If you try to skimp on the depth here, you’re just building a future disaster. Once you’ve dug it out, you lay that Type 1 in layers, maybe 50mm at a time, and you compact it with a heavy vibrating plate until it’s rock solid. If you can walk across it and see a footprint, you haven’t done your job.
- 2. Next, you need to sort out your falls and your levels. I’ve seen too many beautiful patios that turn into swimming pools because the lad laying them forgot about drainage. Use a string line and a spirit level to ensure you’ve got a minimum 1:60 fall away from any buildings. If the water isn’t moving, the stone isn’t working. Set your pegs, tension your lines, and make sure that ground is sloping exactly where it needs to go before you even think about bringing out the mortar.
- 3. Now we get to the bedding, and this is where people start getting lazy. You aren’t just throwing a thin smear of cement under these stones; you need a proper, full mortar bed. I usually go for a sharp sand and cement mix, roughly 4:1, but it needs to be semi-dry, not soupy. If you make it too wet, the stone will float or sink, and you’ll be fighting uneven levels for the rest of the afternoon. Spread it out thick and even, and make sure there are no hollow gaps underneath the stone once it’s down.
- 4. When you start laying the actual stone, stop thinking about the pattern and start thinking about the jointing gaps. Natural stone isn’t like man-made porcelain; it’s got character, but it’s also got irregular edges. Don’t try to butt them up tight against each other like you’re tiling a bathroom. You need a consistent joint—usually between 10mm and 20mm—to allow for natural movement and to give you room to pack in your pointing later. Lay them down, tap them into the bed with a rubber mallet, and check your levels constantly.
- 5. Once the stones are bedded and the levels are right, you have to deal with the joints. Don’t just slap some cheap, pre-mixed grout into the cracks and call it a day. For natural stone, I prefer a high-quality polymeric jointing compound or a traditional sand and cement mix that’s been worked in properly. Make sure the joints are clean and free of any mortar splashes before you seal them up. If you leave dried cement on the face of the stone, you’ll be scrubbing it for hours, and you might still end up with a permanent stain.
- 6. The final, most ignored step is the curing and the cleanup. If it’s a hot day, you need to keep that mortar from drying out too fast, or it’ll crack and pull away from the stone. Conversely, if it’s raining, get a tarp over it. Give the whole thing a gentle wash with clean water once the mortar has set, but don’t go overboard with a high-pressure jet washer immediately, or you’ll blow the joints right out of the ground. Let it settle, let it cure, and then you can finally sit back and see if you actually did it right.
The Invisible Foundation Mastering Paving Stone Sub Base Preparation
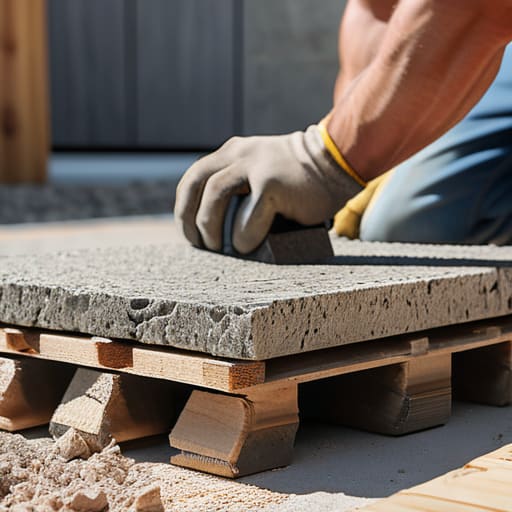
Listen, I’ve seen more expensive slabs end up in a skip than I care to count, and it’s rarely because the stone was rubbish. It’s because the lads spent three days picking out the perfect granite but only three hours on the paving stone sub-base preparation. If you’ve got soft spots or haven’t compacted your MOT Type 1 until it’s solid as a drum, you might as well be laying those stones on a sponge. You can have the best stone in the world, but if that sub-base shifts an inch during the first frost, your patio is going to look like a mountain range by spring.
Once you get past the groundworks, don’t go getting lazy with your bedding. I’ve seen too many youngsters try to save a bit of time by messing with their sand and cement mortar mix ratios, making it too wet just to make the work easier. That’s a recipe for disaster. You want a mix that holds its shape and provides a stable bed for the stone to sit on. If you don’t get the base right, you’ll be fighting a losing battle with leveling patio stones for the rest of the job, and you’ll never get that flat, professional finish you’re paying for.
The Mortar Trap Perfecting Sand and Cement Mortar Mix Ratios
Now, once you’ve actually sorted your sub-base, everyone thinks the hard part is over and they can just start slapping down the bedding. That’s where they trip up. I’ve seen too many lads ruin a perfectly good batch of stone because they treated the mortar like soup. You need to get your sand and cement mortar mix ratios spot on—usually a 4:1 or 5:1 depending on what you’re working with—but the consistency is what kills you. If it’s too wet, you’ll get “slumping” where the stones sink into the bed, and you’ll spend the rest of the day fighting to keep them level. It should be a stiff, workable paste, not a runny mess.
And don’t you dare forget the bond. If you’re working with smooth or non-porous stone, you can’t just lay it on the mortar and hope for the best; it’ll rock like a loose tooth within six months. You need to apply a slurry primer for natural stone to the back of every single slab. It’s an extra step, and it’s a bit of a nuisance, but it’s the only way to ensure that stone actually marries to the mortar instead of just sitting on top of it.
Five Things That'll Save Your Patio From Becoming a Disaster
- Stop treating natural stone like it’s porcelain. You’ve got to back-butter every single slab. If you just slap mortar on the base and hope for the best, you’ll end up with hollow spots that’ll crack the moment someone drops a heavy garden chair on them. Get that mortar right up to the edges of the stone.
- Watch the weather like a hawk. I’ve seen lads try to lay stone in the midday sun or right before a downpour, and it’s a recipe for a mess. If it’s too hot, your mortar sets before the stone is even bedded; if it’s raining, you’re washing your profit straight into the drains.
- Don’t get lazy with the joints. People want to shove everything tight together to make it look “neat,” but stone needs room to breathe. If you don’t leave a consistent, proper gap for your pointing, the ground will move, the stones will rub, and you’ll have nothing but a pile of rubble in two years.
- Check your stone for “shale” or weak layers before you even lift it. I’ve walked onto sites where they’ve bought cheap, thin-cut slabs that look grand in the showroom, but the second they hit the mortar, they start delaminating. If the stone is rubbish, the best sub-base in the world won’t save you.
- Patience is your best tool, so don’t rush the curing. Once the slabs are down, leave them alone. Don’t walk all over them, don’t let the dog run across them, and for heaven’s sake, don’t go pointing the joints until that mortar bed has actually had a chance to set. You can’t rush chemistry.
Don't Cut Corners Now
Look, if you’ve followed what I’ve said about the sub-base and the mix, you’re already ahead of ninety percent of the cowboys out there. You can’t just slap some expensive sandstone onto a bed of loose dirt and hope for the best; that’s a recipe for a wobbling, uneven mess within two seasons. Remember, the beauty of the stone is just the skin of the job. The real work is in that compacted base, the precise mortar ratio, and making sure those joints are clean and consistent. If you skip the prep to save a few hours today, you’ll be spending those hours next year digging up sunken slabs and trying to figure out why your expensive patio looks like a mountain range. Do it right the first time.
At the end of the day, laying stone is about more than just making a garden look decent for a photo. It’s about building something that actually stays put when the ground shifts and the frost hits. There’s a massive amount of satisfaction in stepping onto a patio that feels solid under your boots because you knew exactly what was happening beneath the surface. Don’t let the temptation of a shortcut ruin your hard work. Take the time, respect the process, and build something that lasts.
Frequently Asked Questions
How do I stop the stones from shifting or rocking underfoot once the mortar has set?
If your stones are rocking, you’ve failed the bed. It’s never the stone’s fault; it’s because you didn’t get a full, consistent mortar bed underneath. You likely left voids or “pockets” of air because you were too lazy to butter the back of the slab or spread the mortar thick enough. If there’s a gap between the stone and the bed, it’s going to move. Build a solid, continuous bed, or don’t bother laying it at all.
What’s the best way to handle the joints—should I be using grout or just pointing them with more mortar?
Listen, if you’re looking for a quick fix, don’t reach for the grout. Grout is fine for indoor tiles, but out in the elements, it’s too brittle. It’ll crack the first time the ground shifts or the frost hits. You want to point those joints with a proper sand and cement mix—something slightly leaner than your bedding mortar so it can breathe. Do it right, or you’ll be weeding those cracks by next summer.
If it starts raining halfway through the job, do I need to stop everything or can I just keep going?
If it starts raining, you stop. I don’t care how much you’ve already spent on materials. If you’re mid-lay and the heavens open, you cover what you’ve done with heavy-duty polythene and walk away. If you try to “power through” while the rain is washing the cement out of your mortar, you’re just inviting a washout or a patchy, weak finish. You can’t fight the weather; you just have to wait it out.



