I remember standing on a site in the Midlands back in ’94, watching a young lad try to set the centering for a masonry arch like he was building a Lego set. He was obsessed with the aesthetic, worrying about the curve of the brickwork, while the ground beneath his feet was nothing but soft, uncompacted clay. He thought he knew how arches are built, but he was missing the only part that actually matters. An arch doesn’t fail because the geometry is off; it fails because you ignored the settling ground or failed to account for the lateral thrust pushing against a sub-base that wasn’t fit for purpose.
I’m not here to give you a textbook lecture or some glossy architectural diagram that looks pretty on a screen. I’m going to tell you how it actually works when the weather turns and the weight starts to settle. We’re going to skip the fluff and focus on the foundation, the centering, and the thrust—the three things that actually keep that structure standing ten years from now. If you want to learn the real way how arches are built, you’ll need to listen to what’s happening underneath the stone.
Table of Contents
Scaffolding for Masonry Work the Skeleton That Holds the Truth
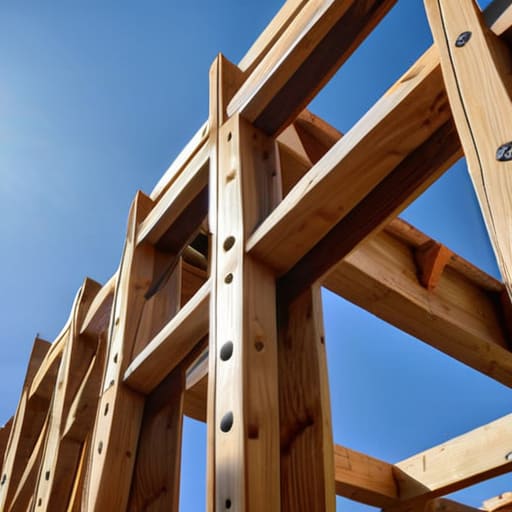
You can have the best stone and the finest mortar in the county, but if your staging is wonky, you’ve already lost the battle. I’ve seen too many young lads treat scaffolding for masonry work like an afterthought—just something to stand on so they can reach the top. That’s a mistake. When you’re dealing with the weight of an arch, that scaffold isn’t just a platform; it’s the only thing keeping the whole mess from coming down on your head while you’re working the joints. If that frame isn’t level and braced against the wind, your geometry is going to be rubbish before you even lay the first voussoir.
The scaffold has to be rock-solid to manage the structural stability of arches during that critical middle phase. You aren’t just building a wall; you are building a temporary structure to hold a permanent one. If your boards are bouncing or your poles are slipping, you’ll find that your centering shifts by a fraction of an inch. In this trade, a fraction of an inch is the difference between a clean curve and a pile of expensive rubble on the driveway.
Structural Stability of Arches Starts Beneath the Surface
You can spend all day obsessing over the curve of the stone or the precision of your mortar, but if your footings are sitting on soft clay or uncompacted rubble, you’re just building a very expensive way to sink into the mud. The structural stability of arches isn’t decided by the fancy masonry work you see above the ground; it’s decided by the compaction of the earth beneath the abutments. If those side supports move even a fraction of an inch because the sub-base wasn’t rammed down properly, the whole geometry goes to hell. I’ve seen men try to build beautiful spans only to watch them crack within a season because they were too lazy to check the ground strength first.
Once you actually get the materials in place, you have to respect the physics of it. An arch works by turning weight into compression forces in masonry, pushing the load outward and downward into those supports. If your foundations aren’t heavy and solid enough to resist that outward push, the arch will simply push its own legs out from under itself. It’s not about how pretty the stones look; it’s about ensuring the ground can handle the squeeze.
Five Things Most Lads Get Wrong Before They Even Touch the Centering
- Don’t trust your timber until you’ve checked the level twice. An arch is a game of geometry, and if your centering—that temporary frame holding the weight—is even a fraction off, the whole thing is going to fight you the moment you start laying the stones or pouring the mix.
- The sub-base isn’t a suggestion, it’s the law. If you’re building an arch on top of soft ground or uncompacted hardcore, you might as well be building on pudding. All that weight is concentrated at the abutments, and if those feet move even a millimetre, your arch is nothing but a pile of expensive rubble.
- Stop adding water to the mix just because the lads are complaining it’s “stiff.” I’ve seen more arches crack because someone wanted a smoother finish than because of a bad design. You want a workable mix, fine, but you don’t compromise the strength just to save yourself ten minutes of elbow grease.
- Watch the weather like a hawk during the set. If the sun is beating down or there’s a stiff wind, that moisture is going to leave the joints before the structure has found its strength. You need to keep it damp and controlled; you aren’t just building a shape, you’re managing a chemical reaction.
- Get your joints right the first time. People think the “arch” is the fancy curved bit at the top, but the real work is in the consistency of the joints. If your mortar or your spacing is uneven, you’re creating stress points that will find themselves and crack the moment the centering comes out.
The Truth is in the Foundation
At the end of the day, building an arch isn’t some magic trick of geometry or fancy masonry; it’s a test of your discipline before the first stone is even laid. We’ve talked about why your scaffolding needs to be rock-solid and why that sub-base has to be compacted until it’s practically part of the earth itself. If you get the centering wrong, or if you rush the setting process because the sun is going down, you aren’t building an arch—you’re building a future headache. You can have the finest granite and the most expensive mortar in the world, but if you ignore the ground or skimp on the structural skeleton, that arch is going to find its own way to the floor.
I’ve seen plenty of young lads try to take shortcuts to get home early, thinking the weight of the stones will sort itself out. It won’t. Real craftsmanship isn’t about how the finished curve looks in a photograph; it’s about the quiet, invisible work you did three days before the pour. Do the prep right, respect the physics of the load, and don’t let anyone talk you into adding water to a mix just to make it “slump” easier. Build it once, build it heavy, and build it on a foundation that doesn’t flinch. That’s how you leave something behind that actually lasts.
Frequently Asked Questions
How do I know if my sub-base is actually compacted enough to take the weight of a stone arch without shifting?
You don’t “know” by looking at it; you know by testing it. If you just eye it, you’re gambling. Get a heavy tamper or a plate compactor and run it until the ground stops dancing. If you can still push a screwdriver into the sub-base with your thumb, it’s a disgrace—that arch will settle and crack before the mortar even cures. If it doesn’t feel solid under your boots, it isn’t ready.
When am I allowed to strip the centering away without risking the whole thing dropping?
You don’t just yank the timber out because you’re tired of looking at it. If you strip the centering before the mortar has actually gained its strength, you’re just asking for a structural collapse. I’ve seen lads rush it, and I’ve seen the masonry shift before the first week was even out. You wait until the cure is complete and the bond is solid. If you’re in doubt, leave it. Patience is cheaper than a rebuild.
What’s the right way to handle the mortar joints if I’m building in wind or if the temperature is dropping?
Listen, if the wind is whipping or the mercury is dropping, your biggest enemy isn’t the weight of the stone—it’s evaporation. If that wind sucks the moisture out of your joints before the mortar has even had a chance to grab, you’ve basically built a house of cards. You’ll get shrinkage cracks before the sun even goes down. Slow your pace, use a slightly richer mix, and for heaven’s sake, get some hessian over those joints to keep the heat in.