I’ve lost count of how many times I’ve stood on a site, looking at a pristine, expensive roll of polythene, knowing full well it’s a waste of money. People think they’re learning how damp proof membranes are installed just by watching someone roll out some plastic and tape the edges, but they’ve got it backwards. I remember a job back in the nineties where the client spent a fortune on high-spec membrane, only for the floor to weep moisture six months later. The membrane wasn’t the failure; it was the shoddy sub-base and the gaps in the laps that killed it. You can buy the most expensive sheet on the market, but if your ground isn’t level and your overlaps aren’t sealed tight, you’re just wrapping a mistake in plastic.
In this guide, I’m going to strip away the sales talk and tell you how it’s actually done when you want the job to last forty years instead of four. We aren’t just talking about unrolling a sheet; we’re talking about the critical preparation of the hardcore, the correct overlap measurements, and how to handle those pesky junctions without leaving a way for moisture to creep in. I’ll show you the right way to do it, the way that ensures your pour stays dry and your foundation stays solid.
Table of Contents
Guide Overview
Tools & Supplies
- Utility knife for cutting membrane rolls
- Tape measure for precise sizing
- Roller or heavy weight for sealing seams
- Caulking gun for applying sealant
- Damp proof membrane roll (DPM) sized to area
- Jointing tape or specialized adhesive for seams
- Construction sealant for perimeter edges
- Sand or fine gravel for leveling base
Step-by-Step Instructions
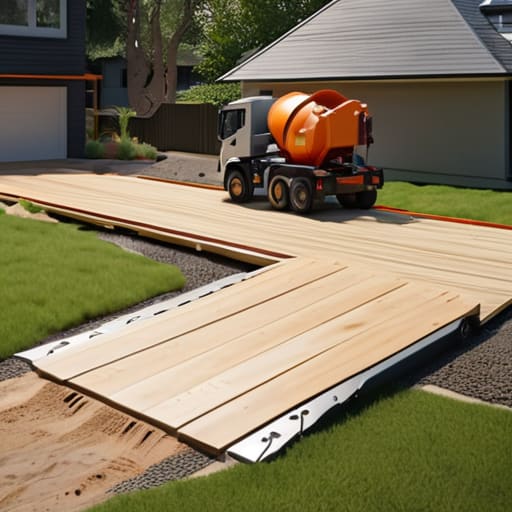
- 1. Before you even think about touching a roll of membrane, you need to look at what’s underneath it. I’ve seen lads try to lay a DPM over a sub-base that looks like a plowed field, and let me tell you, that’s a recipe for disaster. You need to compact that hardcore until it’s solid, then spread a good, even layer of sand blinding over the top. If you can feel a sharp stone or a gap through that sand, your membrane is going to puncture the moment the first load of concrete hits it.
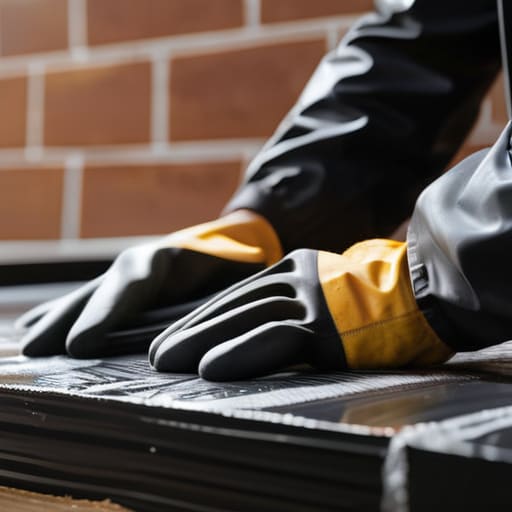
- 2. Once your sand is leveled and compacted, get your membrane out and check the roll for any factory defects, though more often you’ll be checking for the tears you made while dragging it across the site. Lay it out so it covers the entire footprint, making sure you have plenty of overlap at the joins. Don’t be stingy here; if you’re joining two sheets, you want at least a 150mm overlap, or you might as well not bother at all.
- 3. Now, pay attention to how you join those sheets. You shouldn’t just be hoping they stay together; you need to use a proper jointing tape designed for the specific membrane you’re using. I’ve seen too many “quick fixes” where someone just laid one sheet over the other without any sealant, only to have moisture creep up through the seam like it wasn’t even there. Tape those joins down tight, ensuring there are no wrinkles or air pockets trapped underneath.
- 4. You’ve got to get the membrane up the sides of your foundations or your brickwork, too. It isn’t just a floor covering; it’s a continuous barrier. You want to lap the membrane up the face of the wall, usually about 150mm, and make sure it’s tucked in tight. If you leave a gap between the floor membrane and the wall membrane, you’ve just built a highway for damp to travel straight into the structure.
- 5. If you’re working around service pipes or conduits, don’t just cut a hole and hope for the best. That’s where the most common failures happen. You need to use pre-formed pipe collars or a heavy-duty sealant to bridge the gap between the pipe and the membrane. A bit of mastic or a specialized patch won’t save you if the pipe moves slightly during the pour, so do it properly the first time.
- 6. Before the truck arrives, do one final walk-through. Check every single seam, every puncture from a dropped tool, and every corner where the membrane meets the edge. If you see a hole, patch it with a piece of the same material and tape it down properly. You can’t fix a punctured membrane once the concrete is already wet and moving, so get it right while you still have the chance.
Why a Subfloor Moisture Barrier Fails Before the Pour
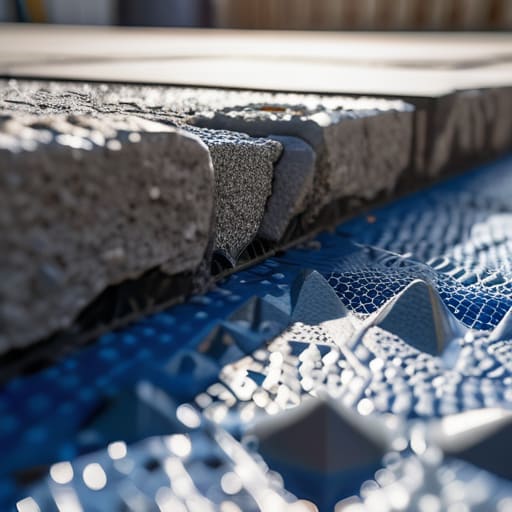
Listen, I’ve seen more “waterproof” floors fail in the first six months than I care to count, and nine times out of ten, it wasn’t the plastic that let them down. It was the mess underneath. You can follow every one of the standard damp proof membrane installation steps to the letter, but if you’re laying that sheet over a sub-base that’s full of sharp aggregate or loose rubble, you’ve already lost. One heavy boot or a rogue piece of flint during the pour, and you’ve got a puncture you won’t even see until the damp starts creeping up the plasterwork. You aren’t just laying a sheet; you’re building a shield, and a shield with holes is just a bit of expensive rubbish.
The other thing that gets people is laziness with the edges. I’ve stood on sites where the lads thought they could just butt the sheets up against each other and call it a day. That’s a joke. If you aren’t serious about sealing membrane joints with the proper tape and ensuring a proper overlap, you aren’t preventing rising damp—you’re just delaying it. A subfloor moisture barrier is only as strong as its weakest seam. If the ground is breathing through a gap in your joints, the concrete is going to suck that moisture up like a sponge, no matter how thick your membrane is.
Mastering Membrane Overlap Techniques and Sealing Membrane Joints
Now, once you’ve actually got the sheets down, don’t go thinking the job is done. This is where the amateurs start getting sloppy, and it’s where I see most of the failures. When you’re working on your membrane overlap techniques, a mere inch isn’t enough. I’ve seen lads try to save a bit of plastic by barely overlapping the edges, and six months later, you’ve got moisture creeping up through the floor like it was never there. You need a minimum of 150mm overlap, and you need to be consistent about it. If you aren’t overlapping enough, you aren’t preventing rising damp; you’re just delaying the inevitable.
When it comes to sealing membrane joints, stop treating it like an afterthought. If you’re just laying them side-by-side and hoping the concrete weight holds them together, you’ve already lost. You need proper jointing tape—the heavy-duty stuff—and you need to press it down until you’re sure there isn’t a single air pocket trapped underneath. I’ve seen plenty of “waterproofing floor membranes” fail simply because someone was too lazy to run the tape properly around a corner or a service pipe. If the seal isn’t tight, the barrier is a lie.
Five Things to Check Before the Concrete Truck Pulls Up
- Stop treating the sub-base like a suggestion. If you haven’t compacted that hardcore until it’s rock solid and leveled it with a fine sand blinding, your membrane is just sitting on a bed of future cracks. You can’t wrap a mistake in plastic and expect it to hold.
- Watch your overlaps like a hawk. I’ve seen lads lay a membrane and think a bit of luck will keep the moisture out, but if you aren’t overlapping by at least 150mm and taping those joints with proper heavy-duty tape, you’ve essentially built a sieve.
- Mind the punctures. It’s easy to lay the sheet, but it’s even easier to ruin it when the lads start walking around with heavy boots or dropping tools. If you’re pouring over a membrane that’s been shredded by a stray bit of aggregate or a heavy heel, you might as well not have laid it at all.
- Don’t let the membrane get “wavy.” If your sub-base isn’t smooth, the membrane will bridge over the hollows. When that heavy concrete hits it, it’ll stretch and pull, creating weak spots where moisture will eventually find its way through. Flat ground makes for a flat membrane.
- Keep the edges tidy. When you’re running the membrane up the damp proof course or against the brickwork, don’t just bunch it up in a corner. It needs to be tucked in neat and secured so the concrete doesn’t push it out of position as it settles. If it moves during the pour, it’s failed.
Don't Let the Easy Stuff Ruin the Hard Work
At the end of the day, installing a damp proof membrane isn’t some complex engineering feat, but it’s exactly where most lads go soft. You can have the highest grade polythene money can buy, but if your sub-base is uneven, your overlaps are sloppy, or you’ve skipped the tape on the joints, you’ve just built a house on a foundation of sand. It’s about the details you can’t see once the concrete is in. Remember: a membrane is only as good as the seal you make with it. If you don’t respect the prep work and the sealing, you aren’t installing a barrier—you’re just laying down a piece of expensive litter that’s going to fail the moment the ground shifts.
I’ve spent forty-three years watching men rush the membrane stage because they were more worried about the truck arriving than the ground underneath. Don’t be that person. Take the extra twenty minutes to check your laps and ensure your sub-base is tight and level. When you do it right, the membrane stays hidden, the floor stays dry, and you don’t get that dreaded phone call five years later when the client sees damp patches on their skirting. Do the job properly the first time, and you’ll find that the best groundwork is the work that nobody notices.
Frequently Asked Questions
If I've already poured the slab and noticed a bit of dampness coming through, is there any point in trying to fix the membrane now, or is the whole thing a write-off?
If you’re seeing dampness through a finished slab, you’ve already lost the battle. You can’t “fix” a membrane that’s buried under tons of concrete; that’s like trying to re-tie your shoelaces after you’ve already walked ten miles in them. At this stage, you aren’t looking at a membrane repair—you’re looking at a floor failure. You’ll be chasing moisture with chemical injections or dehumidifiers for years. It’s a write-off.
How much does the type of sub-base—say, crushed stone versus sand—actually change the way I need to lay and seal the membrane?
It’s a massive difference, and if you ignore it, you’re asking for tears. If you’re on crushed stone, you’ve got sharp edges and movement; you better be careful not to puncture that membrane while you’re walking it out, and I’d be checking your compaction twice. Sand is smoother, sure, but it’s a nightmare for stability. If that sand shifts or settles unevenly under the weight, your membrane stretches, the seals pull, and you’ve got a leak before the concrete even sets.
I've seen lads just overlapping the plastic and hoping for the best; how much of a difference does that specialized joint tape actually make when the ground starts to move?
It makes all the difference. I’ve seen plenty of lads treat a membrane like a cheap bin liner, just overlapping it and praying. But ground isn’t static; it breathes, it shifts, and it settles. When that sub-base moves even a fraction, those loose overlaps will pull apart like a cheap seam on a shirt. If you don’t use the proper joint tape to seal it, you’re just creating a highway for moisture to bypass your barrier entirely.