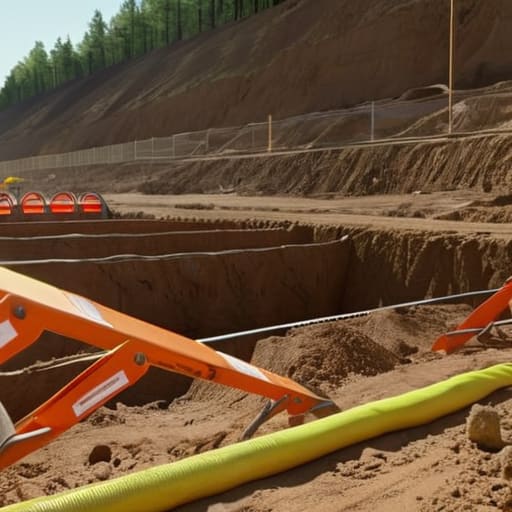
I’ve spent forty-three years watching lads rush into a trench, thinking that as long as they’ve got the right pipes and a bit of glue, they’ve finished the job. They treat a complete guide to below ground drainage like it’s just a shopping list of plastic fittings and manholes, but they’re missing the point entirely. I remember a job back in ’98—a tidy little driveway pour that looked perfect on top, but because the lad running the excavation didn’t bother with the correct bedding or a decent compaction on the trench sides, the whole system settled like a bag of wet flour within six months. It wasn’t the pipes that snapped; it was the ground that gave up.
I’m not here to give you a glossy brochure or tell you which brand of plastic looks best in a catalogue. What I’m going to give you is the truth about what happens underneath the surface, where nobody is looking until something goes wrong. We’re going to talk about the stuff that actually matters: the bedding, the gradients, and why your sub-base is more important than the pipe itself. If you want a no-nonsense look at how to lay it once and never touch it again, you’re in the right place.
Table of Contents
Mastering Drainage Invert Levels Explained Before the First Dig
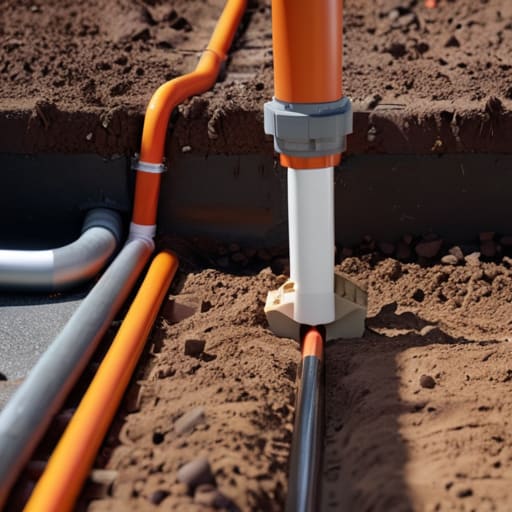
You can have the most expensive PVC pipes in the world, but if your levels are off, you’ve just built yourself a very expensive, very long-term blockage. I’ve seen lads start a trench, get halfway through, and realise they’ve lost their fall because they weren’t watching the datum. Drainage invert levels explained simply: it’s the measurement of the bottom inside of the pipe. If you don’t nail that measurement from the start, you aren’t building a drainage system; you’re building a trap for silt and sludge.
Before a single shovel hits the dirt, you need to know exactly where that pipe is going to sit relative to your manholes and the main sewer. It’s all about the drainage pipe gradients and falls. If you go too steep, the water outruns the solids and leaves the heavy stuff behind to rot; too shallow, and nothing moves at all. I always tell my lads: don’t trust your eyes, trust your laser or your sight rail. If you get the invert level wrong at the first manhole, every single connection after it is a gamble you’re going to lose.
Subsurface Water Management the Hidden Enemy of Every Build
You can have the best sewerage system components money can buy—the thickest pipes and the sturdiest manholes—but if you don’t respect the water moving through the soil, you’re just wasting your time. Most lads think once the pipes are in, the job’s done. They’re wrong. Subsurface water management is about what’s happening in the earth around your work, not just inside the pipe. If you’ve got heavy groundwater or a high water table pressing against your trench, that water is looking for the path of least resistance. If it finds it through your bedding or around your joints, it’ll wash your fines away, leave your pipes unsupported, and eventually, you’ll be looking at a sinkhole where a driveway used to be.
It’s a silent killer. You might get your drainage pipe gradients and falls spot on, but if the ground itself is a sponge that never dries out, the structural stability of the whole run is compromised. I’ve seen perfectly laid lines fail simply because someone ignored the way the site drains during a heavy soak. You have to manage the water before it touches your trench, or you’re just building a very expensive, very complicated underground stream.
Five Things You’ll Screw Up If You Don't Respect the Trench
- Stop treating the trench floor like a dumping ground; if you haven’t got a firm, even bedding of pea shingle or sand before that pipe even touches the dirt, you’re basically asking for a settlement crack in six months.
- Don’t be a cowboy with your gradients—a pipe that’s too flat won’t clear the silt and a pipe that’s too steep will run the water right past the solids, leaving you with a blockage that’ll cost a fortune to dig up.
- Watch your bedding thickness like a hawk because if you’re skimping on the support under the pipe joints to save a bit of time, the weight of the backfill will shift those pipes and snap your seals.
- Put the shovel down and check your bedding levels every single time you lay a new length; I’ve seen too many lads get lazy, lose their fall, and then wonder why the water isn’t moving when the inspection’s done.
- Backfilling isn’t just throwing dirt back in the hole; you need to compact in layers and keep the heavy stuff away from the pipe itself, or you’ll crush the very thing you just spent all day installing.
Don't Let a Quick Job Become a Long-Term Nightmare
At the end of the day, a successful drainage system isn’t about the brand of pipe you buy or how fast you can get the trench filled; it’s about the discipline you show before the first piece of plastic even hits the ground. You’ve got to respect the invert levels, you’ve got to manage that subsurface water like your life depends on it, and you absolutely cannot—under any circumstances—compromise on the bedding. If you skip the precision in the trench to save an hour of labor, you aren’t saving money, you’re just pre-ordering a sinkhole for ten years down the line. Get the levels right, get the compaction right, and treat the sub-base with more respect than the pipes themselves.
I’ve spent forty-three years watching men try to outsmart gravity and the soil, and let me tell you, the ground always wins in the end. There is no shortcut that survives a heavy winter or a shifting water table. If you want to sleep soundly when the clouds break, do the job properly the first time—the slow, methodical, and sometimes boring way. It might feel like you’re overthinking it when you’re standing in a muddy hole at six in the morning, but doing it right is the only way to do it once. Build it to last, not just to pass an inspection.
Frequently Asked Questions
How much do I actually need to compact that sub-base before I start laying the pipes, or is a bit of loose gravel enough?
“A bit of loose gravel?” If that’s your plan, you might as well just lay the pipes on a pile of leaves for all the good they’ll do. If you don’t compact that bedding until it’s rock solid, those pipes are going to shift the moment the ground settles or a heavy bit of kit drives past. You don’t just “toss it in.” You compact it in layers. If it isn’t tight, it isn’t done.
If I'm working in a patch of heavy clay, how do I stop the ground from shifting and messing up my gradients later on?
If you’re digging into heavy clay, you’re working with a sponge, not a foundation. That clay is going to swell when it’s wet and shrink when it’s dry, and it’ll pull your pipes right out of alignment if you let it. You can’t just throw bedding sand in a puddle and hope for the best. You need to get that clay out of the way and replace it with a proper, compacted granular sub-base. Don’t try to fight the clay; isolate your pipes from it.
What’s the real-world difference between using standard sand bedding and those expensive granular mixes—is it just a way to charge more?
Listen, it’s not just a way to pad the invoice, though I know some lads will try it. Standard sand is fine if you’re working in a controlled environment, but if you’ve got any movement in that ground, sand can wash out or settle unevenly, leaving your pipe unsupported. A proper granular mix stays put; it locks together. It gives you a stable bed that won’t shift when the seasons change. It’s about stability, not just price.