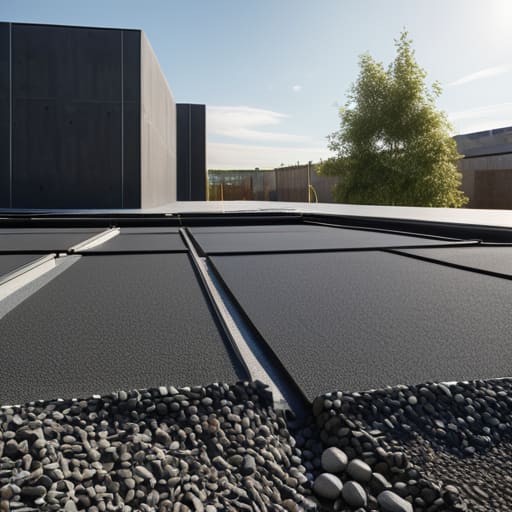
I remember standing on a site in ’94, watching a lad pull a roll of plastic across a sub-base that looked more like a sponge than compacted hardcore. He thought he was being clever, thinking that a bit of cheap sheeting would fix a foundation built on nothing but hope and loose rubble. He was wrong, and the cracks that appeared six months later were his legacy. People spend a fortune on the fancy mix and the latest vibratory screeds, but they treat this complete guide to damp proof membranes like it’s just an afterthought—a bit of rubbish to lay down before the real work starts. Let me tell you, if you get the membrane wrong, you aren’t just inviting damp; you are guaranteeing a structural headache that no amount of expensive concrete can fix.
I’m not here to give you a lecture from a textbook or some glossy brochure filled with jargon that doesn’t mean a damn thing when it’s raining and the truck is idling. I’m going to give you the truth, straight from forty-three years of seeing what happens when things go south. We’re going to talk about the overlaps, the punctures, and the absolute necessity of getting the ground right before that plastic even touches the dirt. This isn’t about theory; it’s about making sure your slab stays dry and your hard work actually lasts.
Table of Contents
Why Moisture Barrier Installation Fails Before the Pour
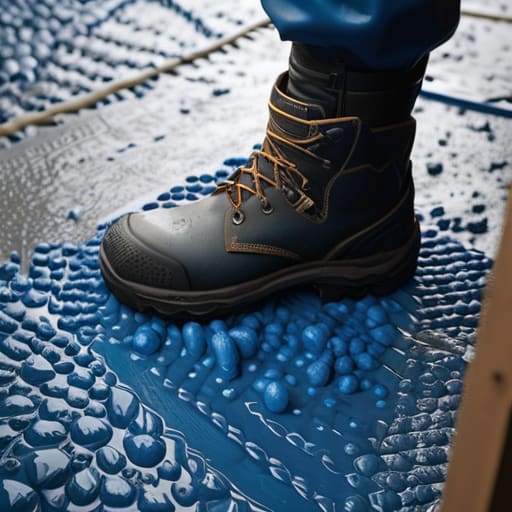
I’ve seen it a thousand times: a crew arrives, sees the plastic rolls in the back of the van, and treats the installation like a race to see how fast they can spread it over the hardcore. They think they’re just laying down a sheet, but they’re actually setting the stage for a nightmare. Most moisture barrier installation failures don’t happen because the material is rubbish; they happen because the lads are being lazy. They’ll walk right over a puncture with a heavy boot or leave a gap at a corner because it’s too much bother to trim it properly. If that membrane isn’t tight and continuous, you might as well not have laid it at all.
The real killer, though, is the lack of attention to the joints. You can buy the most expensive damp proofing membrane types on the market, but if you aren’t disciplined with your membrane seam sealing, the groundwater will find its way through those tiny gaps like it’s looking for a payday. I’ve stood on sites where the sub-base was perfectly level, yet the slab still suffered because someone thought a bit of tape or a sloppy overlap was “good enough.” It never is.
Choosing Damp Proofing Membrane Types That Actually Last
Now, don’t go thinking all plastic sheeting is created equal. I’ve seen lads try to save a few quid by rolling out some thin, flimsy polythene that looks like it belongs in a bin bag, only to have it puncture the second a heavy boot or a piece of aggregate touches it. When you’re looking at different damp proofing membrane types, you need to stop looking at the price per roll and start looking at the micron rating and the puncture resistance. If you aren’t using a heavy-duty, reinforced membrane, you aren’t installing a barrier; you’re just laying down a temporary nuisance that’ll be shredded before the first truck even arrives.
You also need to consider the specific environment. If you’re dealing with aggressive ground conditions or high water tables, standard polyethylene might not cut it. You might need something more substantial for proper structural moisture protection. And for heaven’s sake, pay attention to the overlaps. I’ve lost count of how many slabs have failed because someone thought they could just lay one sheet over another without any proper membrane seam sealing. If the water can find a way through the joins, it doesn’t matter how thick your membrane is—the ground will still win.
Five Ways You’ll Screw Up Your Membrane Before the Concrete Hits the Ground
- Stop treating the membrane like a tablecloth. If you just roll it out over a sub-base that hasn’t been compacted properly, you’re going to end up with sharp stones poking through the plastic the second the weight of the wet concrete hits it. You need a sand blinding or a fine layer of grit to protect that sheet, otherwise, you’re just pouring money into a punctured bag.
- Watch your laps like a hawk. I’ve seen lads try to save twenty minutes by just overlapping the edges of the membrane by a couple of inches. That’s a joke. You use proper jointing tape or you overlap them enough that even a heavy pour won’t force them apart. If the moisture can find a way through the seam, it will, and it won’t care how expensive the roll was.
- Get the edges right or don’t bother. A membrane that’s just sitting loosely on the ground is useless. It needs to be tucked into the perimeter or fixed so it doesn’t migrate when the concrete starts flowing. If the membrane moves during the pour, you’ll end up with a gap at the edge, and that’s exactly where the damp will start creeping up your walls.
- Don’t let the site lads walk all over it. I can’t tell you how many times I’ve arrived on a job only to find a membrane that looks like it’s been through a war zone because someone decided to use it as a walkway for their tools and boots. If you puncture it with a screwdriver or a heavy boot, you might as well not have laid it at all.
- Check the weather before you commit. If you’re laying a membrane in a gale or a downpour, you’re asking for trouble. If the ground is saturated and muddy, you aren’t laying a barrier; you’re laying a trap for moisture. Wait for a dry window so the membrane actually sits flush against the sub-base, not floating on a layer of muck.
Don't Let a Cheap Membrane Sink Your Reputation
At the end of the day, a damp proof membrane isn’t just a bit of plastic you roll out to tick a box on a site inspection. It’s the barrier between your hard work and the ground that’s constantly trying to rot it out from underneath. If you’ve ignored the sub-base, failed to overlap your sheets properly, or—God forbid—let someone add water to the mix to make it easier to spread, you’re just building a future headache. You can buy the most expensive polythene on the market, but if the installation is rushed and the joints aren’t taped tight, you might as well have poured it straight onto the mud. Get the prep right, get the membrane right, and get the joints right.
I’ve spent forty-three years watching people try to cut corners to save a few quid or an hour of labor, and I can tell you this: the ground never forgets. You can hide a bad membrane under six inches of concrete, but the moisture will find its way up eventually, and it’ll take your floor finishes with it. Do it properly the first time. It’s more work, and it’s certainly less glamorous than the actual pour, but doing it right is the only way to sleep soundly when the heavy rains start hitting that slab. Build it to last, not just to finish.
Frequently Asked Questions
How do I know if my sub-base is dry enough to lay the membrane without trapping moisture underneath?
You don’t use a sensor; you use your hands and your eyes. If you dig a small pit and the soil feels spongy or stays clumped in your palm, it’s too wet. If you see standing water or “pumping” when you walk across it, walk away. You want a firm, dry sub-base. If you trap that moisture under a plastic sheet, you aren’t building a floor—you’re building a steam cooker that’ll ruin your slab from the bottom up.
What’s the proper way to tape the joints so they don't pull apart when the slab starts to settle?
Listen, if you’re just slapping a bit of cheap duct tape over the overlaps, you’re asking for trouble. When that slab settles, the ground moves, and that tape will peel like a bad sunburn. You need a proper heavy-duty, pressure-sensitive seam tape—something designed to bond with the membrane itself. Overlap your sheets by at least 150mm, and don’t be stingy. Use a weighted roller to work the tape in. If it isn’t pressed tight, it isn’t sealed.
If I’ve already poured the concrete and I see dampness coming through, is it too late to fix the membrane?
Too late? If you’re looking at dampness bleeding through a finished slab, you’re already staring at a failure. You can’t “fix” a membrane that’s buried under tons of concrete any more than you can fix a bad foundation once the house is up. At this stage, you’re not repairing; you’re managing damage. You’ll be looking at topical sealers or epoxy injections, but let’s be honest—those are just bandages on a wound that should’ve been prevented.



