I’ve lost count of how many times I’ve stood in front of a garden wall, watching some lad with a bucket of ready-mix mortar trying to “fix” a crumbling joint, only to see it crack and fall out within six months. Most people think learning how to repoint a wall is just about buying a bag of cement and smearing it into the gaps, but that’s a bloody lie. If you don’t understand the relationship between your mortar and the brick itself, you aren’t repairing anything; you’re just masking a failure that’s going to come back twice as hard when the first frost hits.
I’m not here to give you a polished, textbook lecture that ignores the reality of a damp afternoon on a job site. I’m going to show you the actual sequence that matters: how to rake out the old junk without wrecking the masonry, how to pick a mix that won’t trap moisture inside your bricks, and why the prep work is the only thing that actually keeps the wall standing. I’ll give you the honest, no-nonsense method for how to repoint a wall so that once you’re finished, you can actually walk away and forget about it.
Table of Contents
Guide Overview
Tools & Supplies
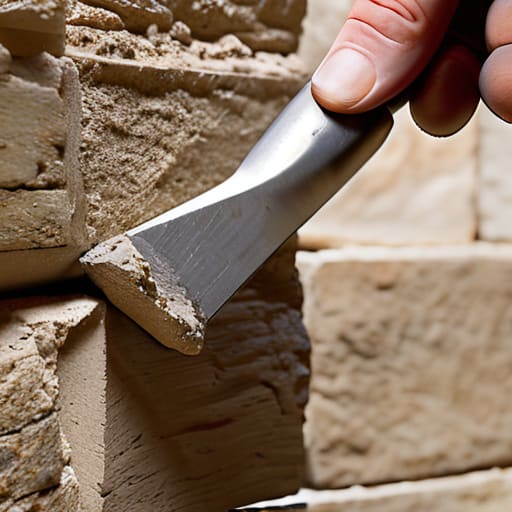
- Hammer and bolster chisel for removing old mortar
- Stiff wire brush for cleaning joints
- Pointing trowel for applying new mortar
- Mortar mix or lime putty (1-2 bags)
- Water (as needed for mixing)
Step-by-Step Instructions
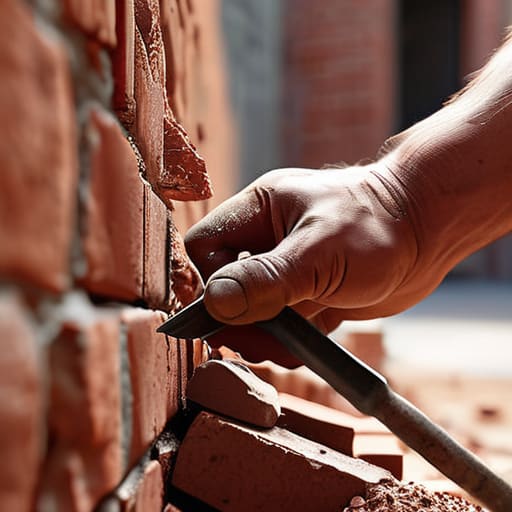
- 1. Before you even touch a chisel, you need to get the old stuff out. I’ve seen lads try to just smear new mortar over the top of crumbling joints, and let me tell you, it’s a waste of good material. You need to rake out the failed mortar to a depth of at least twice the width of the joint. If you don’t get deep enough, the new stuff won’t have anything to actually grip onto, and you’ll be back here in six months staring at the same cracks.
- 2. Once the joints are empty, you’ve got to clean the hell out of them. I’m talking about getting rid of every bit of dust, loose grit, and organic growth. Use a stiff brush or even a bit of compressed air if you’ve got it. If you leave a layer of fine dust sitting in that cavity, your new mortar is just going to be floating on a bed of powder instead of bonding to the brickwork.
- 3. Now, here is where most people skip a beat: you have to dampen the substrate. If you pour fresh, wet mortar into a bone-dry brick, that brick is going to act like a sponge and suck the moisture straight out of your mix before it has a chance to cure. You want those joints damp, but not dripping. If you don’t manage the moisture levels here, you’re essentially guaranteeing a failure before the trowel even leaves your hand.
- 4. Don’t go running to the shop and buying the most expensive, modern cement mix you can find without checking what the wall was originally built with. If you’re working on an old building, you likely need a lime-based mortar, not a hard Portland cement. If you put something too stiff and impermeable against old, soft bricks, the moisture can’t escape, and the bricks will start to spall and face-off because the mortar is harder than the masonry itself.
- 5. When you start packing the joints, don’t just skim the surface. You need to use a pointing tool or a small trowel to firmly compact the mortar into the cavity. You want to eliminate any air pockets. I always tell my apprentices: if you aren’t feeling the resistance as you pack it in, you haven’t gone deep enough. You’re building a structural seal, not just painting a line.
- 6. Once the mortar is “thumb-print hard”—that’s when it’s set enough to hold its shape but still slightly soft—you need to finish the joint profile. Whether you’re doing a weather-struck joint or a flush finish, do it with a steady hand. But don’t overwork it. If you keep messing with it once it starts to set, you’ll disturb the surface tension and end up with a mess that looks like it was done by a child.
- 7. The final, and most ignored, step is controlled curing. You can’t just finish a beautiful wall and then leave it to bake in the midday sun or get hit by a sudden downpour. If it dries too fast, it cracks; if it stays too wet, it won’t set. Cover it with some damp hessian or fine mist it lightly over the next few days. It’s the slow, steady hydration that determines if that wall stands for another fifty years.
Removing Old Mortar the Dirty Work That Determines Everything
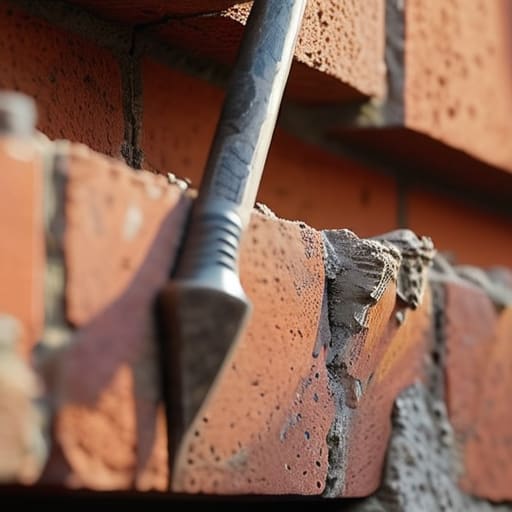
Listen, if you think you can just scrape the surface and call it a job, you’re already halfway to a failure. Most people treat removing old mortar like a quick tidy-up, but it’s the most critical part of the whole process. If you leave even a tiny bit of that old, crumbly material behind, your new mix won’t grab onto anything. It’ll just sit there like a loose tooth, and the first time the frost hits, it’ll pop right out. You need to get in there deep—usually about twice the width of the joint—to ensure you’ve got a clean, fresh face for the new material to bond to.
Don’t go at it with a massive hammer and chisel if you can help it; you’ll end up battering the edges of the bricks, and once you’ve chipped the face off a brick, there’s no fixing that. Use the right brickwork restoration tools, like a proper bolster or a small electric grinder with a diamond blade if the job is big enough. But watch yourself—if you’re too aggressive, you’ll ruin the masonry. You’re looking for a consistent masonry joint depth all the way around. If your prep is shallow and uneven, the rest of your work is just a waste of good lime.
Lime Mortar vs Cement Choosing the Right Soul for Your Masonry
Now, this is where most people make a decision they’ll be paying for ten years down the line. You’ll see lads on site grabbing a bag of ready-mix cement because it’s cheap and sets like rock, but if you’re working on anything older than a few decades, that’s a recipe for disaster. The big debate of lime mortar vs cement isn’t just academic; it’s about how the building breathes. Cement is too stiff and too waterproof. When the ground shifts or the temperature swings, a cementitious mix won’t budge, so it forces the stress into the bricks themselves. That’s how you end up with spalling—where the face of your brick literally snaps off because the mortar wouldn’t give way.
If you’re doing proper mortar joint repair on an old property, you want lime. It’s softer, it’s flexible, and it allows moisture to escape through the joint rather than trapping it inside the masonry. I’ve seen too many “quick fixes” where someone used a hard Portland cement on soft, reclaimed brick, only to watch the whole wall start crumbling within two seasons. Don’t try to outsmart the physics of the building. If the wall was built to move, your repair needs to move with it.
Five Things You’ll Learn the Hard Way if You Don't Listen
- Stop the “Watering Down” Habit: If you’re tempted to add a splash of water to your mortar mix because it’s getting stiff, put the bucket down. You’re just inviting shrinkage cracks into your new joints before the sun even goes down. Mix it to the right consistency at the start, or don’t bother starting at all.
- Mind the Depth: Don’t just skim the surface like you’re icing a cake. If you haven’t raked out the old, crumbly stuff at least twice as deep as the joint is wide, that new mortar is just a decorative skin. It’ll pop right out the first time the wall breathes or the temperature shifts.
- Respect the Weather: I’ve seen too many lads try to be heroes and repoint on a day that looks “fine” but has a biting wind or a heatwave coming. If it dries too fast, it cracks; if it stays sodden, it won’t set. If the forecast looks dodgy, stay in the van. The wall isn’t going anywhere.
- Match the Strength, Not Just the Colour: You can get the mortar to look identical to the old stuff, but if you use a hard, modern cement mix on an old, soft brick wall, you’re going to destroy the masonry. The mortar should be the sacrificial part of the wall. If the mortar is harder than the brick, the bricks will shatter when the building moves.
- Clean the Face Before You Commit: I’ve walked past plenty of “finished” jobs where the bricks are stained with mortar smears. Don’t let that happen. Brush the excess off while it’s still workable, and once it sets, don’t go hacking at it with a wire brush later. You’ll just scar the face of the brick and end up with a mess that looks worse than the original crack.
Don't Just Patch It, Fix It
At the end of the day, repointing isn’t about making a wall look pretty for a single afternoon; it’s about understanding the physics of what’s holding that masonry up. If you’ve spent the time digging out the old, crumbly stuff properly and you’ve actually bothered to match your mortar to the original stone instead of just grabbing the cheapest bag of cement from the yard, then you’ve done the hard part. Remember, you aren’t just filling gaps; you are restoring the structural integrity of the entire face. If you skip the prep or ignore the moisture levels in the substrate, you might as well be throwing your money straight into the skip, because that new mortar will be popping out before the next season’s frost hits.
I’ve seen too many lads try to rush a job to get home for tea, only to have me called back six months later to explain why their “fix” has turned into a mess of cracks and damp. Take the time to do it right. There is a massive amount of satisfaction in looking at a wall and knowing that because you respected the sub-base and the chemistry of the mix, it’s going to stand there for another fifty years. Do the work that nobody sees, and you’ll build something that actually lasts.
Frequently Asked Questions
I've noticed some of my old bricks are starting to flake and crumble away—is that because I used the wrong mortar, or is the brick itself just shot?
It’s usually a bit of both, but my money is on the mortar. If someone used a hard, cement-heavy mix on old, soft bricks, they’ve effectively turned that wall into a slow-motion wrecking ball. The mortar should be the sacrificial part—it needs to breathe and give way before the brick does. If the mortar is harder than the brick, the moisture gets trapped, freezes, and blows the face right off your masonry.
How deep do I actually need to rake out the old joints before I start putting the new stuff in, or am I just wasting my time if I don't go all the way back?
If you’re only skimming the surface, you’re just painting over a corpse. You need to rake out at least twice the width of the joint, and ideally, go about 20mm to 25mm deep. If you don’t get deep enough, that new mortar has nothing to grip onto; it’ll just sit there like a scab and pop right off when the wall breathes. Don’t be lazy—if you haven’t cleared the way for a real bond, you’re wasting your time.
If I'm doing this in the middle of a dry spell or if it's looking like we'll have a heatwave, how do I stop the new mortar from drying out too fast and cracking before it's even set?
If you’re pouring in a heatwave, you’re fighting a losing battle unless you respect the cure. Heat sucks the moisture out of the mix before the chemical bond even happens, leaving you with nothing but dust and hairline cracks. Don’t just leave it to bake. Get some damp hessian or polythene over those joints immediately. Keep it shaded and mist it down—not soaking, just damp. If the mortar dries too fast, it’s dead before it’s even set.