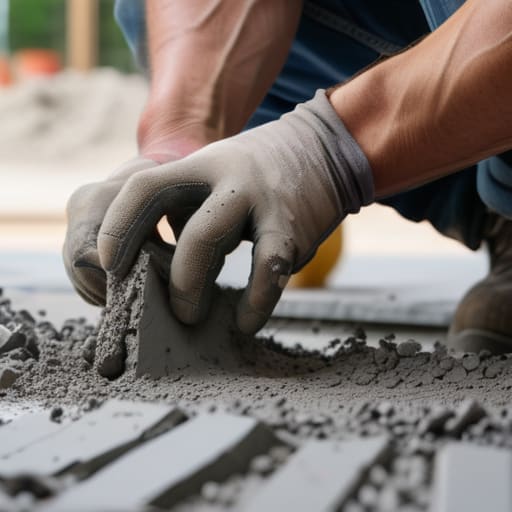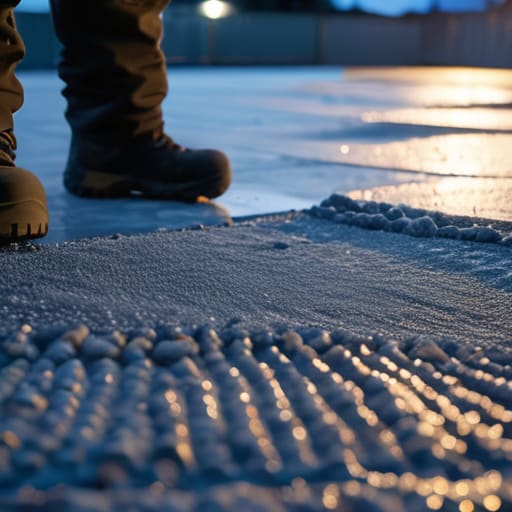
I remember standing on a job site in ’94, watching a lad try to save a few quid by just throwing some old tarps over a fresh slab while the mercury was plummeting. He thought he was being clever, but by sunrise, that concrete was nothing more than a cracked, useless mess of ice and disappointment. People think frost protection is about slapping a bit of plastic down at the last second, but that’s a lie. If you want to know how to protect a pour from frost, you need to stop thinking about the surface and start thinking about the heat of hydration and the ground beneath your boots.
In this guide, I’m not going to feed you any of that textbook nonsense or suggest expensive chemical additives that do nothing but thin your mix. I’m going to tell you exactly how to manage your timing, how to prep your sub-base so it doesn’t steal your warmth, and which blankets are actually worth the weight. We’ll cover the real-world sequence of pre-heating and post-pour care so you aren’t left staring at a ruined foundation come morning.
Table of Contents
Guide Overview
Tools & Supplies
- Shovel or spade to clear debris
- Thermometer to monitor ambient temperature
- Heavy-duty polyethylene plastic sheeting (1 roll)
- Insulated concrete blankets or straw/hay (3-5 bales)
- Sandbags or bricks to weigh down edges
Step-by-Step Instructions
- 1. First thing you do is check the forecast, but don’t just look at the temperature; look at the humidity and wind chill. If the ground is already frozen solid, you aren’t pouring, period. You can’t pour fresh concrete onto a frozen sub-base and expect it to hold; you’ll end up with a layer of ice trapped under your slab that’ll cause it to heave come spring. If that ground hasn’t been thawed out properly, walk away from the job.
- 2. Once you’ve decided the ground is decent, you need to get your thermal blankets ready before the first truck even pulls up. I don’t care how many people tell you that plastic sheeting is enough; plastic just keeps the moisture in, it doesn’t keep the heat in. You need heavy-duty, insulated curing blankets that can actually trap the exothermic heat generated by the hydration process. If you’re waiting until the concrete is set to start looking for them, you’ve already lost the battle.
- 3. Watch your mix design like a hawk when the temperature starts to dip. You need to talk to the batch plant and ensure you’re getting an accelerated mix, likely with an added dose of non-chloride accelerator. Whatever you do, do not let some lad on site try to “loosen it up” by adding water to the drum when it’s looking stiff. Adding water in the cold is the quickest way to ruin your water-to-cement ratio and guarantee a weak, crumbly mess once it finally sets.
- 4. When the pour is happening, keep the movement steady. You want to get that concrete out, leveled, and finished as quickly as possible to minimize the time it’s sitting there exposed to the biting air. Once you’ve finished the surface, get those blankets down immediately. You aren’t looking for a pretty finish at that moment; you’re looking to seal in the heat before the surface temperature drops below the critical threshold.
- 5. Don’t go thinking you’re done just because the surface looks solid. The real work happens in the next 48 to 72 hours. You need to keep those blankets tucked tight—no gaps, no wind tunnels. If the temperature is swinging wildly between day and night, you might even need to check the underside of the blankets to ensure you haven’t created a damp, cold pocket. You’re managing a chemical reaction here, not just a drying process, and that reaction needs consistent warmth to do its job.
- 6. Finally, and this is where most people get lazy, don’t strip those blankets off the second the sun comes out. If you pull the insulation too early and hit that warm concrete with a sudden blast of freezing air, you’ll get thermal shock. That’ll cause micro-cracking throughout the entire slab that you won’t see until a year later when the whole thing starts to fail. Let the temperature equalize slowly and naturally before you even think about uncovering your work.
Managing the Concrete Hydration Process Before It Freezes

Now, listen close, because this is where most lads lose their shirts. You can have the best mix design in the county, but if you don’t respect the concrete hydration process, you’re fighting a losing battle. Hydration isn’t just some textbook term; it’s a chemical reaction that generates its own heat. If that heat gets sucked out of the slab by a biting wind before the crystals have locked together, you’re not just looking at a surface issue—you’re looking at structural ruin. You need to treat that internal heat like gold.
If you see the temperature dropping, don’t just throw a bit of plastic over it and hope for the best. You need proper thermal blankets for concrete that actually trap that metabolic heat. I’ve seen too many youngsters try to save a few quid on insulation, only to find they’ve spent the next week preventing ice crystals in fresh concrete from becoming a permanent nightmare of cracks and dusting. You aren’t just covering a surface; you are building a temporary oven. If you don’t manage that heat, the frost will win every single time.
Thermal Blankets for Concrete More Than Just a Cover
Now, listen, if you think throwing a bit of plastic sheeting over a slab is the same as using proper thermal blankets for concrete, you’re asking for a headache come springtime. Plastic just stops the wind; it doesn’t hold the heat. When you’re dealing with a real frost, you need to trap the heat generated by the concrete hydration process itself. That chemical reaction is your best friend—it’s a natural furnace—but if you don’t insulate it properly, that heat escapes into the air faster than a laborer on a Friday afternoon. You want to create a little microclimate right there on the surface.
The biggest mistake I see is people tucking the edges of the blankets under the slab. Don’t do that. If the wind gets under the edge, it’ll suck the heat right out from underneath, and you’ll end up preventing ice crystals in fresh concrete in one corner while the rest is fine. You need to overlap your blankets and weigh the edges down tight. It’s about keeping that internal heat locked in where it belongs. If the temperature drops too fast because your insulation is rubbish, you aren’t just losing heat; you’re losing the structural integrity of the whole pour.
Five Things You’ll Forget When the Frost Hits
- Watch your water-cement ratio like a hawk. I’ve seen too many lads try to make a stiff mix more “workable” by splashing extra water on top when it’s getting cold. You’re just inviting ice crystals to tear through your structure from the inside out. Keep it tight, keep it right.
- Don’t just look at the air temperature; look at the ground. If you’re pouring onto a frozen sub-base, you might as well be pouring into a hole in the ground. That frozen earth will suck the heat right out of your slab before the hydration even gets a foothold.
- Get your heaters in position before the first truck arrives. If you’re scrambling to set up propane heaters while the concrete is already setting, you’ve already lost the battle. You need controlled, ambient heat, not a sudden blast of hot air that’ll crack your surface through thermal shock.
- Check the forecast for more than just “cold.” You need to know if there’s a wind chill coming or a sudden drop at 3:00 AM. A bit of wind can strip the heat off a fresh pour faster than you can say “failed inspection,” so have your windbreaks ready to go.
- Stop obsessing over the finish and start worrying about the cure. A smooth surface looks great for five minutes, but if you haven’t protected the internal temperature, that pretty finish is going to be a spiderweb of cracks by morning. The job isn’t done when the screed is level; it’s done when the heat is stable.
Don't Leave It to Luck
At the end of the day, protecting a pour from frost isn’t about having the most expensive gear on the site; it’s about respect for the process. You’ve got to get that sub-base right so you aren’t fighting a frozen ground underneath, you need to watch your hydration like a hawk, and you’d better have those thermal blankets ready before the first truck pulls up. If you try to scramble and fix things once the temperature starts dropping, you’ve already lost the battle. It all comes down to the preparation—managing the heat, managing the moisture, and making sure you aren’t just pouring money into a frozen mess because you wanted to save twenty minutes on setup.
I’ve seen too many young lads think they can outsmart the weather with a bit of luck and a prayer, only to come back to me six months later pointing at cracks that should never have been there. Concrete is a living thing while it’s curing, and if you treat it with the proper care during those critical first hours, it’ll stand for decades. Do the job right, watch the forecast, and don’t let anyone talk you into a shortcut just because the clock is ticking. A bit of extra graft now means you won’t be back here fixing a disaster later.
Frequently Asked Questions
If I use those chemical accelerators to speed up the set, am I just masking a sub-base that's too cold to begin with?
Listen, you’re asking the right question, but you’re looking at it sideways. Accelerators aren’t a band-aid for a frozen sub-base; they’re a way to kickstart the chemistry. If your ground is a block of ice, no amount of calcium chloride is going to stop that slab from cracking when it eventually settles. You don’t use chemicals to hide a cold base—you use them to get the heat generated before the frost wins. Fix the ground first.
How do I know if the frost is going to get under the slab through the ground before the concrete even has a chance to harden?
You’re asking the right question, and that’s where most lads go wrong—they only look up at the sky. If you’ve got a high water table or your sub-base is nothing but damp, loose muck, you’re in trouble. I always check the frost line. If the ground is saturated, that cold is going to migrate straight up through the hardcore and steal the heat right out of your mix before it’s even set. Check your moisture levels first.
Is it worth it to keep the blankets on for three days if the sun comes out, or am I just asking for thermal cracking by trapping too much heat?
Listen, you can’t just peel the blankets off the second you see a bit of blue sky. If the sun hits a warm slab that’s still hydrating, you’ll get a massive temperature shock that’ll crack it faster than a sledgehammer. Keep them on. You want a slow, steady decline in temperature, not a rollercoaster. If it gets too hot under there, vent them slightly, but don’t leave your cure to the whims of the weather.