I remember standing on a driveway in Surrey back in ’98, watching a lad in a clean high-vis vest try to explain to a homeowner why their expensive limestone patio was buckling. He was talking about “specialist polymer-modified resins” and “surface-level aesthetic integration,” but all I could see was a man trying to hide the fact that the sub-base had washed away like sugar in tea. People think how stone repairs are carried out is all about finding the right colored paste to smear into a crack, but that’s a bloody lie. If you don’t understand why the stone moved in the first place, you aren’t repairing anything; you’re just decorating a disaster.
I’m not here to sell you on fancy chemical additives or expensive gadgets that promise a miracle overnight. I’ve spent forty-three years watching things crack, shift, and fail, and I’ve learned that the real work happens where nobody is looking. In this article, I’m going to show you the actual, gritty reality of how stone repairs are carried out when you do it right. We’re going to talk about the unseen foundations, the moisture levels, and the proper sequence of work that ensures your repair actually lasts longer than the next heavy rain.
Table of Contents
Why Repointing Stone Masonry Fails Without the Right Substrate
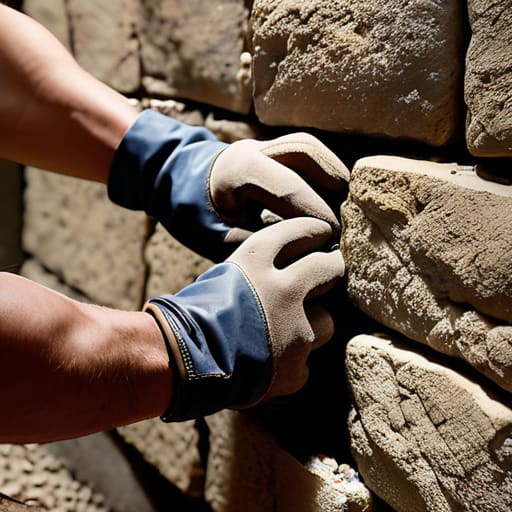
Listen, I’ve seen it a hundred times. A homeowner or a contractor sees a few crumbling joints and thinks they’ve got a simple job on their hands. They grab a grinder, blow out the old stuff, and start shoving new material in. But here’s the truth: if you’re just repointing stone masonry without looking at what’s happening behind the face of that stone, you’re wasting your time and my patience. You can have the most expensive mix in the world, but if the substrate is saturated with rising damp or the internal rubble core has turned to dust, that new mortar is going to pop out like a cork from a bottle within two seasons.
Most people treat the surface like it’s the whole story, but the surface is a lie. Real masonry restoration processes aren’t about making things look pretty for a photo; they’re about managing the movement and the moisture. If the underlying structure is shifting or if you haven’t addressed how the water is actually moving through the wall, you aren’t repairing anything—you’re just painting over a disaster. You have to understand the bones of the wall before you even think about touching the joints.
The Hidden Science of Natural Stone Conservation Methods
Now, don’t go thinking this is just about slapping some new bits of rock into a gap. When we talk about natural stone conservation methods, people tend to get caught up in the aesthetics, but the real work happens in the chemistry of the bond. If you’re working with heritage masonry, you aren’t just filling a hole; you are managing how that stone breathes. If you use a modern, hard cement against a soft, aged limestone, you’ve essentially built a guillotine. The cement is too strong; it won’t give, so when the building shifts or the temperature swings, the stone itself will crack to accommodate the pressure.
The real secret to longevity lies in the lime mortar application. You need a mix that is sacrificial—meaning it’s designed to take the brunt of the environmental stress so the stone doesn’t have to. I’ve seen too many lads rush through masonry restoration processes by using whatever pre-mixed bag was easiest to grab, only to watch the face of the stone spall off six months later. You have to understand the porosity of the substrate before you even think about picking up a trowel. It’s about compatibility, not just filling a void.
Five Things You Need to Get Right Before You Even Touch a Trowel
- Stop treating the mortar like paint. You aren’t just filling a gap; you’re recreating a structural bond. If you don’t match the compressive strength of the original stone, your new, harder mortar will act like a wedge and crack the very stone you’re trying to save.
- Clean the hell out of the joints first. I’ve seen lads try to shove new lime mortar into a gap still choked with old, crumbling grit and dust. It’s useless. If there’s no clean surface for that new mix to bite into, you might as well be trying to glue something to a handful of sand.
- Watch the moisture like a hawk. You can have the finest mix in the county, but if the stone is bone-dry, it’ll suck the life out of your mortar before it even sets. You need to dampen those stones down properly so the repair actually cures instead of just drying out and turning to powder.
- Don’t go chasing the easy way out with cement. I know it’s faster and cheaper, but modern Portland cement is too stiff and too impermeable for most natural stone. It traps moisture inside the stone, and when that water freezes, it’ll blow the face right off your masonry. Use the lime, even if it takes more patience.
- Check your depth before you commit. A shallow repair is a temporary fix, and I don’t do temporary. If you’re just skimming the surface, you’re setting yourself up to be called back in six months when the patch falls out. You need to go deep enough to ensure the repair is part of the wall, not just a decorative layer.
Don't Just Patch the Hole
At the end of the day, carrying out a proper stone repair isn’t about how much new mortar you can shove into a gap to make it look pretty for a photo. It’s about the work you did three hours before the bucket even touched the stone. If you haven’t cleaned out the debris, matched the lime content to the original build, and ensured the substrate is actually stable, you aren’t repairing anything—you’re just delaying the inevitable. You can buy the most expensive specialty mortars on the market, but if you ignore the moisture levels or the way the stone breathes, you’re just waiting for the next crack to appear.
I’ve spent forty-three years watching people try to take shortcuts, and I’ve seen those same shortcuts come back to haunt them every single time. Real masonry work is slow, it’s tedious, and it requires a level of patience that most modern crews seem to have lost. But there is a massive amount of pride to be found in doing it right. When you stop looking at the surface and start respecting the integrity of the entire structure, you stop being a guy with a trowel and you start being a craftsman. Do the prep, respect the stone, and build something that actually lasts.
Frequently Asked Questions
If the stone itself is crumbling or "spalling," is there any point in botherin' with the mortar, or is the whole thing a lost cause?
Look, if the stone is spalling—meaning it’s flaking off like a bad sunburn—you’re fighting a losing battle if you only fix the joints. You can put the finest lime mortar in the world between those stones, but if the face of the masonry is disintegrating, that mortar won’t save it. You have to decide: do you patch the face, or do you pull the stone out and replace it? Don’t bother with the mortar until you’ve addressed the stone’s integrity.
How do I know if I should be usin' a hard cement-based mix or if I need to go back to the old way with lime to let the wall breathe?
You look at the stone, not the mortar. If it’s soft, weathered sandstone or old rubble, and you slap a hard cement mix on it, you’ve just signed its death warrant. That cement won’t budge, so the moisture gets trapped, builds pressure, and eventually blows the face right off your stone. If the wall needs to breathe to stay dry, you use lime. Don’t try to outsmart the physics of the wall with a hard patch.
Once the new pointing is in, how do I stop the weather from just stripping it right back out again in two years' time?
You don’t stop the weather; you work with it. If you’ve used a cement that’s harder than the stone itself, the frost will just pop the face off your masonry to get to the moisture trapped inside. You’ve got to match the mortar’s breathability to the stone. If the moisture can’t escape through the joints, it’ll find its way out through the stone, and that’s when you get your cracks.