I remember standing on a site in the Midlands back in ’98, watching a lad try to pitch a drainage system on ground that looked solid enough but was nothing more than a sponge in disguise. He’d skipped the basics, and within two seasons, the whole lot was a sodden, stinking mess that cost the client a fortune to rip out and redo. Most people think a percolation test is just some bit of paperwork you tick off to keep the inspectors happy, but let me tell you, if you don’t know exactly how to carry out a percolation test properly, you’re just gambling with your foundation. You aren’t just measuring water; you’re figuring out if the earth is going to work with you or betray you the moment the rain starts coming down.
I’m not here to give you some textbook lecture or a list of regulations that’ll put you to sleep. I’m going to show you the real way to do it—the way that ensures you aren’t back there in three years digging up a disaster. We’ll go through the actual tools you need, the exact way to time the soakage, and how to read what the soil is actually telling you.
Table of Contents
Guide Overview
Tools & Supplies
- Shovel for digging the test pit or hole
- Tape measure for measuring depth and diameter
- Stopwatch or smartphone for timing water absorption
- Ruler for measuring water level changes
- Water (large quantity depending on soil type)
- Marking paint or stakes to delineate the area
- Notebook and pen for recording observations
Step-by-Step Instructions
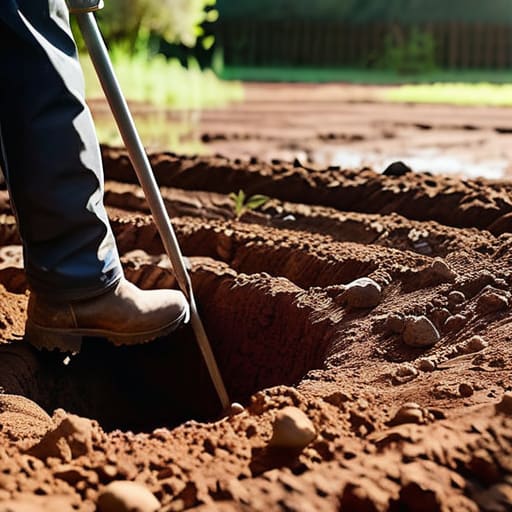
- 1. First thing you need to do is find a spot that isn’t a complete disaster, but you can’t just pick any random patch of grass. You need to locate an area that’s representative of where your drainage or soakaway is actually going to sit. Grab a spade and dig a hole—usually about a meter deep and a meter wide—and make sure you’re not digging into a patch of rubbish or hardcore left over from some previous builder’s mistake. If you’re digging into a pile of old bricks and lime, your test results are going to be a total lie.
- 2. Once you’ve got your hole dug, you need to get the bottom of it settled. I’ve seen too many lads just throw water into a loose, crumbly pit and wonder why the levels won’t stay still. You need to fill that hole with water and let it soak in until the soil is completely saturated. You’re trying to mimic how the ground will behave when it’s actually been rained on for three days straight, not how it behaves when it’s bone dry in the middle of August.
- 3. Now, you need to get your measuring gear ready. Don’t go trying to eyeball this with a piece of string; you need a straight ruler or a measuring stick and a way to mark the levels. Once the ground has had its fill and the water level stops dropping on its own, you’re ready to start the actual timed part. You’ll be adding a specific amount of water back into the hole—usually a set depth like 50mm or 100mm—and then you start your stopwatch.
- 4. This is where the patience comes in, and most people fail here because they get restless. You need to record how long it takes for that specific amount of water to drop to a certain level. Don’t just take one reading and call it a day; you need to repeat this process at least four or five times. If the water disappears in two minutes one time and takes twenty the next, you haven’t got a consistent reading, and you’ve got no business moving forward with your design.
- 5. Take those readings and calculate the average rate of percolation. You’re looking for how many millimetres the water level drops per minute. If the ground is drinking that water faster than a thirsty man at a pub, you might think you’re golden, but if it’s barely moving, you’re looking at a potential swamp. Use those averages to work out your soakaway size, and for heaven’s sake, if the numbers look dodgy, don’t try to “make it work” on the fly.
- 6. Finally, write it all down. I don’t care if you think you’ll remember the numbers, you won’t. Keep a clear log of the depth, the time, and the soil type you encountered. If a building inspector or a disgruntled customer comes sniffing around later asking why the ground is turning into a bog, you want to be able to show them the actual data you collected. It’s the only way to prove you didn’t just guess.
The Perc Test Equipment List Tools for Real Soil Assessment
Now, don’t go thinking you can just grab a kitchen bucket and a garden spade and call it a day. If you want a proper soil drainage capacity assessment, you need tools that don’t bend or break when they hit a bit of clay or a buried stone. I’ve seen lads try to use a standard shovel for a test hole, only to spend three hours fighting a single root, getting nowhere. You need a proper post-hole digger or a heavy-duty spade, and if the ground is anything remotely stubborn, a pickaxe is non-negotiable.
When it comes to your perc test equipment list, don’t overlook the small stuff that actually makes the math work. You’ll need a straight-sided container—something like a graduated cylinder or a very precise measuring bucket—because if your water levels are off by even a fraction, your whole calculation is rubbish. Get a stopwatch, too; guessing how long it takes for the water to drop is a shortcut that leads to a failed inspection later. And for heaven’s sake, get a measuring tape that isn’t frayed. If your perc test hole dimensions are inaccurate because your tape is stretched, you’re building a system on a lie.
Interpreting Soil Percolation Results Before the Ground Settles
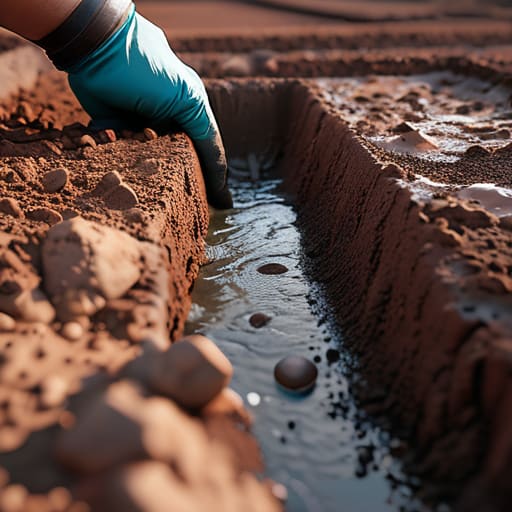
Now, once you’ve got your numbers written down on a scrap of paper, don’t go thinking you’re finished. A number on a page doesn’t tell the whole story; it’s the context of that number that matters. If you’re looking at your soil absorption rate measurement and it’s sitting right on the edge of what the local authorities allow, you’re playing a dangerous game. I’ve seen plenty of lads get overconfident because the water dropped fast in a test hole, only to find out that an inch deeper, they hit a layer of heavy clay that turns the whole site into a bog. You aren’t just measuring how fast water disappears; you are performing a soil drainage capacity assessment that has to account for the worst-case scenario, not the best.
If your results are borderline, don’t try to “fudge” the math to make the paperwork look better. If the ground is slow, it’s slow. You can try to dig deeper or widen your perc test hole dimensions, but if the soil is tight, no amount of tinkering will change the physics of it. My advice? If the numbers look dodgy, assume the ground is going to fail you. It’s much cheaper to redesign the drainage layout now than to try and fix a saturated, shifting mess once you’ve already started pouring your foundations.
Five Things Most Lads Forget When Digging the Test Pit
- Don’t go rushing in after the first bit of water disappears. You need to let that hole saturate properly; if you don’t let the ground get “full” before you start timing, you’re getting a reading for a dry sponge rather than the real, heavy soil you’ll be building on.
- Watch the weather like a hawk. If you run your test after a week of heavy rain, you’re going to get a false reading that tells you the ground is rubbish, and if you do it during a drought, you’ll think it’s a dream. Pick a day that represents what the ground actually feels like in a normal season.
- Stop trying to cheat the clock. I’ve seen lads try to “speed up” the process by adding a bit of something to the water or just guessing the soak rate because they want to get to the pub. If you don’t time the intervals exactly, your math is useless and your drainage will fail.
- Check the walls of your test pit for any sign of “slumping” or sand bleeding in. If the sides of your hole are falling apart while you’re trying to test it, you’ve got a structural problem that no amount of fancy drainage pipe is going to fix later on.
- Dig deeper than you think you need to. A shallow test hole is a lazy test. You need to see how the water behaves once it gets past that top layer of organic muck and actually hits the real sub-soil that’s going to be supporting your weight.
Don't Skip the Hard Work
Look, if you’ve followed these steps, you’ve done more than most. You’ve dug the hole, you’ve measured the soakage, and you’ve actually sat there long enough to see how that ground behaves when it’s saturated. You didn’t just guess based on how the grass looks in July; you looked at the actual reality of the soil. Remember, the numbers you get from this test aren’t just some paperwork to tick off for a building inspector—they are the only thing standing between a drainage system that works and one that turns your site into a swamp. If your percolation rate is too slow, you don’t push through it and hope for the best; you rethink the entire design before a single drop of concrete is poured or a pipe is laid.
At the end of the day, I’ve seen enough cracked slabs and failed soakaways to know that nature always wins if you try to cheat it. You can buy the most expensive materials on the market, but if you ignore what’s happening beneath the surface, you’re just throwing money down a hole. Do the test, respect the soil, and get the foundation right the first time. It might feel like a chore now, but I promise you, you’ll sleep a lot better ten years down the line when you aren’t staring at a flooded garden or a sinking patio.
Frequently Asked Questions
What happens if I run the test when the ground is already sodden from a week of rain?
If you run a test on ground that’s already waterlogged, you’re not testing soil; you’re testing a swamp. Your results will be useless. You’ll get a percolation rate that suggests the ground is impenetrable, leading you to specify a massive, expensive drainage system you don’t actually need. Or worse, you’ll design for a site that’s “dry” only because it’s currently a soup. Wait for a dry spell. You need to see how the soil behaves when it’s actually thirsty.
How much of a difference does it actually make if I dig the hole a bit shallower than the instructions say?
It makes all the difference, and not in a good way. If you’re skimping on depth, you’re only testing the top layer of soil—the stuff that’s been disturbed, dried out, or messed with by whatever was sitting on top of it. You’ll get a reading that looks great on paper, but as soon as you start pouring and the weight hits, the real subsoil will behave completely differently. Don’t cheat the hole; you’ll just be paying for it later.
If my results are borderline, should I go with a larger soakaway or just hope for the best?
Hope is not a drainage strategy. If your results are sitting right on the line, you don’t “hope for the best”—you size up for the worst. I’ve seen too many lads try to save a few quid on a smaller soakaway, only to end up with a swamp in their garden three years later when the ground settles. If it’s borderline, go larger. It’s cheaper to dig a bigger hole now than to rip out a failed system later.



