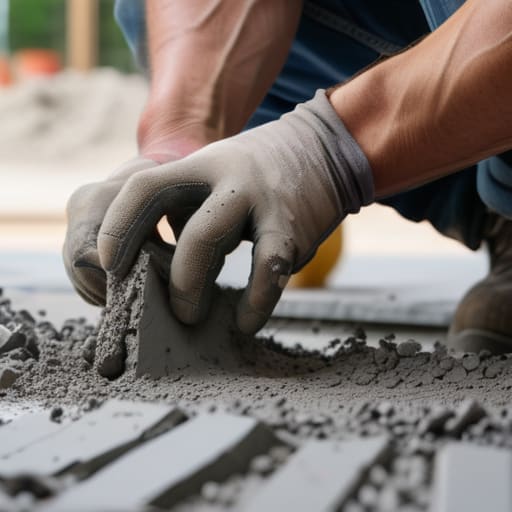
I remember standing on a site in ’94, watching a lad try to run a power trowel over a slab that was still weeping bleed water like a broken tap. He thought he was being efficient, but all he was doing was smearing the cream into a muddy mess that’d eventually delaminate and flake off like old paint. People get so obsessed with the shiny, mirror-like finish that they forget the physics of what’s happening underneath the blades. They ask me how power floating works as if it’s some magic trick to hide a bad pour, but if you don’t respect the timing and the moisture, that machine is just a very expensive way to ruin a perfectly good slab.
I’m not here to sell you on fancy equipment or give you a textbook lecture. I’m going to tell you how it actually works when the weather turns sour and the mix isn’t behaving. I’ll show you why the surface tension matters more than the engine power, and why you should never, ever rush the process just to get home early. You’ll get the straight truth on the timing, the grit, and the mistakes that cost me more than they’ll cost you.
Table of Contents
Why Achieving Smooth Concrete Surfaces Begins With the Sub Base
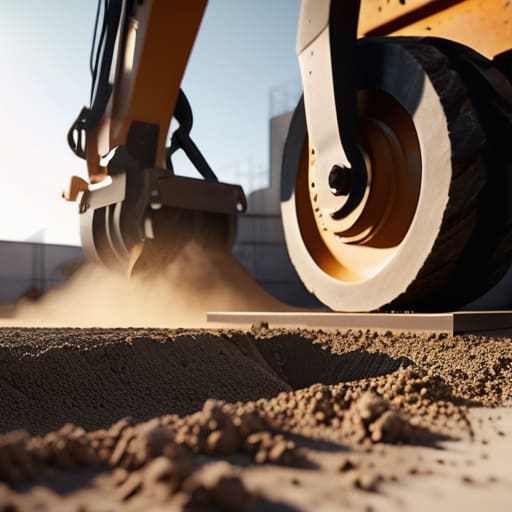
Listen, I’ve seen lads spend a fortune on a top-of-the-line power trowel machine, only to spend the next three years answering the phone to complaining customers about cracks and uneven dips. They think the magic happens when the blades start spinning, but they’ve got it backwards. If your sub-base isn’t compacted to a uniform density, you aren’t achieving smooth concrete surfaces; you’re just polishing a lie. You can have the most skilled operator in the county, but if there’s a soft spot in your hardcore or your blinding is uneven, that slab is going to settle. And once it settles, all the mechanical concrete troweling process in the world won’t save you from a surface that looks like a dried riverbed.
Before you even think about the finish, you need to be obsessed with what’s underneath. I always tell my apprentices: the sub-base is the foundation of your reputation. If you haven’t got a solid, level, and well-compacted base, you’re essentially building on quicksand. You might get a decent looking floor on day one, but the ground will eventually tell the truth. Don’t let a lazy prep job turn your professional pour into a costly mistake.
The Mechanical Concrete Troweling Process Timing Is Everything
You can have the most expensive machine on the site, but if you don’t know when to walk onto that slab, you’re just making a mess. The mechanical concrete troweling process isn’t about brute force; it’s about reading the bleed water. I’ve seen lads rush in with a power float the second the truck finishes, trying to force a finish while the water is still sitting on top. That’s a one-way ticket to dusting and scaling. You wait until that water has disappeared and the slab can support your weight without leaving a footprint. If you start too early, you’re just churning up the cream and trapping moisture underneath.
Once the slab is set enough, you move from leveling to finishing. This is where the real power trowel machine operation kicks in. You start with the blades at a steep angle to move the material around, getting it tight and dense. As the surface hardens, you flatten those blades out. If you try to skip the heavy initial pass, you’ll never achieve that rock-hard, industrial-grade surface. It’s a dance of timing, and if you miss your window, you’ll be fighting the concrete all day.
Five Things the Manual Won't Tell You About Getting a Proper Float
- Watch the bleed water like a hawk; if you see that moisture rising to the top and you try to run a power float over it, you aren’t smoothing the concrete, you’re just churning the paste into a soup that’ll scale and flake off in six months.
- Don’t go chasing a mirror finish too early; you’ve got to let the slab gain enough initial strength to support the weight of the machine, otherwise, you’ll leave ruts in the surface that no amount of hand trowelling will ever fix.
- Keep your blades clean and your eyes on the aggregate; if you start seeing the stones coming up through the surface while you’re floating, you’re overworking it and you’ll end up with a surface that’s brittle and prone to dusting.
- Listen to the machine and feel the vibration through the handles; a good float should feel like it’s gliding, but the moment it starts digging or dragging, you’ve lost your timing and you’re making a mess of the top layer.
- Never, and I mean never, let a lad add a hoseful of water to the surface just because it’s looking a bit “stiff” for the float; you’re just diluting the cement and ensuring that the top inch of that slab will be nothing but dust by next year.
The Final Word on the Finish
Look, if you’ve followed me this far, you know that power floating isn’t some magic trick that turns a bad pour into a good one. It’s just the final stage of a long, disciplined sequence. You can’t skip the prep work on the sub-base, you can’t ignore the importance of the mix design, and for heaven’s sake, you can’t rush the timing. If you try to get that machine on the slab before the bleed water has settled, or if you try to hide a soft base under a shiny surface, you aren’t saving time—you’re just scheduling a future headache. A power float only works if the ground is solid, the mix is right, and you’ve got the patience to wait for the concrete to tell you when it’s ready.
At the end of the day, I want you to take pride in the work that nobody sees. When you walk across a floor that’s as smooth as glass, it’s easy to think the machine did all the heavy lifting. But a real professional knows the truth: the shine is just the victory lap. The real win happened hours earlier, in the trenches and the compaction. Do the job right from the bottom up, respect the chemistry of the pour, and you won’t just have a surface that looks good on opening day—you’ll have a foundation that lasts for decades. That’s the difference between a laborer and a craftsman.
Frequently Asked Questions
How do I know when the bleed water has actually cleared enough to bring the machine in without ruining the surface?
You don’t look for a clock; you look at the surface. If you see a shimmering film of water or even a slight movement when you press a trowel or a piece of timber into it, stay off. If you bring that machine in while there’s still bleed water, you’ll just churn the cream back into the aggregate and leave yourself with a soupy, cratered mess. Wait until the water has vanished and the surface looks dull and matte.
If I'm working in hot, windy weather, how do I stop the top from setting up while I'm still trying to get the base level?
You’re fighting the sun and the wind, and they’re winning. If that surface is skinning over while you’re still battling the levels, you’ve already lost the battle. Stop everything and get some shade cloth over the pour immediately to kill the evaporation. If it’s really bad, you might have to mist it lightly—but don’t you dare let them add water to the mix to “soften” it. You’ll ruin the strength and end up with a dusty, weak mess.
Is it possible to over-float a slab and end up with a surface that's too hard or prone to dusting later on?
You’ve hit the nail on the head. You absolutely can over-float a slab, and it’s a common mistake made by lads trying to show off. If you keep working that machine when the surface is already closed, you’re just crushing the fine aggregates and pulling all the moisture to the top. You end up with a surface that’s brittle, prone to dusting, and likely to delaminate. If you see the surface getting “shiny” too early, back off.