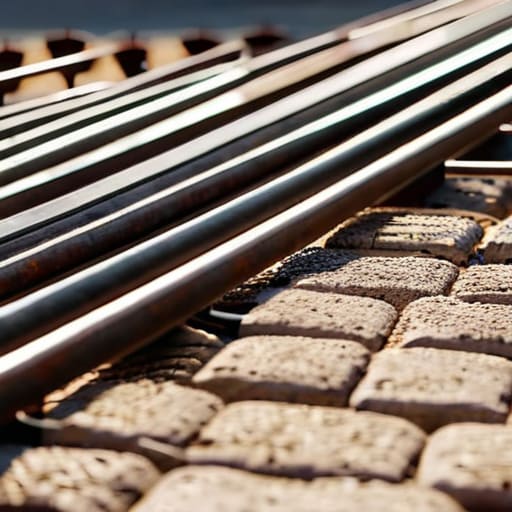
I’ve spent forty-three years watching lads throw expensive mesh and heavy-duty rebar into a trench like they’re building a cathedral, only to watch the whole thing spiderweb with cracks six months later. They think a “complete guide to concrete reinforcement” is just a shopping list of steel grades and diameters, but they’ve got it all wrong. You can pack a slab with more metal than a shipyard, but if your sub-base is soft or some joker on-site adds a hoseful of water to the mix to make it easier to spread, all that steel is just expensive decoration. Reinforcement doesn’t fix a bad foundation; it only manages the tension once the concrete is actually doing its job.
I’m not here to give you a textbook lecture or sell you on some fancy new chemical additive that promises the world. What I’m going to give you is the truth from someone who’s had to fix the mistakes of others for four decades. We’re going to talk about the real sequence: the ground, the placement, and how the steel actually interacts with the pour. This isn’t a theoretical manual; it’s a practical roadmap to making sure your work stays level and unbroken long after the trucks have left the site.
Table of Contents
Why Tensile Strength of Concrete Fails Without Proper Rebar Spacing and Pla
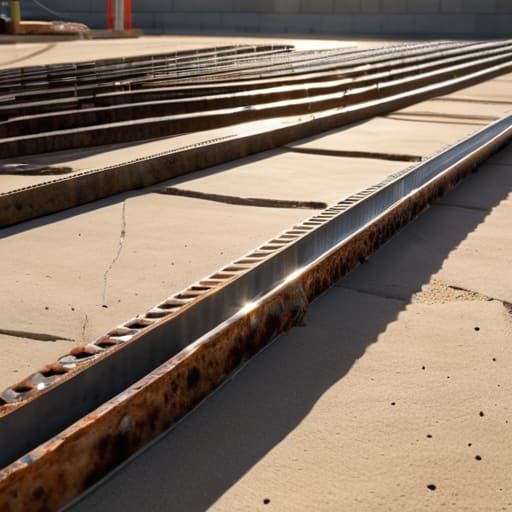
Listen, I’ve seen it a hundred times: a slab looks perfect on pour day, but six months later, it’s a spiderweb of cracks. People love to blame the mix, but they forget that concrete is a bit of a one-trick pony. It’s great at handling weight pushing down on it, but the second you get any tension—like the ground shifting slightly or a heavy load pulling at the edges—it’s useless. That’s why we use steel. But if your rebar spacing and placement are off, that steel might as well not be there at all.
If you bunch all your bars in the middle or, heaven forbid, let them sit right on the dirt, you’ve wasted your money. You need that specific concrete cover requirements to be met so the steel is protected from the elements and positioned exactly where the tension is going to hit. If the rebar is too far apart, the concrete between the bars is left to fight the tension on its own, and it will lose every single time. It isn’t about having the most steel; it’s about having it in the right spot to actually do the job.
The Truth About Steel Reinforcement Types and Their Real World Limits
Now, don’t go thinking that just because you’ve got steel in the mix, you’re home and dry. There’s a massive difference between slapping down some welded wire fabric applications for a light garden path and actually engineering a structural slab. I’ve seen lads try to use light mesh in a driveway because it was easier to lift, only to have the whole thing spider-webbed within six months. You need to understand the specific steel reinforcement types for the job at hand; using the wrong grade or thickness is just a fancy way of wasting your money.
The real killer, though, isn’t usually the steel itself—it’s where you put it. You can have the most expensive rebar on the planet, but if you don’t respect the concrete cover requirements, you’re just building a future rust problem. If that steel sits too close to the surface because some apprentice forgot the spacers, moisture gets in, the steel expands as it corrodes, and it’ll blow the face right off your slab. It’s about protecting the metal so it can actually do its job of preventing concrete cracking over the long haul.
Five Things They Won't Tell You in the Training Manual
- Stop treating rebar like a suggestion. I’ve seen lads throw mesh down on a slab and then walk all over it while the pour is happening. If that steel isn’t sitting in the middle of the pour—held up by proper spacers, not bits of broken brick—it’s just sitting at the bottom doing nothing but rusting. You might as well have poured plain concrete.
- Check your sub-base twice and your reinforcement once. I don’t care how much steel you’ve laid; if that ground underneath hasn’t been compacted properly, the slab is going to settle unevenly. When the ground moves, the steel just follows it down into the crack.
- Watch the water levels like a hawk. The second a driver or a laborer starts adding water to the truck because the mix is “too stiff” to work, they’re weakening the bond between the concrete and your reinforcement. You’re essentially washing away the strength that holds that steel in place.
- Don’t forget the lap length. You can’t just butt two pieces of rebar end-to-end and call it a day. If you aren’t overlapping them according to the spec, you’ve got a built-in fault line. A continuous run of strength is the whole point of using steel in the first place.
- Mind the weather during the cure. If you’ve gone to all the trouble of placing perfect reinforcement but then let the surface dry out too fast in the sun or a heavy wind, you’ll get shrinkage cracks before the concrete even reaches its design strength. The steel can’t fix a surface that’s been cooked dry.
The Bottom Line on Reinforcement
Look, I’ve seen enough cracked slabs to know that you can’t just throw some mesh into a wet pour and call it a day. We’ve talked about why your spacing matters, why the type of steel you choose isn’t just a suggestion, and why all that expensive rebar is completely useless if it’s sitting on a soft, uncompacted sub-base or if it’s resting on the dirt instead of being held in the middle of the pour. You can buy the highest grade steel on the market, but if you don’t respect the sequence of the build—from the ground up to the curing stage—you’re just wasting money. Remember, reinforcement is there to handle the tension, but it’s the foundation and the preparation that actually give that steel a job worth doing.
At the end of the day, I want you to stop looking at reinforcement as an extra cost and start seeing it as your insurance policy. A good pour is about more than just getting the truck to show up on time; it’s about the discipline of doing the things nobody sees, like checking your chairs and verifying your depth. If you take the time to do the groundwork right and respect the chemistry of the mix, you won’t be getting those late-night phone calls about cracks in five years’ time. Do it once, do it properly, and let the work speak for itself long after you’ve walked off the site.
Frequently Asked Questions
If my sub-base is a bit soft or uneven, does adding more rebar actually help, or am I just wasting money on steel?
You’re just throwing good money after bad. If that sub-base is soft or uneven, you aren’t building a foundation; you’re building a trap. Adding more rebar won’t stop the slab from settling or tilting when the ground shifts underneath it. All you’re doing is making a more expensive, reinforced piece of junk that’s still going to crack when the support fails. Fix the ground first. Get your compaction right and your sub-base level. Everything else is just decoration.
How do I know if the lad on the pour is actually keeping the mesh at the right height, or if it's just going to end up sitting on the bottom of the slab?
If you see him just tossing the mesh onto the ground and walking away, stop him right there. That mesh isn’t there for decoration; it needs to be in the middle of the slab to do its job. You check it by looking for the spacers—those little plastic or concrete chairs. If he’s not using enough of them, or if he’s just “kicking” the mesh into place with his boot, it’ll sink to the bottom. If it’s sitting on the sub-base, you might as well not have bought the steel at all.
When am I actually going to see the cracks if the spacing is wrong—is it immediately, or does it take a few seasons of frost?
It’s rarely immediate, and that’s how they catch you out. If the spacing is off, the slab might look grand for a few months, but it’s a ticking clock. You’ll likely see the real trouble once the seasons turn. A hard frost followed by a thaw is the ultimate test; that freeze-thaw cycle finds every weakness in your reinforcement. If the steel isn’t where it should be, the ground movement will find it.



