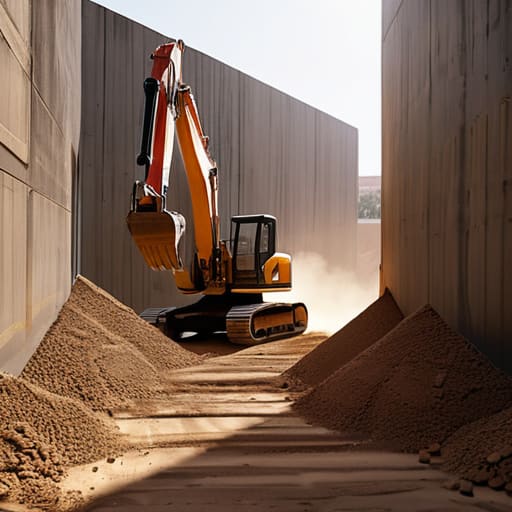
I remember standing on a site in ’94, watching a lad shovel loose muck into a trench like he was filling a hole in a garden. He thought he was being efficient, but I could already see the foundation sinking before the first truck even pulled up. Most people think backfilling is just the easy bit at the end of the job—the housekeeping—but that’s a lie. If you don’t understand how backfilling should be done with proper compaction and moisture control, you aren’t building anything; you’re just burying a ticking time bomb that’ll crack your slab within two seasons.
I’m not here to give you some textbook lecture or a list of fancy machinery you don’t need. I’m going to tell you exactly how I’ve done it for forty-three years to ensure the ground stays put. We’ll go through the layers, the right kind of fill, and why skimping on the compaction is the fastest way to lose your shirt. If you want to do it once and do it right, pay attention to the stuff that happens before the concrete even hits the ground.
Table of Contents
Guide Overview
Tools & Supplies
- Plate Compactor or Tamper for soil stabilization
- Shovel for spreading and leveling material
- Wheelbarrow for transporting soil/gravel
- Fill Dirt or Gravel based on project requirements
- Water source for moisture conditioning
Step-by-Step Instructions
- 1. First thing you do is clear out the rubbish. I’ve seen lads try to backfill around old timber scraps, bits of brick, or even empty beer cans because they were in a rush to get the truck ordered. If you leave any organic matter or loose debris in that trench, it’s going to rot or shift, and once that happens, your sub-base is gone. Clear it out until you’re looking at clean, virgin ground.
- 2. You need to check your moisture levels before you even think about bringing in the fill. If the ground is bone-dry, it’ll suck the moisture right out of your backfill material; if it’s a bog, you’re just pouring money into a puddle. You want that ground just damp enough to hold its shape when you squeeze a handful, but not so wet that it turns to soup.
- 3. Don’t you dare dump all your material in at once and call it a day. You need to work in “lifts”—that’s what we called them on site. You bring in maybe six inches of material at a time. If you try to fill a whole trench in one go, you might get a hard crust on top, but underneath, it’ll be nothing but loose, uncompacted air.
- 4. Now, get the compactor out. Whether it’s a little plate compactor or a heavy rammer, you use it after every single lift. You don’t just run it over the top once; you need to make sure that material is packed tight from the bottom up. If you can walk across your backfill and feel a bit of “give” under your boots, you haven’t done the job right.
- 5. Watch your edges. When you’re compacting against the side of a new foundation or a retaining wall, you have to be careful not to vibrate the structure itself into a mess, but you also can’t leave a gap. You need to get that compaction right up against the concrete. A hollow gap between your fill and your wall is just an invitation for settlement later down the line.
- 6. Finally, once you’ve reached your target level, don’t just leave it as a jagged mess. Grade it off so the water has somewhere to go. You want a slight fall away from whatever structure you’ve just built. If you leave a dip where water can pool, that water will eventually find its way into your backfill, soften it up, and start the whole cycle of failure all over again.
Why Layer by Layer Compaction Is Your Only Defense
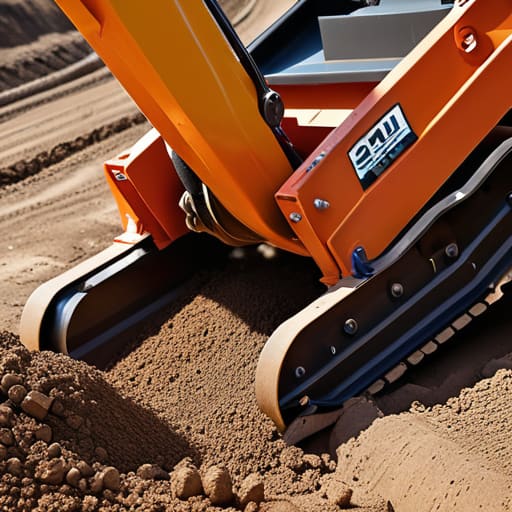
I’ve seen it a hundred times: a lad thinks he’s being efficient by dumping three feet of structural fill into a trench and running a plate compactor over the top of it. He thinks he’s finished. But all he’s actually done is created a hollow shell of loose dirt with a hard crust on top. When the rain comes or the weight of a new slab settles, that void is going to collapse, and your concrete will follow it straight into the ground. You cannot cheat physics. If you aren’t doing layer by layer compaction in lifts of no more than six to eight inches, you aren’t backfilling—you’re just burying a problem.
You have to treat the trench backfilling process like you’re building a wall, not a sandcastle. Each lift needs to be hit until it’s dead solid. You also need to keep an eye on the moisture content for backfill; if the soil is bone dry, it won’t knit together, and if it’s a soup, you’re just compacting mud. Get the moisture right, hit every layer properly, and you’ll actually be preventing soil settlement instead of just delaying the inevitable crack.
The Truth About Moisture Content for Backfill
I’ve lost count of how many times I’ve seen a perfectly good slab start to tilt because some lad thought he could just throw dry, dusty soil into a trench and call it a day. You can have the best compaction equipment on site, but if your moisture content for backfill is off, you’re fighting a losing battle. If the dirt is too bone-dry, the particles won’t slide into place to lock together; they’ll just sit there like loose sand. But if you overdo it and turn that trench into a soup, you’re just creating a pocket of mud that’ll shrink and crack the moment it dries out.
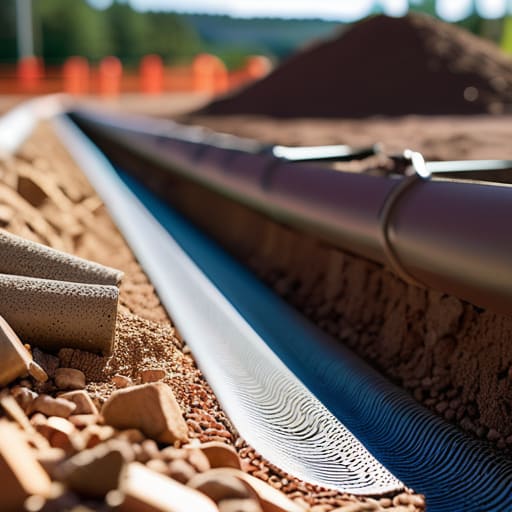
You need that soil “damp,” not soaked. I always tell the younger lads to grab a handful and squeeze; it should hold its shape without leaving your palm dripping wet. This is especially critical when you’re looking at pipe bedding requirements. If you don’t get the moisture right around those pipes, you’ll end up with voids that lead to settlement, and before you know it, your services are snapped or your hardstanding is dipping. Getting the water right is the difference between a solid foundation and a future headache.
Five Ways to Stop Yourself from Burying a Mistake
- Stop treating backfill like a rubbish chute. If you just dump a load of soil in the hole and hope for the best, you aren’t building a foundation, you’re building a time bomb. You lift it, you spread it, and you compact it. Every single time.
- Watch your moisture like a hawk. If that fill is bone dry, it won’t bind; if it’s a muddy soup, you’re just compacting water, and once that water evaporates, your ground will sink like a stone. It should feel like damp sand—holds its shape when you squeeze it, but doesn’t leave a mess on your hands.
- Get the right material or don’t bother. I’ve seen lads try to use whatever was lying around the site—topsoil, clay, rubbish, you name it. Topsoil is useless for structural support; it’s full of organic matter that rots and leaves voids. Use crushed stone or engineered fill, or don’t come crying to me when the slab cracks.
- Don’t skip the edges. Most fellas get good at compacting the middle of the trench but get lazy around the sides of the concrete. If you don’t get that compaction tight right up against the formwork or the edge of the pour, you’ll get settlement at the perimeter, and that’s where your most visible cracks will start.
- Test your work before the truck arrives. Don’t just assume it’s tight because you’ve been running the plate for twenty minutes. Walk it, probe it, and if you’ve got the gear, use a penetrometer. If the ground moves under your boot, it’s not ready for the concrete, no matter how much the client is breathing down your neck to get started.
The Bottom Line
Look, I’ve seen enough cracked slabs and sunken patios to know that you can’t cheat the ground. If you’ve skipped the layer-by-layer compaction or ignored the moisture levels in your fill, you aren’t building a foundation—you’re just delaying the inevitable. You’ve got to get that sub-base tight, consistent, and properly graded before that first truck even pulls up to the site. Remember, the concrete is only as good as the stuff it’s sitting on. If you don’t respect the sequence of the backfill, you’ll be spending twice the money fixing a failure that should have never happened in the first place.
At the end of the day, there’s a certain kind of pride in doing the work that nobody sees. Nobody takes a photo of a well-compacted trench or a perfectly moisture-controlled backfill, but that’s exactly where the real job happens. When you do it right, the slab stays level, the joints stay clean, and you never have to answer a phone call from a disgruntled customer five years down the line. Do it properly, do it slow, and build it to last. That’s the only way to work if you want to sleep soundly knowing your work isn’t going to move.
Frequently Asked Questions
I’ve got a massive amount of leftover soil from the excavation; can I just shovel that back in to save on the cost of proper fill?
Don’t even think about it. That excavated soil is “disturbed” material—it’s full of clumps, organic matter, and air pockets. If you shovel that back in, you aren’t backfilling; you’re just burying a future sinkhole. Once it settles, your slab is going to crack or tilt because that soil won’t hold its shape. Save your money on the fill, because you’ll spend ten times more later fixing the mess that soil makes.
How do I know if my plate compactor is actually doing the job, or if I'm just moving the dirt around without tightening it up?
You can’t just trust the vibration in your hands; that’ll fool you every time. If you want to know if you’re actually compacting or just dancing on top of loose dirt, use a penetrometer or even a simple screwdriver. Drive it into the layer. If it sinks easy, you’re wasting your time. You want to feel that resistance. If that ground doesn’t fight back, your slab is going to sink, and I won’t be the one fixing it.
If I can't get a professional sub-base tester out here, what's the best way to tell if my backfill has the right amount of moisture before I start layering?
Look, you don’t need a fancy machine to tell you if your soil is behaving. Use your hands. Grab a handful of that backfill and squeeze it hard in your fist. If it crumbles apart the second you open your hand, it’s too dry—you’ll never get compaction. If it stays in a muddy, shapeless lump or leaves your skin soaked, it’s too wet. You want it to hold its shape like a firm ball, but crack slightly if you poke it. That’s the sweet spot.