I remember standing on a site in North Yorkshire back in ’94, watching a lad spray a fine mist of water over a fresh slab like he was watering his mother’s petunias, thinking he’d done a grand job. He thought he was being thorough, but he was actually just inviting a hairline crack to run from edge to edge before the sun had even gone down. People get so caught up in buying expensive chemical membranes and fancy sprays that they completely forget the basics of how curing should be done in the real world. They treat it like a luxury add-on, when in my forty-three years, I’ve seen more slabs ruined by lazy curing than by a bad batch of cement.
I’m not here to sell you on some miracle product or a complicated manual that belongs in a classroom. I’m going to tell you exactly how to manage the moisture and the temperature so that your concrete actually reaches its strength instead of just drying out and dying. We’re going to talk about the unseen work—the timing, the covering, and the patience required to do it right. If you want the truth about keeping that slab solid, you’re in the right place.
Table of Contents
Why Curing Agent Effectiveness Is Your Only Real Defense
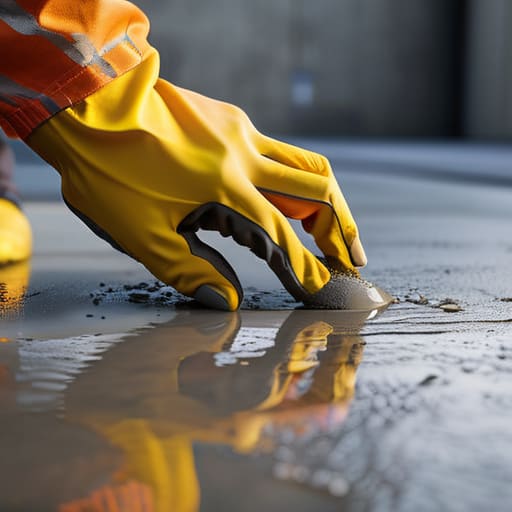
Listen, I’ve seen plenty of lads spray a thin film of chemical over a slab and walk away thinking they’ve ticked a box. That’s not curing; that’s just hope. Real curing agent effectiveness isn’t about making the surface look shiny for the client; it’s about sealing that moisture in so the chemical reaction actually finishes its job. If that agent isn’t applied thick enough or at the right moment, the sun will suck the life out of the slab before the crystals have even had a chance to knit together.
You have to understand that once the surface starts losing water faster than the mix can react, you’ve already lost the battle. I don’t care how expensive the mix was—if your preservation techniques are shoddy, you’re going to see dusting and scaling within six months. You aren’t just protecting a surface; you are managing the internal chemistry. If you don’t get that seal right, you’re basically just inviting the air to turn your hard work into a pile of expensive gravel.
Mastering Humidity Levels for Curing Before the Surface Cracks
You can have the most expensive mix on the books, but if the air is sucking the moisture out of that slab faster than the hydration process can keep up, you’ve already lost. I’ve seen lads finish a surface beautifully, only to watch it spiderweb with plastic shrinkage cracks before they’ve even packed away the bull floats. It’s not about the concrete being “bad”; it’s about failing to manage the humidity levels for curing during those critical first few hours. If the surface dries out while the core is still wet and active, you aren’t building a foundation—you’re building a sieve.
To get it right, you have to stop thinking about the pour and start thinking about the environment. You need to manage the micro-climate right at the interface of the slab and the air. Whether you’re using heavy-duty polythene or specialized sprays, your goal is moisture retention at all costs. I’ve spent many a long afternoon adjusting covers and checking wind speeds because I know that once that surface loses its moisture, there is no going back. You have to treat the surface like a living thing that needs to breathe, but not so much that it parches.
Five Ways to Stop Your Slab from Self-Destructing
- Stop looking at the sky and start looking at your water supply. If you’re using pond water or some dodgy tap with high mineral content to mist your slab, you’re inviting efflorescence and chemical issues before the concrete is even set. Use clean, potable water or don’t bother wetting it at all.
- Don’t go chasing the finish too early. I’ve seen lads try to spray a curing compound or lay down plastic while the bleed water is still sitting on the surface. You’ll trap that water under there, turn your surface into a soft, dusty mess, and the bond will be rubbish. Wait until the sheen is gone.
- If you’re using plastic sheeting, make sure it’s actually doing its job. I’ve walked onto sites where the wind had blown the edges up, letting the moisture escape like a sieve. If the edges aren’t weighed down or taped, you might as well not have bothered; you’ll get perimeter cracking before lunch.
- Watch the temperature swing, not just the heat. It’s easy to get complacent on a warm day, but if that slab loses heat too fast overnight because you didn’t insulate or cover it, you’ll get thermal cracking. Curing isn’t just about keeping it wet; it’s about keeping the temperature steady.
- Forget the “set it and forget it” mentality. Curing is a job, not a checkbox. You need to be out there checking the moisture levels and the coverage every few hours. If you see a dry patch appearing on a large pour, fix it immediately. Once that surface starts to desiccate, the damage is already done.
The Bottom Line on Curing
Look, I’ve seen enough cracked slabs to know that you can’t cheat the chemistry. If you ignore the humidity, skip the curing agents, or let the surface bake under a midday sun without protection, you aren’t just being “efficient”—you’re being negligent. It all comes down to managing that critical window where the water needs to stay in the mix to let the hydration happen properly. You can have the most expensive, high-spec mix delivered by the cleanest truck in the country, but if you don’t control the environment once it hits the ground, you’re just pouring money into a future repair job. Don’t let the easy way out become a permanent crack in your reputation.
At the end of the day, I want you to stop looking at curing as an afterthought or a bit of extra paperwork. Treat it like the foundation of the job itself, because that’s exactly what it is. When you take the time to do it right—when you check the sub-base, watch the weather, and protect that wet surface like your livelihood depends on it—the results will speak for themselves. You won’t be the one getting a phone call five years later asking why the driveway is splitting. Do it right the first time, stay patient with the process, and you’ll build things that actually last.
Frequently Asked Questions
If I've already seen the surface start to look dusty or "alligator" after a few hours, is it too late to save the slab with a spray?
If you’re seeing alligator cracking or that dusty, parched look, you’ve already lost the battle. A spray is a preventative measure, not a magic wand. Once those micro-cracks have opened up, the damage is done; you’re just sealing a broken slab. If it’s already cracking, stop looking for a chemical fix and start worrying about how you’re going to explain that failure to the client. You missed the window.
Is it actually worth the extra money for a professional curing compound, or can I just hose it down and call it a day?
Look, if you’re looking to save a few quid by hosing it down, you’re just trading a small saving today for a massive headache tomorrow. Hosing is hit-or-miss; you can’t control when the sun hits or the wind picks up. A professional curing compound stays where you put it. It creates a proper seal that doesn’t evaporate the second a breeze kicks up. If you want a slab that stays flat, buy the compound.
How am I supposed to manage moisture levels if I'm pouring on a site with no shade and a wind that won't quit?
Look, you can’t fight the weather, but you can stop it from stealing your moisture. If you’ve got sun and wind hitting that slab, you’re basically watching your water evaporate before the crystals can even set. Forget waiting for a “good day”—it isn’t coming. Get your curing membranes on immediately, or better yet, get heavy-duty polythene down and weighted. If the wind is howling, you need to cover that surface like you’re protecting it from a storm.