I’ve lost count of how many times I’ve stood in a customer’s garden, looking at a hairline crack snaking its way up a brand-new limestone terrace, only to hear the same old nonsense from the lad who laid it. They’ll talk about the quality of the stone or the price of the mortar, but they never mention the one thing that actually matters: how patios connect to buildings. Most people think you can just butt a slab up against a house wall, slap some sealant in the gap, and call it a day. That’s a lie. If you don’t respect the way a structure moves differently than the ground it sits on, you aren’t building a patio—you’re just building a future headache.
I’m not here to sell you on fancy resins or expensive decorative trims that won’t hold up past the first frost. I’ve spent forty-three years watching foundations shift and slabs heave, and I’ve learned that the secret is all in the transition. In this guide, I’m going to show you exactly how to handle the joint, the drainage, and the sub-base so your work actually stays put. No fluff, no jargon—just the straight truth on how to do it right the first time.
Table of Contents
Ignoring Damp Proof Course Integration Is a Recipe for Disaster
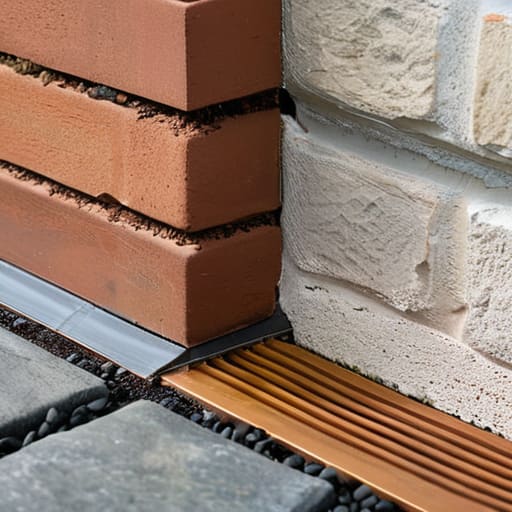
You’ll see it all the time: a lad finishes a lovely, level patio, pulls the expansion foam out, and thinks he’s done the job. But if he hasn’t looked at where that patio meets the house wall, he’s just built a high-speed motorway for moisture to travel straight into the living room. You cannot treat a patio like an isolated island; it’s part of a system. If you aren’t paying attention to damp proof course integration, you aren’t building a patio, you’re building a sponge.
I’ve stood in damp basements where the homeowner thought they had a plumbing leak, only to find the patio was sitting too high against the brickwork. If you don’t maintain a proper step down from house to patio, you’re asking for trouble. You need to ensure the patio surface sits below the DPC line, otherwise, every heavy rainstorm is going to push water right over the lip and under the threshold. It’s not just about aesthetics; it’s about preventing water ingress at patio junctions before the rot sets in. If you skip this, no amount of expensive paving will save you.
The Truth About Building Regulation Threshold Heights and Safety
Now, let’s talk about something that gets a lot of homeowners in trouble because they’re too focused on the “look” and not the level. I’ve seen too many lads try to make a seamless transition from the living room to the garden, only to realize they’ve built a swimming pool against their own house. You cannot ignore building regulation threshold heights just to save a few inches of stone. If you don’t have a proper step down from house to patio, you’re essentially inviting every heavy rainstorm to find its way under your door.
It isn’t just about keeping your carpets dry, either; it’s about the structural integrity of the wall itself. When you ignore that required drop, you’re compromising your primary defense for preventing water ingress at patio junctions. I’ve stood on sites where the patio was sitting flush against the brickwork, and let me tell you, the moisture was already wicking up into the cavity before the mortar was even dry. You need that vertical separation to ensure water moves away from the house, not into it. If you try to cheat the height to make it look “flush,” you’ll be paying for it in damp repairs for the next twenty years.
The Three Things They Won't Tell You in the Sales Brochure
- Stop thinking about the patio as a separate island. If you aren’t tying your sub-base into the same compaction level as the area near the house, you’re just building a sinking ship. The ground needs to be a continuous, solid platform, or that gap between the house and the stone will widen every single time the soil breathes.
- Watch the fall, and I don’t mean just a little tilt. You need a minimum of one in eighty—that’s about 12mm for every metre—away from the building. If you’re lazy with the levels and let water pool against the brickwork, you aren’t building a patio; you’re building a swimming pool for your foundation.
- Don’t go thinking a bit of mortar is enough to bridge the gap. If you’re connecting a new slab to an existing structure, you need to respect the movement. Use an expansion joint where it counts. If you pin the patio too tightly to the house with rigid materials, the first big temperature swing will snap your new stone like a biscuit.
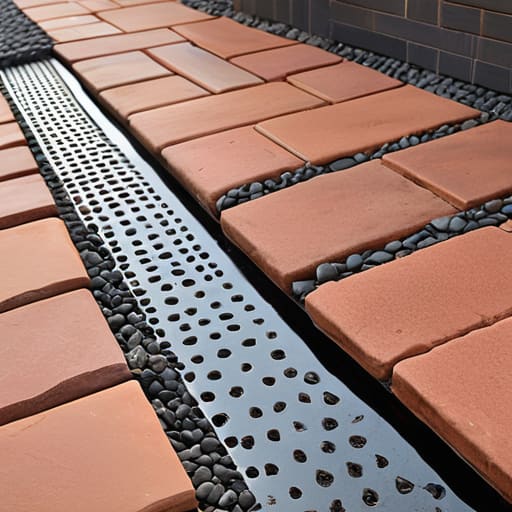
- Check your drainage before the first stone is even laid. I’ve seen too many lads finish a beautiful job only to realize they’ve blocked the natural runoff. You need a clear path for water to escape the building’s footprint, whether that’s through a channel drain or a properly graded sub-base.
- The sub-base is the boss. I don’t care how much you spend on the top-tier porcelain or the expensive natural stone; if you’ve laid it on a thin layer of sand over some loose dirt, it’s going to fail. You need a thick, well-compacted layer of MOT Type 1 that’s been rammed until it doesn’t budge. If the base isn’t right, the connection to the house is irrelevant.
Don't Build a Headache
At the end of the day, connecting a patio to a house isn’t about picking out the fanciest paving slab in the catalogue; it’s about managing the physics of what’s happening underneath and behind the scenes. If you’ve ignored the damp proof course, botched the threshold height, or failed to account for how the two structures will move independently, you aren’t building a patio—you’re building a future maintenance nightmare. You can have the most expensive granite in the world, but if you haven’t respected the structural transition and the way water needs to move away from that brickwork, you’ve wasted your money. It all comes back to what I always say: the pour is the easy part, but the preparation and the integration are where the real work happens.
I’ve spent forty-three years watching people try to take shortcuts on these connections, and I’ve seen the cracks and the damp rot that follow every single time. My advice? Don’t be in such a rush to see the finished product that you forget to do the groundwork properly. If you take the time to get the sub-base right, respect the building’s limits, and plan your drainage with precision, you’ll build something that actually lasts. Do it right the first time, and you won’t be the one getting a phone call in five years to explain why the patio is sinking or the house is damp. Build it to stay.
Frequently Asked Questions
If I'm building a new slab right up against the house, how do I stop the ground underneath from settling differently and pulling the patio away from the wall?
You’re talking about differential settlement, and it’s a headache I’ve seen a thousand times. If you pour that slab right up against the house without a plan, the house stays put while your new patio decides to wander. You need to dig a proper trench for a thickened edge or a structural sub-base that ties into the existing footprint. Don’t just throw some MOT Type 1 in a shallow hole; you need a solid, compacted foundation that won’t budge when the rain hits.
What’s the proper way to handle the expansion joint where the patio meets the house so I don't end up with a massive crack or a damp problem?
Listen, if you try to bond that patio slab directly to the house wall, you’ve already lost. The house moves, the slab moves, and something’s gotta give—usually your new paving. You need a proper movement joint right at the junction. Use a compressible filler, not just a bead of silicone. It’s got to be deep enough to handle the expansion, and you seal it clean. If you skip the joint, you’re just building a crack.
If I've already poured the patio and it's sitting too high against the bricks, can I fix it without ripping the whole thing up and starting again?
Look, if you’ve already poured it and it’s sitting above the DPC, you’ve got a problem that won’t fix itself. You can’t just “patch” it. If you leave it, you’re inviting damp straight into the cavity. Your best bet is to grind the surface down with a diamond blade to get the level right, then seal that edge properly. If it’s a massive height difference, though? You’re better off breaking it out and doing it right.



