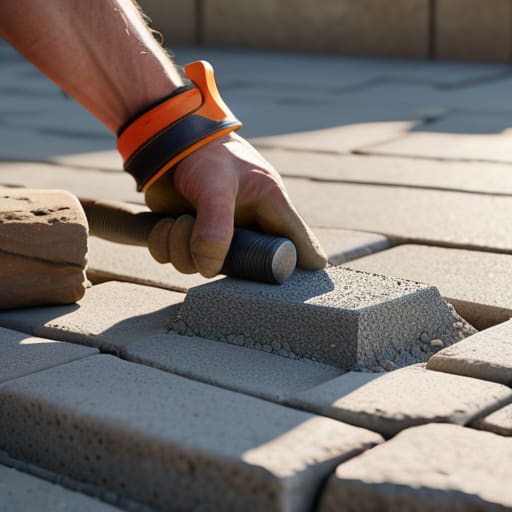
I’ve lost count of how many times I’ve walked onto a job site, looked at a beautiful new patio, and known within five minutes that it was going to be a mess by next spring. People think the hard part is laying the slabs, but they’re dead wrong. Most of them treat the finishing stage like an afterthought, especially when it comes to how jointing sand is applied. They just grab a bag, sweep a bit of grit into the gaps, and head to the pub, thinking they’re finished. I saw a lad do this on a high-end residential job last summer; he didn’t pack the sand tight, didn’t check the moisture, and didn’t care. Three months later, the weeds were through and the sand had washed out like it was never there.
I’m not here to give you some polished, textbook lecture that sounds good on paper but fails in the rain. I’m going to show you the proper, gritty reality of getting that sand settled so it actually stays put. We’re going to talk about the importance of bone-dry joints, the right way to sweep it in without making a disaster of the slab surface, and why you can’t skip the compaction step. If you want a job that looks good for more than a season, this is how you do it.
Table of Contents
Guide Overview
Tools & Supplies
- Stiff broom or brush for sweeping sand into joints
- Pressure washer or leaf blower for cleaning excess sand
- Dust mask to prevent inhalation of fine particles
- Polymeric jointing sand (1-3 bags depending on joint volume)
- Water spray mister for activation
Step-by-Step Instructions
- 1. First thing you do is clear the decks. I don’t care if you think the gaps look clean; if there is a single stray bit of grit, dried mortar, or a leaf sitting in those joints, you’re asking for trouble. Take a stiff brush and get in there deep. If you leave debris in the gaps, your sand won’t settle properly, and you’ll be back here in three months with empty joints and weeds growing through the mess.
- 2. Next, you need to make sure the surface is bone dry. This is where most lads mess up because they’re in a rush. If you try to sweep sand into joints that are even slightly damp from a recent rain or a rogue hose, the sand will clump up and bridge. You’ll think the joint is full, but you’re actually just creating air pockets underneath. Wait for a proper dry spell before you even crack the bag open.
- 3. Now, don’t just go dumping the whole bag in one spot like you’re feeding chickens. Take a bucket or a small scoop and distribute the sand across the area in manageable piles. You want to work in sections so you aren’t chasing a mountain of sand across the whole patio. Keep your movements steady; you’re looking for even coverage, not a chaotic mess.
- 4. Once the sand is down, grab a wide, soft-bristled brush—not a stiff broom that’ll scratch your finish—and start sweeping. You want to push the sand into the joints using a firm, sweeping motion. Don’t just skim the surface; you need to feel the sand actually dropping down into the depths of the gap. If you don’t get it packed in, the first heavy rain will simply wash your profit away down the drain.
- 5. After you’ve swept, give it a little “settling” period. I usually wait a few hours or even overnight, then go back in with the brush to fill any spots that’ve dropped. It’s common to see the level sink once the initial air is squeezed out. If you skip this second pass, you’ll find yourself constantly topping it up every time the weather turns.
- 6. Finally, you need to remove the excess properly. Sweep the leftover sand off the surface of the pavers until it’s spotless. Don’t leave a fine dust sitting on top; if it sits there and gets damp, it’ll turn into a muddy film that’s a nightmare to clean off. Once it’s clean, you’re done—but remember, the job isn’t finished until the sand has fully settled and the joints look solid.
The Paving Stone Jointing Process More Than Just Filling Gaps
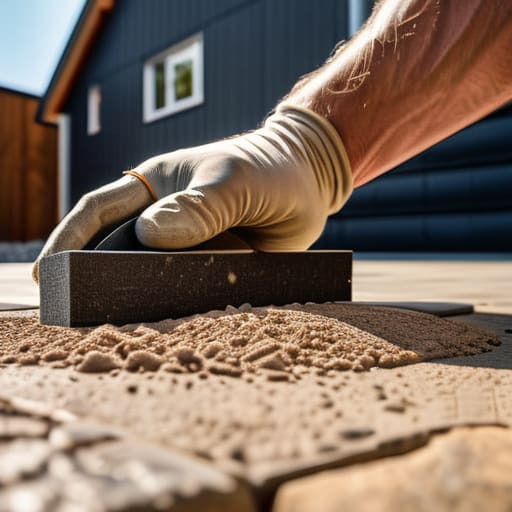
Look, if you think you’re just sweeping some grit into a crack and calling it a job, you’re doing it wrong. The paving stone jointing process isn’t just about aesthetics; it’s about structural integrity. If you don’t get that sand packed deep into every single void, you’re leaving a hollow space that’ll collapse the moment a heavy wheel rolls over it. I’ve seen too many lads try to save time by just brushing it over the top, only to have the stones shift and wobble within a month. You need to treat those joints like they’re part of the foundation itself.
If you’re working with larger areas, you can’t rely on a broom alone. You need to be properly compacting block paving to ensure the sand is actually doing its job. This is where most people get lazy. If you aren’t using a mechanical plate compactor to drive that material home, you’re essentially just laying a loose pile of dust between stones. You want that sand tight enough that it won’t budge, especially if you’re worried about preventing sand washout during the first heavy rain of the season. Don’t be a shortcut artist; do it right the first time.
Mechanical Plate Compactor Use Why You Cant Skip the Crush
Now, listen. You can spend all day sweeping sand into those gaps, but if you aren’t using a machine to drive it home, you’re just painting the surface. I’ve seen too many lads try to save a bit of time by just brushing the sand in and calling it finished. That’s a recipe for disaster. When you’re compacting block paving, you need that mechanical plate compactor to vibrate the particles down into the very bottom of the joint. If you leave air pockets sitting deep in the cracks, the first heavy rain will turn those gaps into little rivers, and you’ll be back to square one.
When you’re running the plate, make sure you’ve got a rubber mat on it. I don’t care if you’re in a hurry; if you hit those stones with bare steel, you’ll chip the edges and ruin the finish before the job is even done. You want to feel the vibration settle the sand, not bounce the stones out of alignment. Proper mechanical plate compactor use ensures the sand is packed tight enough to stay put, which is your best defense for preventing sand washout when the weather turns foul.
Five Things Most Lads Get Wrong When Filling the Joints
- Stop pouring the sand while the pavers are still bone dry and dusty; if you don’t give the stones a quick sweep and a light mist first, the sand won’t settle into the depths of the joint, and you’ll be back out there topping it up in three weeks.
- Don’t just eyeball the level; use a soft broom to sweep the sand in at an angle, and keep going until the joint is packed deep, but for heaven’s sake, don’t leave a mound of sand sitting on top of the stone surface or you’ll end up with a stained mess once it gets wet.
- If you’re using polymeric sand, watch the weather like a hawk; if you see a cloud that looks even remotely like rain, stop what you’re doing, because if that stuff gets wet before it’s properly swept and set, it’ll turn into a sticky, unworkable nightmare that’ll ruin your whole afternoon.
- You’ve got to compact it, even after the sand is in; I’ve seen too many youngsters think sweeping it in is enough, but if you don’t use a vibrating plate or a specialized tool to settle that sand into the gaps, the first heavy rain will just wash it straight out onto the driveway.
- Check your depth twice before you call it finished; I’ve been called to look at “settled” joints more times than I can count, and nine times out of ten, it’s because the lad was too lazy to ensure the sand went all the way down to the bedding layer, leaving a hollow gap underneath.
The Last Thing Before You Walk Away
At the end of the day, applying jointing sand isn’t some decorative finishing touch you can rush through while you’re thinking about lunch. It’s the final seal on all the hard work you put into the sub-base and the compaction. If you’ve skipped the thorough sweep, failed to vibrate the sand deep into the gaps, or—heaven forbid—tried to do it while the ground was soaking wet, you’ve just wasted your time. You need that sand packed tight and level, and you need to ensure it’s completely clear of the paving faces before you even think about bringing the water or the final brush toward it. If you don’t respect the sequence, the sand will wash out or the stones will shift, and you’ll be the one getting the phone call in a year’s time.
I’ve seen plenty of lads try to take the easy way out, thinking they can just sweep a bit of grit across the top and call it a job. That’s not groundwork; that’s just making a mess. When you do it right—when you take the time to ensure those joints are solid and the surface is clean—you aren’t just laying stones, you’re building something that lasts. There’s a quiet satisfaction in walking away from a finished patio knowing that the foundation is sound and the joints are set for the long haul. Do it properly the first time, and you won’t have to do it again.
Frequently Asked Questions
Is it worth it to use a specialized polymeric sand, or am I just paying extra for a fancy name when regular kiln-dried sand does the job?
Look, if you’re doing a patio in a high-traffic area or somewhere where weeds love to take hold, polymeric is worth every penny. It’s not just a fancy name; it actually binds. Regular kiln-dried sand is fine for a garden path that stays put, but it’ll wash out of your joints the first time you get a proper downpour. If you want to stop chasing weeds and washing sand out of the gaps every spring, pay the extra.
How do I know if I’ve actually packed the sand deep enough into the joints, or if I’ve just skimmed the surface and left air pockets underneath?
If you’ve just skimmed the surface, you’ll know the second you walk away. If you see the sand “sink” or drop an inch after a light rain or a bit of wind, you’ve left air pockets. I always use the broom test: sweep it in, let it settle, then sweep it in again. If you aren’t seeing the level stay consistent after a second pass, you haven’t reached the bottom. Don’t be lazy; if it’s hollow underneath, it’ll wash out by Christmas.
If it starts raining right after I've swept the sand in, am I looking at a washout or is the sand going to settle itself?
If it’s a light drizzle, you’re likely fine; the water just helps bed the grains in. But if it’s a proper downpour? You’re looking at a washout. If the rain starts washing the sand out of the joints before it’s properly settled and compacted, you’ve wasted your time. Don’t try to patch it while it’s wet. Wait for it to dry, sweep out the mess, and do it properly when the sky stays clear.



