I remember standing on a site in ’94, watching a lad try to slide a needle beam into place while the masonry above was already showing signs of stress. He was so focused on the steel that he didn’t notice the ground under his sole plate was nothing but soft, uncompacted muck. He thought he knew how to prop and needle safely, but he was about to learn that a needle is only as good as the stability of the load it’s carrying. If you don’t respect the weight and the ground it sits on, you aren’t building; you’re just waiting for a collapse.
I’m not here to give you some polished manual filled with textbook jargon that won’t hold up when the rain starts falling. I’m going to tell you exactly what I learned over forty-three years of watching foundations shift and walls groan. We’re going to get into the grit of selecting the right timber, the correct placement of your props, and—most importantly—why you need to check your sub-base before you even think about touching that masonry. This is about doing it right the first time so you can actually sleep at night.
Table of Contents
Step-by-Step Instructions
- 1. Before you even think about touching a needle beam, you need to get down on your hands and knees and look at the ground. I don’t care how much the structural engineer says the load is distributed; if you’re setting up your props on soft clay or loose fill that hasn’t been properly compacted, you’re just building a disaster waiting to happen. You need to ensure your sole plates are sitting on something rock solid and that they’re wide enough to spread that weight, otherwise, those props will sink halfway into the muck before the first brick is even pulled.
- 2. Once you know the ground isn’t going to swallow your gear, you select your needle beams. Don’t go grabbing whatever scrap timber is lying about the site just because it looks thick enough. You need to check every single piece for splits, knots, or any sign of rot, because a needle beam is the only thing standing between a controlled demolition and a catastrophic collapse. If it doesn’t look straight and sound healthy when you tap it, leave it in the yard.
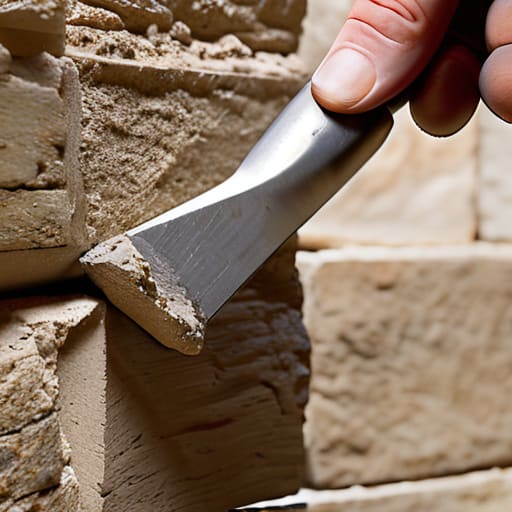
- 3. Now, when you’re actually inserting the needles through the masonry, you do it with precision. You aren’t just hacking a hole in the wall; you’re creating a structural bridge. Make sure your holes are cut clean and that the beam is seated exactly where the engineer specified. If you’re off by even a few inches, you’re shifting the entire load path, and that’s when the walls start to crack or, worse, start to bow outward.
- 4. Next comes the propping, and this is where most young lads get lazy. You need to get your props under the needle beams and adjust them so they are tight and plumb. I’ve seen too many jobs where the boys leave a bit of a gap and think they’ll just “wedge it in” later. That’s a fool’s errand. You want that load transferred immediately and vertically; if those props are even slightly crooked, they’ll kick out the moment the weight shifts.
- 5. After the props are in place, you have to double-check your sole plates and headstocks. A needle beam shouldn’t just be resting on a single prop like a toothpick; you need a proper headstock to distribute the pressure across the top of the prop. It’s about creating a solid, continuous line of support from the ground, through the prop, and into the beam. If you skip the headstock, you’re just asking the timber to crush itself under the pressure.
- 6. Finally, once everything is rigged up, you don’t just walk away and grab a brew. You need to monitor the setup constantly. As you start the actual work—whether that’s removing a lintel or taking out a section of wall—keep your eyes on those props. If you see a millimetre of movement or hear a creak that sounds wrong, you stop immediately. You can fix a bad pour, but you can’t fix a building that’s decided to move while you’re standing under it.
Structural Load Bearing Calculations the Math Before the Steel
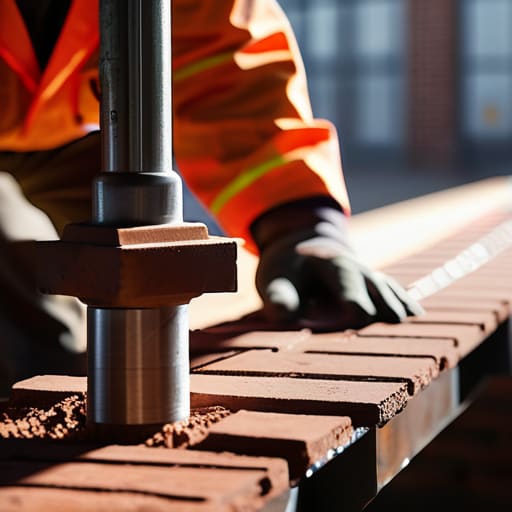
Now, listen. You can have the sturdiest steel in the yard, but if your numbers are rubbish, that steel won’t save you. I’ve seen lads treat structural load bearing calculations like a suggestion rather than a rule, and that’s how you end up with a wall bowing inward before the first spade hits the dirt. You aren’t just supporting the weight of the bricks; you’re accounting for the shifting weight of the soil and the vibration of every heavy plant moving nearby. If you haven’t calculated the actual pressure being transferred through those needles, you’re just playing a dangerous game of guesswork.
It isn’t just about the math on a piece of paper, either; it’s about how that weight actually travels. You need to understand the load distribution for needle beams to ensure you aren’t creating a new problem while trying to solve an old one. If your temporary supports are concentrating all that weight on a patch of soft ground, you’ve basically built a lever to tip the whole structure over. You have to respect the physics of the load, or the physics will eventually settle the score for you.
Load Distribution for Needle Beams Where the Weight Actually Goes
Look, you can have the thickest steel beams in the yard, but if you don’t understand where that weight is actually landing, you’re just building a very expensive way to collapse a wall. When we talk about load distribution for needle beams, most lads think the weight just stops at the beam. It doesn’t. That massive downward force travels straight through your needle and into whatever is holding it up. If your temporary support systems for construction are sitting on soft, uncompacted soil or a dodgy slab, all those structural load bearing calculations you did in the office won’t mean a damn thing when the ground gives way.
I’ve seen too many jobs where the needle beam itself was solid, but the sole plates were undersized or placed on uneven ground. You need to ensure that the load is spread across a wide, stable footprint. If you’re using timber or steel plates to take the pressure, make sure they are seated on something that won’t compress under the weight of the masonry above. If the base moves even a fraction of an inch, the structural integrity during excavation is shot, and you’ll be looking at cracks before the first spade is even turned.
Five Ways You’ll End Up in the Ground if You Get Lazy
- Check the ground under your props every single morning. I don’t care if you set them up perfectly yesterday; if the ground has gone soft from rain or if a bit of spoil has shifted under a sole plate, that prop is nothing more than a fancy stick waiting to buckle.
- Stop treating needle beams like they’re indestructible. If you’re drilling through a load-bearing wall, you’re creating a hole that wants to close. If your needle isn’t seated properly with enough bearing length to handle the shift, that wall is coming down on your head, not the floor.
- Don’t trust a single line of props. If you’re needling a wall, you need a system of support that accounts for the fact that buildings don’t sit still. If you don’t have a secondary way to catch the load if one timber or steel slips, you aren’t working, you’re gambling.
- Watch the timber for signs of “the bend.” If you’re using timber for any part of your propping, check it for knots, splits, or even a slight bow. A piece of wood that looks fine from ten feet away can snap like a biscuit the moment the full weight of the masonry settles onto it.
- Tighten the sequence, not just the bolts. It’s not enough to just get the props in place; you have to get them tight and plumb. If a prop is even slightly out of vertical, it’s taking a side-load it wasn’t designed for, and that’s exactly how accidents happen on a site.
Don't Let the Weight Catch You Out
Look, I’ve seen enough site collapses to know that you can’t just slap some steel in a hole and hope for the best. We’ve talked about the math, the load distribution, and making sure those beams actually have something solid to bite into. If you skip the calculations or ignore the stability of the ground beneath your props, you aren’t just cutting corners—you’re inviting a disaster that no amount of quick-fixing can mend. Remember, the needle beams are only as good as the sub-base and the support system holding them up. If the ground shifts under the weight of the masonry, all the fancy steel in the world won’t stop the building from coming down on your head.
At the end of the day, this job isn’t about how fast you can get the opening made or how much you can squeeze out of a single shift. It’s about the quiet, boring work of checking your levels, verifying your loads, and making sure every single prop is seated exactly where it ought to be. When you walk off that site at the end of the week, you want to know that the structure is sitting exactly as you left it. Do the job the right way the first time, because in my forty-three years, I’ve never seen a man get a promotion for being the fastest at making a dangerous mistake.
Frequently Asked Questions
What do I do if the ground under my props starts turning to mush halfway through the job?
Stop the pour immediately. If that ground is turning to mush, your load distribution is gone and your needles are about to become projectiles. You can’t just “work around it.” You need to get more timber or steel spreader plates under those props to widen the footprint, or better yet, dig out the soft spots and get some hardcore in there. If the sub-base is failing mid-job, the job is already failing. Fix the ground, or don’t bother.
How do I know if my needle beams are actually biting into the masonry or if they're just going to crush the brickwork?
If you see the brickwork blooming or bowing outward the moment you take the weight, you’ve already lost. You aren’t “biting” in; you’re just crushing the course. You need to check your spreader plates. If they’re too small or sitting on a weak, lime-mortar joint, that needle is going to act like a punch rather than a support. If the masonry looks like it’s being squeezed out like toothpaste, get the beams out and fix your bearing area.
Is it worth it to use heavy-duty spreader plates, or am I just wasting money on timber and steel?
Listen, if you’re asking that, you’re already looking at the wrong part of the budget. You aren’t “wasting money” on spreader plates; you’re buying insurance against the ground turning to mush under your load. A needle beam is only as good as the surface it’s biting into. If you try to skimp by using undersized timber or thin steel, you’ll see the plates sink or tilt the moment that weight hits. Buy the heavy-duty stuff.