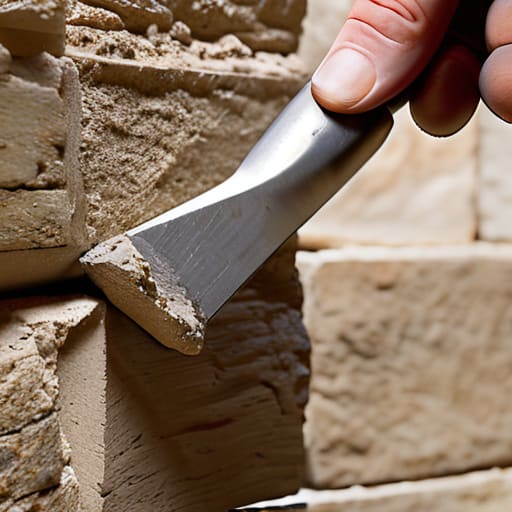
I was standing in a customer’s garden last Tuesday, looking at a beautiful, expensive stone wall that had developed a hairline fracture right through the middle of the second course. The homeowner was adamant he’d followed every instruction online on how to build a garden wall correctly, but he’d made the one mistake I see every single week: he’d laid those heavy stones directly onto a layer of topsoil that hadn’t been cleared or compacted. You can buy the finest masonry and the most expensive mortar, but if your footing is soft, that wall is destined to fail before you’ve even finished the first layer.
In this guide, I’m not going to give you any of that polished, textbook nonsense that ignores the reality of the ground you’re working on. I’m going to show you the grit and the sequence that actually matters—from digging the right depth for your concrete strip to ensuring your sub-base is solid enough to hold the weight for the next thirty years. We’re going to skip the fluff and focus on the foundations, the drainage, and the mortar mixes that keep a wall standing when the frost starts biting.
Table of Contents
Guide Overview
Tools & Supplies
- Shovel for digging the trench
- Spirit level to ensure the wall is straight and plumb
- Rubber mallet for setting blocks into place
- Tape measure for precise spacing
- Retaining wall blocks or bricks (as needed for height/length)
- All-purpose sand for the base layer
- Crushed stone or gravel for drainage
- Landscape fabric to prevent soil migration
Step-by-Step Instructions
- 1. First thing you do—and I mean the very first thing—is stop thinking about bricks and start thinking about the dirt. You need to dig a trench that’s deeper and wider than you think it needs to be. If you’re building a proper garden wall, you aren’t just sitting it on the grass. You need to get down to firm, undisturbed ground. If that soil is soft or spongy, you might as well be building on a sponge; you’ll be back there in two years digging out a slumped mess.
- 2. Once you’ve got your trench, you need to lay down a proper sub-base. I’m talking about a thick layer of MOT Type 1—not some cheap rubbish or just handfuls of gravel. You need to spread it out and then compact it properly with a vibrating plate compactor. If you just tamp it down with a shovel or a piece of wood, you haven’t done a thing. You want that base to be as solid as a road before you even think about seeing a bag of cement.
- 3. Now we get to the concrete footing. This is where most people get lazy and try to save money on the mix. Don’t do it. You want a strong, consistent mix poured into that trench to create a level, solid foundation for your first course of bricks. Make sure it’s perfectly level across the whole length. If your footing is wonky, every single brick you lay on top of it is going to be a nightmare to correct, and you’ll end up fighting the wall all day.
- 4. When you start laying the actual bricks, you need to be obsessed with your mortar. It shouldn’t be too wet—if it’s running off your trowel like soup, you’ve added too much water and you’re ruining the strength of the bond. You want a mix that holds its shape. And for heaven’s sake, use a string line. I don’t care if you think you’ve got a good eye; a wall that looks straight but is actually bowing is just a pile of expensive debris waiting to happen.
- 5. You cannot skip the movement joints. This is the mistake that keeps me in business. As a wall gets longer, it’s going to move—it’s going to expand in the heat and contract in the cold. If you don’t build in vertical gaps filled with flexible sealant every few meters, the wall will decide where the cracks go, and it won’t be where you want them. You have to plan for the movement before you even lay the first brick.
- 6. Once the wall is up, you need to think about the “coping” or the top layer. This isn’t just for looks. A good, overhanging coping stone or a well-finished brick top sheds water away from the core of the wall. If you let water soak straight down into the joints, you’re inviting the frost to come in and pop your mortar out come winter. Protect the structure from the top down, or you’re just building a temporary pile of clay.
Trench Digging for Wall Footings the Ground Doesnt Lie
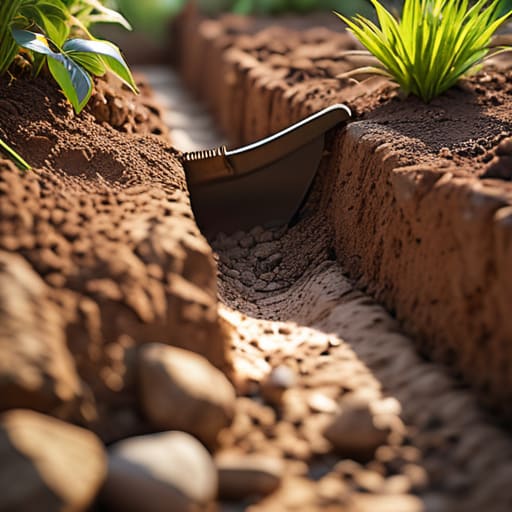
Now, listen. You can have the finest bricks and the best mortar mix ratios for masonry in your wheelbarrow, but it won’t mean a damn thing if your trench is a mess. When I’m looking at trench digging for wall footings, I’m not just looking at the depth; I’m looking at the bottom of that hole. If you’ve got soft spots, loose soil, or a bit of organic muck sitting at the base, you’ve already lost the battle. You need to dig until you hit something solid, and if that means going deeper than the plan says, you go deeper. The ground doesn’t care about your budget; it only cares about physics.
Once you’ve got your trench open, don’t just start dumping concrete in like you’re filling a pothole. I’ve seen too many lads skip the preparation because the sun was out and they wanted to get home. You need to ensure the bottom is clean and compacted. If you’re dealing with a slope, don’t just “eyeball” it. If you don’t get a dead-level base established before the first layer of footing goes down, that wall will be leaning like the Tower of Pisa before you’ve even finished the first course.
Leveling Blocks for Garden Walls Stop Guessing Your Way to Failure
Once you’ve finished your trench digging for wall footings and you’ve got your concrete poured and set, the real work begins. This is where I see most DIYers and even some young lads lose the plot. They think once the footing is level, the hard part is over. Wrong. If your first course isn’t dead-on, every single brick or block above it is just compounding a mistake. You aren’t just stacking stones; you are building a structure that has to fight gravity and soil pressure for the next twenty years.
I’ve seen plenty of walls start to lean or “belly out” because someone tried to cheat the corners. You cannot rely on your eyes or a bit of string line alone. You need to be obsessive about your leveling blocks for garden walls and ensuring that every single unit is seated perfectly. If you’re using a heavy mortar mix, don’t let it build up unevenly under a block, or you’ll end up with a hollow spot that’ll eventually crack. The first course is the most important thing you’ll do on that site. Get it right, or don’t bother starting at all.
Five Things That’ll Save Your Wall (And Your Sanity)
- Don’t go easy on the compaction. I’ve seen lads spend three days laying bricks only for the whole thing to lean six inches by next summer because they treated the sub-base like a pile of loose gravel instead of a solid platform. If that ground isn’t rammed down tight, you’re just building a very expensive way to watch a wall tilt.
- Watch the weather like a hawk. If you’re pouring footings and the clouds look heavy, or if you’re laying bricks in a frost, stop. Concrete and mortar need specific conditions to cure; if you force a pour in the wrong temperature, you’re essentially inviting cracks to move in and make themselves at home.
- Stop adding water to your mix just because it’s “hard to work.” I know, it’s easier to spread, but every extra splash of water you add to make it runny just weakens the final strength. You’re diluting the glue that holds the whole thing together, and you’ll pay for it when the first heavy rain hits.
- Get your expansion joints right. A wall is a living thing; it moves, it breathes, and it expands when the sun hits it. If you build one long, continuous run of masonry without planned breaks, the wall will find its own way to move, and it’ll be through a jagged crack right down the middle.
- Check your verticality every single course. Don’t wait until the wall is four feet high to realize your first layer was a fraction off. A tiny error at the bottom becomes a massive disaster at the top. Use your level, use it often, and don’t let anyone tell you “it’ll settle out.” It won’t.
Don't Let Your Hard Work Go to Waste
At the end of the day, building a garden wall isn’t about how straight your lines look when the mortar is wet; it’s about what’s happening where nobody can see. If you’ve done the job right, you haven’t just laid bricks—you’ve prepared a solid sub-base, dug a trench deep enough to find stable ground, and ensured your footings are dead level before a single block went up. You can skip the fancy finishing techniques or buy the most expensive masonry, but if you compromise on the foundation or try to cheat the compaction, you’re just building a future headache. Remember, the ground is the boss, and if you don’t respect it, the wall will eventually tell you about it through cracks and leans.
I’ve spent forty-three years watching people try to take the easy way out, only to see their hard work crumble after a single heavy winter. It’s frustrating to watch, but it’s also a lesson: doing it right the first time is always cheaper than doing it twice. Take the extra hour to check your levels, take the extra effort to compact that hardcore, and don’t rush the process. When you finally stand back and look at a wall that’s built on a proper, honest foundation, you’ll know it’s not just standing there—it’s staying there. That’s the difference between a DIY project and real workmanship.
Frequently Asked Questions
I've got a bit of clay in my garden; do I need to dig deeper or change my sub-base to stop the wall from sinking?
Clay is a nightmare if you don’t respect it. It’s a sponge—it expands when wet and shrinks when dry, and that movement will snap your footings like a biscuit. Don’t just dig a little deeper; you need to get that soft clay out and replace it with a proper, compacted sub-base of MOT Type 1. If you try to build directly on top of heavy clay, you aren’t building a wall, you’re building a future crack.
How much should I actually be worrying about the weather—can I still lay bricks if it's raining, or am I asking for trouble?
If it’s just a light drizzle, you might get away with it, but don’t go looking for trouble. If it’s actually raining, stop. You’ll wash the cement out of your mortar joints before it even has a chance to set, leaving you with nothing but a pile of expensive sand and a mess. And if it’s freezing? Forget it. You’ll freeze the water in the mix, and once that expands, your wall is finished.
If I'm using concrete for the footings, how long do I really need to wait before I start building the first course of blocks?
Look, I’ve seen lads try to rush the job by laying blocks on concrete that’s still “green,” and they pay for it when that footing settles or shifts under the weight. If you’re working in decent weather, give it at least 24 to 48 hours. You want it hard enough that you aren’t leaving footprints when you step near it. If it’s freezing or damp, wait longer. Don’t let your impatience crack your foundation.