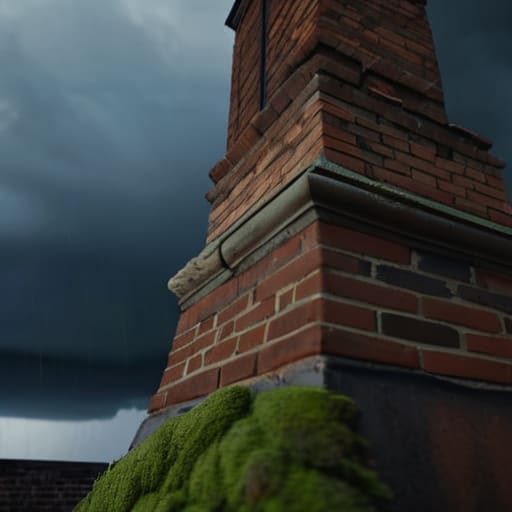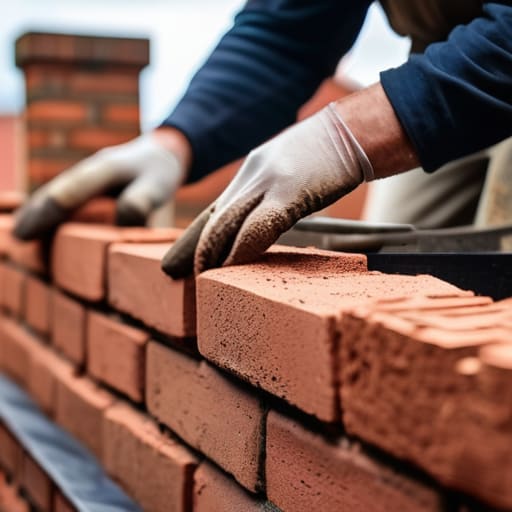
I once stood on a site in the pouring rain, watching a lad stack bricks for a chimney as if he were playing with Lego, completely ignoring the fact that his footing was sitting on nothing but soft, unsettled clay. He thought he was learning how to build a chimney stack, but all he was actually doing was building a future structural nightmare. You can be the finest bricklayer in the county, but if you haven’t respected the foundation and the load-bearing math underneath that masonry, you aren’t building anything—you’re just waiting for gravity to do its job.
I’m not here to give you some glossy, textbook version of masonry that ignores the reality of wind loads and moisture. In this guide, I’m going to walk you through the grit of how to build a chimney stack properly, from the initial footing to the final capping. We’ll talk about the stuff the manuals skip: the importance of a solid base, the right way to manage the mortar, and why getting the sequence right is more important than how pretty your joints look.
Table of Contents
Guide Overview
Tools & Supplies
- Masonry trowel for spreading mortar
- Spirit level to ensure vertical alignment
- Line level for straight courses
- Brick hammer for shaping bricks
- Mixing paddle for mortar consistency
- Clay bricks (approx. 100-200 depending on height)
- Mortar mix (2-3 bags)
- Chimney cap (1 unit)
- Flue liner (1 unit)
- Sand (1 bag)
Step-by-Step Instructions
- 1. Before you even think about picking up a trowel, you’d better look at what that stack is sitting on. If you’re adding a chimney to an existing structure, you need to ensure the footing is deep enough and the ground is compacted solid. I’ve seen lads try to build a heavy masonry stack on top of old, soft mortar or loose rubble, and it’s a disaster waiting to happen. If the base isn’t stable, the weight of the bricks will cause it to settle unevenly, and you’ll be looking at diagonal cracks before the mortar is even fully cured.
- 2. Get your first course of bricks laid with absolute precision. This is your foundation, and if it’s out by even a few millimetres, that error is going to grow as you go up, leaving you with a chimney that looks like it’s leaning toward the neighbor’s garden. Use a good quality, high-strength mortar mix—don’t go skimping on the cement here—and make sure you’re using a spirit level on every single side. If your first course is wonky, the rest of the job is just a slow-motion train wreck.
- 3. As you start building up the body of the stack, you need to be obsessive about your verticality and alignment. Every three or four courses, stop and check your plumb bob or your level from multiple angles. It’s tempting to rush once you get into a rhythm, but that’s exactly when people start getting lazy with their joints. Keep your mortar joints consistent; if one is 10mm and the next is 15mm, you’re asking for structural weakness and an ugly finish.
- 4. Don’t forget about the weather, especially if you’re working in the colder months. If you’re building in the wind or if there’s a frost coming, you need to protect that fresh mortar. If the water in the mix freezes before it has a chance to chemically bond, you might as well have built the whole thing out of sand and hope. Keep a bit of heavy-duty polythene handy to cover the work if the conditions turn, and never, ever try to lay bricks if the temperature is dropping below freezing.
- 5. When you get toward the top, you’ll need to manage the flashing and the terminal. This is where most people fail, and it’s usually why they call me back six months later complaining about damp. You need to ensure the weatherproofing is seamless where the stack meets the roofline. Use lead flashing if you can afford it, and make sure it’s tucked in properly. If the junction isn’t watertight, the water will find its way into the masonry, freeze, expand, and tear your hard work apart.
- 6. Finally, once the stack is up, give it a proper pointing job if the mortar looks a bit thin. A clean, sharp finish isn’t just about looking good for the homeowner; it’s about making sure the surface is dense enough to shed water rather than soak it up. A stack that looks professional is usually a stack that was built with a proper respect for the sequence of the work.
The Structural Integrity of Masonry Flues Starts Beneath the Roofline
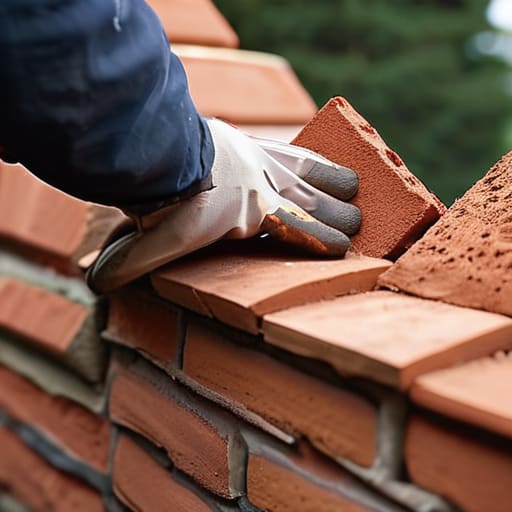
Everyone gets excited about the brickwork once they get above the eaves, but if you think the job is won once you’re level with the guttering, you’re dead wrong. The real battle for the structural integrity of masonry flues is fought in the transition from the house to the sky. I’ve seen too many lads focus on making the mortar joints look pretty while completely neglecting how that stack is actually tied into the main structure. If your bond isn’t solid and your ties aren’t seated right, the wind will start playing tug-of-war with your masonry before the first frost even arrives.
You also need to stop thinking about the stack as just a column of bricks and start thinking about it as a weather-exposed target. Most of the failures I see aren’t from bad bricks; they’re from poor weatherproofing chimney stacks at the most vulnerable points. If you haven’t planned your chimney cap and flashing installation alongside your bricklaying, you’re just inviting water to rot the very core of your work. You can follow every masonry chimney construction step to the letter, but if you don’t respect the way water travels through a flue, you’re just building a very expensive way to leak.
Mastering Masonry Chimney Construction Steps Before the First Course
Now, before you even think about picking up a trowel to start the actual bricklaying for chimney stacks, you need to look at what’s sitting right in front of you. I’ve seen too many lads rush into the first course because the weather was turning, only to realize their base wasn’t level or, worse, wasn’t properly tied into the existing structure. You aren’t just stacking bricks; you are building a vertical column that has to fight wind, rain, and its own weight. If your starting point is off by even a fraction, that error is going to travel all the way up to the stack, and by the time you reach the pot, you’ll be fighting a lean that no amount of mortar can fix.
The real secret to successful masonry chimney construction steps is in the prep work. You need to ensure your bedding is clean and your moisture levels are right. If you’re working on an old build, check that the existing masonry can actually take the load. I always tell my apprentices: the first course is the most important one you’ll ever lay. If you don’t get the footing and the initial bond perfect, you’re just building a very expensive way to create cracks.
Five things that’ll save your stack from cracking before the mortar even dries
- Stop obsessing over the brickwork and look at the footing; if your base isn’t sitting on a solid, level foundation that’s actually tied into the main structure, that chimney is going to settle differently than the house, and you’ll be looking at a vertical crack that no amount of pointing will ever hide.
- Watch the weather like a hawk, because if you’re building a stack in a biting wind or a sudden downpour, you’re asking for trouble; wet mortar won’t bond, and frost will turn your fresh joints into sand before you’ve even finished the first lift.
- Don’t get lazy with your ties; if you’re building a stack that’s part of an existing wall, you better be sure your wall ties are deep enough and spaced right, otherwise that stack is just a decorative ornament waiting to peel away from the main build.
- Mind the moisture in your bricks; I’ve seen too many lads build with bone-dry bricks that suck the life out of the mortar too fast, leaving you with a weak, crumbly bond because the brick drank the water before the chemical reaction could even finish.
- Respect the weight of the build by working in manageable stages; you can’t just rush a stack up to the roofline in one afternoon if the weather’s turning, because if that bottom course hasn’t had time to take the load properly, the whole thing will start to lean or buckle under its own weight.
Don't Cut Corners at the Top
At the end of the day, building a chimney stack isn’t about how pretty the brickwork looks from the garden; it’s about what’s happening inside the structure and how it’s anchored to the rest of the house. You’ve gone through the motions of setting your footings, ensuring the sub-base is solid, and getting your first courses perfectly level. If you’ve done that, you’ve already avoided the mistakes that most amateurs make. But remember, the moment you start moving toward the roofline, your margin for error shrinks. You have to keep a constant eye on your vertical alignment and ensure your mortar mix isn’t being compromised by wind or sudden temperature shifts. If you skip the prep or ignore the way the stack sits on its foundation, you’re just building a very expensive pile of rubble that’s destined to crack.
I’ve spent forty-three years watching men try to rush the finish because they thought the hard part was over once the base was set. It isn’t. A chimney is a living part of a building, breathing through the flue and fighting the elements every single day. If you take the time to do it right—from the ground up to the final coping stone—you’ll build something that lasts for generations. Do it properly, respect the sequence, and don’t let anyone talk you into a shortcut just to save a few hours. A solid stack is a silent testament to a job well done.
Frequently Asked Questions
If my sub-base is a bit soft or uneven, can I just pour a thicker concrete footing to make up for it?
Listen, I’ve heard that exact line more times than I’ve had a hot breakfast. You’re trying to use concrete to fix a groundworks problem, and that’s a recipe for a cracked stack. A thicker footing isn’t a magic wand; if that sub-base is soft or shifting, you’re just pouring more expensive weight onto a foundation that’s going to move. Dig it out, compact it properly, and get your MOT layer right. Don’t build on a sponge.
How do I know if I've added too much water to the mix when I'm trying to get the mortar to work with the bricks?
If your mortar looks like soup instead of a stiff paste, you’ve gone too far. You’re looking for a consistency that holds its shape when you push a trowel through it, not one that runs off the brick like spilled tea. If it’s sliding down the face of the masonry before you can even bed the next course, it’s useless. You’ve killed the suction and the bond. Stop adding water and start thinking about your mix.
Once the stack is up, what's the best way to manage the curing so the first frost doesn't ruin the whole job?
Listen, if you’ve got a frost warning coming, stop worrying about the bricks and start worrying about the moisture. You can’t just leave a fresh stack out to freeze. You need to keep that masonry damp and warm. Cover it with heavy-duty polythene or thermal blankets to trap the heat from the curing process. If that water inside the mortar freezes before it’s set, it’ll turn your hard work into expensive gravel.