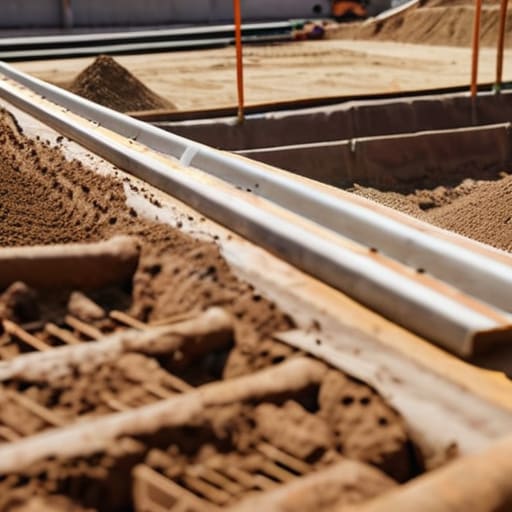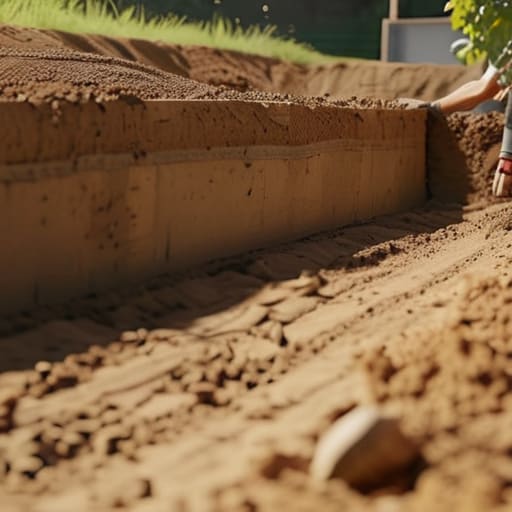
I’ve lost count of how many times I’ve stood on a site, watching a lad sweep up sawdust and tidy up some loose timber just to look “ready” for the building inspector. They think they’re doing something useful, but let me tell you, a clean site doesn’t hide a soft spot in the trench. If you’re sitting there stressing over how to prepare for a foundation inspection by worrying about whether your tools are put away or your paperwork is in a neat folder, you’re looking at the wrong end of the shovel. An inspector isn’t there to see if you’re tidy; they are there to see if the ground is actually capable of holding the weight you’re about to put on it.
I’m not going to give you a checklist of administrative nonsense or tell you to buy some expensive piece of kit you don’t need. Instead, I’m going to tell you what actually matters when that clipboard comes out. We’re going to talk about compacting that sub-base until it’s solid, checking your trench depths, and making sure nobody has been playing chemist with the moisture levels. I’ll show you how to get the job done right so that when the inspector arrives, you aren’t just hoping for the best—you’re already prepared.
Table of Contents
Managing Soil Moisture Levels Before the Inspector Arrives
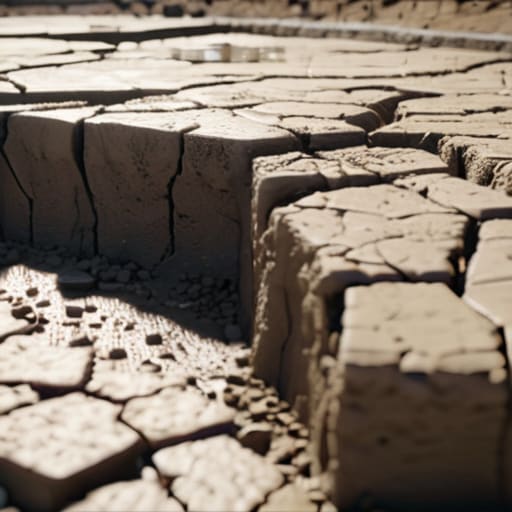
Now, listen. You can have the best mix design in the world, but if your soil is acting like a sponge or a brick, you’re already losing the battle. Before that inspector even steps out of his van, you need to look at your soil moisture levels. If you’ve had a week of heavy rain and your ground is sitting there like a marsh, or conversely, if you’re in the middle of a drought and the earth is cracking like an old biscuit, you’re asking for trouble. I’ve seen plenty of lads ignore this, only to have the ground shift six months later and leave them staring at massive cracks in basement walls.
Don’t just hope for the best; check your drainage. If water is pooling near your footings, it’s going to soften that sub-base and compromise everything. A smart bit of pre-inspection home maintenance means making sure your gutters are clear and your ground slopes away from the house. If the ground is saturated, the inspector isn’t just going to see a foundation; he’s going to see a ticking time bomb of potential settlement.
Using a Pre Inspection Home Maintenance Checklist
Look, I’ve seen plenty of homeowners walk into a structural integrity assessment with their eyes shut, hoping the inspector won’t notice the elephant in the room. You shouldn’t be playing guessing games with your own property. Instead of waiting for a professional to hand you a list of problems, you need to run your own pre-inspection home maintenance routine first. Get a notebook, walk the perimeter, and look for the things that actually matter. If you find yourself staring at deep cracks in basement walls or noticing that your doors aren’t latching right, don’t try to hide it with a bit of filler; that’s just asking for trouble later.
A decent home inspection checklist should be your starting point, but you need to use it with a bit of common sense. Don’t just tick boxes; look for the actual signs of foundation failure that tell the real story. I’m talking about uneven floor joists, sloping thresholds, or gaps where the slab meets the stem wall. If you catch these things early, you might save yourself a massive headache and some serious foundation repair costs down the line. You want to know what you’re dealing with before the man with the clipboard arrives.
Five Things to Get Right Before You Call the Inspector
- Stop obsessing over the surface and check your sub-grade. If you’ve got soft spots or pockets of organic matter hidden under that hardcore, the inspector is going to spot it, and frankly, so would I. You can’t build a house on a sponge, no matter how much concrete you pour on top.
- Watch the water, and I don’t just mean the mix. If you’ve got standing water in your trenches or the site is a bog because someone left a tap running or a drain leaking, you’re asking for trouble. A saturated sub-base is a recipe for settlement, and an inspector will see that mud for exactly what it is.
- Get your compaction testing sorted before they show up. Don’t wait for the inspector to tell you the ground isn’t dense enough; you should already know. If you haven’t used a proper vibrating plate or a roller to get that sub-base tight, you’re just waiting to find out the hard way when the cracks start appearing six months later.
- Clear the clutter so the truth can be seen. I’ve seen too many lads try to hide a dodgy patch of soil by piling up timber or rubbish right where the footing goes. Don’t do that. Keep the excavation clean and the edges sharp so there’s no guesswork about what’s actually underneath the line.
- Check your formwork and your reinforcement one last time. It’s easy to get rushed when the truck is idling, but if your steel is sitting in the mud instead of being propped up, or your timber is bowing, the inspection is going to be a waste of everyone’s time. Do it right the first time, or don’t bother calling them at all.
Don't Leave it to Luck
At the end of the day, an inspection is just a piece of paper if you haven’t done the legwork beforehand. You can’t hide a soft sub-base or a poorly compacted layer once the inspector starts poking around, so don’t even bother trying. Remember what I’ve been telling you: manage your moisture, run your own checklist, and for heaven’s sake, make sure the ground is actually ready to take the load. If you’ve ignored the sub-base preparation or let the site get into a mess, no amount of professional paperwork is going to fix a fundamental failure before the concrete even hits the ground.
I’ve spent forty-three years watching people panic when a crack appears, only to realize the mistake was made weeks before the pour. Don’t be that person. Take pride in the stuff that stays buried under the slab, because that’s what actually holds your world together. If you do the hard work now—the boring, dirty, unphotographed work—you won’t be sitting there sweating when the inspector walks onto your site. Build it right from the bottom up, and you’ll sleep much better knowing your foundation is actually solid.
Frequently Asked Questions
If the inspector finds a crack in my existing slab, is he going to blame the mix or the ground underneath?
If he sees a crack, he’s going to look at the ground first. I’ve spent forty years seeing “bad concrete” that was actually just a slab sitting on soft, uncompacted sub-base or shifting clay. Unless you’ve clearly botched the mix design or let some lad add a hoseful of water to the truck to make it easier to spread, the inspector is going to blame the preparation. Concrete is strong; the ground underneath is usually the weak link.
I’ve got a bit of standing water in the trenches after the rain; do I need to pump it all out before he shows up, or will he just tell me the sub-base is compromised?
Pump it out. Now. If an inspector sees standing water in those trenches, he isn’t just going to tell you the sub-base is compromised—he’s going to assume you’ve already let the soil turn into soup. You can’t inspect what you can’t see, and you certainly can’t build on a bog. Get the water out and check that the bottom of the trench hasn’t turned to muck. If the ground is soft, the inspection is already over.
How much do I actually need to clear away—can I leave the piles of hardcore and aggregate where they are, or does that make it look like I'm hiding a bad sub-base?
Look, if I see a site buried under piles of hardcore and aggregate, I’m not thinking “they’re being efficient”—I’m thinking they’re hiding a soft spot or a botched compaction. You can’t inspect what you can’t see. Clear the area. I need to see the actual surface of that sub-base, not a mountain of leftover muck. If you leave it messy, the inspector’s going to spend the whole time looking for what you’re trying to cover up.