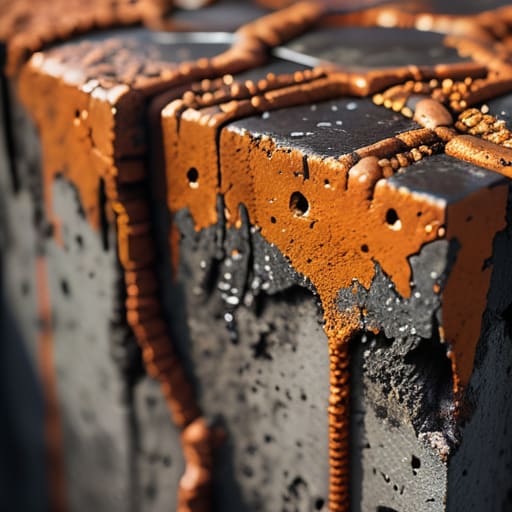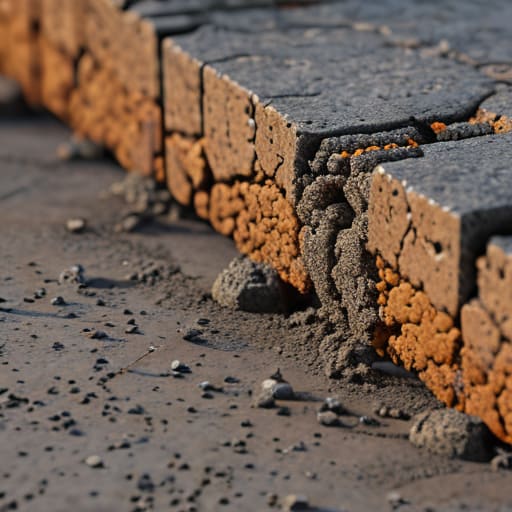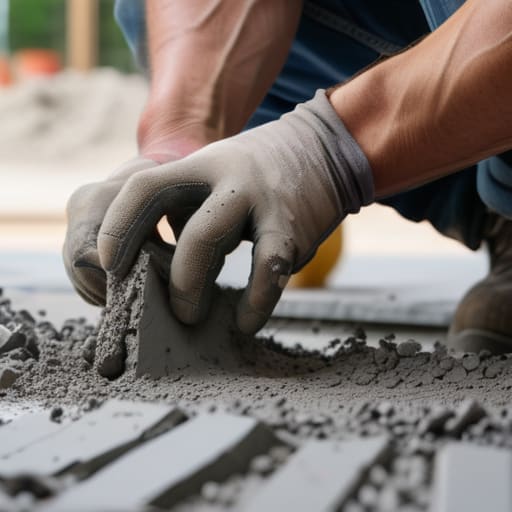
Most people think they can just slap some filler over a crack and call it a day, but if you want to know how to repair damaged concrete properly, you need to stop looking at the surface. I spent forty-three years watching lads try to patch up cracks that were actually caused by a shoddy sub-base or a mix that was watered down on a hot Tuesday afternoon. You can spend a fortune on the fanciest repair mortar in the catalogue, but if you haven’t addressed why the ground moved or why the slab settled, you’re just painting over a disaster. I’ve been called out to too many sites where the “fix” lasted exactly one winter before the crack reappeared, usually right where the patch was.
In this guide, I’m going to skip the fluff and tell you exactly how to do it right. We aren’t just talking about smoothing out a hole; we are going to look at diagnosing the root cause, preparing the edges so the new material actually bites, and choosing the right mix for the job. I’ll show you the sequence that ensures your repair actually stays put, because in my book, if you haven’t fixed the foundation of the problem, you haven’t fixed anything at all.
Table of Contents
Guide Overview
Tools & Supplies
- Hammer and chisel for removing loose debris
- Wire brush for cleaning the surface
- Trowel for smoothing the patch
- Concrete patch compound (1 bag or tub)
- Bonding agent (1 small bottle)
- Water (as needed for mixing)
Step-by-Step Instructions
- 1. Before you even touch a chisel, you need to get down on your hands and knees and figure out why it failed in the first place. If you’re just patching a crack in a slab that’s sitting on soft, uncompacted soil, you’re just wasting your money and your time. Check if the edges of the crack are moving when you step on them; if they are, the problem isn’t the concrete, it’s the sub-base underneath, and no amount of high-strength patch will fix a sinking foundation.
- 2. Once you’ve convinced yourself the ground is solid, you need to clear out the damage. Take a hammer and a cold chisel and start chipping away at the edges of the crack or the spalled area. You aren’t just cleaning it; you need to undercut the edges so you create a wider, deeper cavity than the crack itself. If you leave those thin, feathered edges, the new patch will just pop right out the first time a heavy vehicle drives over it.
- 3. Clean the hell out of the hole. I’ve seen more repairs fail because of dust and loose grit than because of bad weather. Use a stiff wire brush to scrub the sides and bottom of the cavity until you’re hitting solid, clean material. Then, get a leaf blower or some compressed air in there to blow out the fine dust that settles in the corners. If you pour new material into a dusty hole, you’re basically just laying it on a bed of sand, and it won’t bond to the old stuff.
- 4. Now, you have to decide if you’re using a standard mortar or a specialized repair compound. For deep structural cracks, don’t just grab a bag of cheap cement and hope for the best. You want something with a high bond strength, but remember: never add extra water to the mix just because it looks a bit stiff. Adding water to make it easier to spread is the fastest way to ensure that patch shrinks and cracks before the week is out.
- 5. Pack the material in tight. Don’t just smear it over the top like you’re icing a cake; you need to force it into the depths of the cavity to ensure there are no air pockets trapped underneath. Use a trowel to press the mix firmly against the sides of the old concrete. If you leave a void at the bottom, you’ve just created a weak spot that will crumble the moment the slab takes any real load.
- 6. Level it off, but don’t overwork it. Use your trowel to bring the patch flush with the surrounding surface, but if you keep fussing with it and smoothing it over and over, you’ll bleed the moisture out of the mix. You want to leave the finish as close to the original texture as possible. Once it’s level, step away and let it do its job.
- 7. The most important part—and the part everyone ignores—is the curing process. If the sun is beating down or there’s a stiff breeze, that patch is going to dry too fast and shrink. Cover it with a bit of damp burlap or even just a piece of plastic to keep the moisture in. You want that repair to cure slowly and deeply, not flash-dry on the surface and leave you with another crack to deal with next season.
Why a Concrete Crack Repair Kit Wont Fix Bad Sub Base
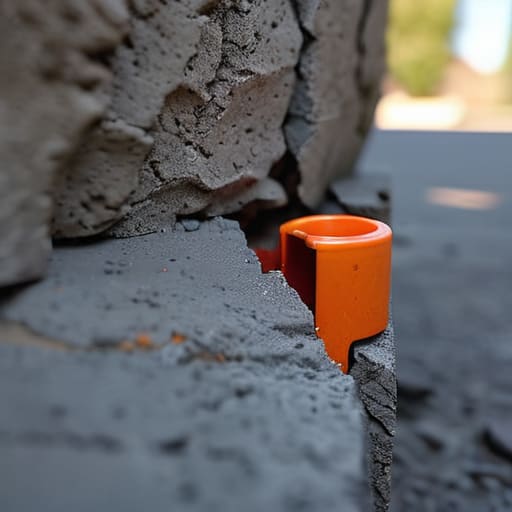
You can buy the fanciest concrete crack repair kit on the market, wrapped in shiny packaging with instructions that make it look like you’re just painting a fence, but it won’t do a lick of good if the ground underneath is moving. I’ve seen it a thousand times: a homeowner spends sixty quid on a DIY kit, fills a hairline fracture, and three weeks later, the crack is twice as wide and twice as deep. That’s because they’re treating the symptom, not the disease. If your sub-base wasn’t compacted properly or you’ve got soft spots in the hardcore, that slab is going to keep shifting regardless of how much filler you shove into the gap.
If you’re looking at patching spalled concrete or trying to seal a joint, you need to ask yourself why it opened up in the first place. If the movement is ongoing because the foundation is settling, you’re just throwing money into a hole. You might think epoxy injection for cracks is a silver bullet, but even that won’t stop a slab from snapping if the base is nothing more than loose dirt and optimism. You have to fix the foundation before you fix the surface, or you’re just wasting your time and your money.
Moving Beyond Patching Spalled Concrete to Real Structural Concrete Repair
Look, if you’ve got chunks of surface flaking off like old pastry, you’re dealing with spalling. Most DIYers think patching spalled concrete with a bag of premix from the local shop is the end of the job. It isn’t. If that concrete is delaminating because the freeze-thaw cycle got into the slab, or because the mix was too wet when it was first poured, a bit of filler is just a bandage on a broken leg. You need to chip back until you hit sound, solid material. If you just skim over the top, that patch will pop off in six months, and you’ll be right back where you started, wasting more money.
When the damage goes deeper than just the surface, you have to look at structural concrete repair methods that actually bond to the old mass. If you’ve got a hairline fracture that’s weeping moisture, you shouldn’t be reaching for a tub of caulk; you should be looking at epoxy injection for cracks. This isn’t about making it look pretty; it’s about pressure-feeding a resin into the void to knit the slab back together. If you don’t restore that structural integrity, you’re just decorating a disaster.
Five Things You’ll Get Wrong if You Only Look at the Surface
- Stop chasing the crack and start digging. If you’re patching a crack that’s widening every time it rains, you aren’t fixing a concrete problem; you’re masking a sub-base problem. If the ground underneath hasn’t been compacted properly or the MOT Type 1 hasn’t been rolled into a solid mass, that new patch will pop out faster than a bad tooth.
- Check the depth before you buy the filler. I see lads all the time buying a tub of epoxy from the DIY shop to fix a hole that goes halfway through the slab. If the damage is structural, you don’t “fill” it; you excavate the damaged section down to a solid level, clean it out, and pour something that actually has some meat on its bones.
- Watch the weather like a hawk. You can have the best repair mix in the world, but if you pour it in the midday sun on a dry day, it’ll flash-set and crack before you’ve even finished your tea. Conversely, if it’s damp and cold, that mix won’t cure; it’ll just sit there like wet sand. Control the environment, or you’re just wasting money.
- Don’t be tempted by the hose. I’ve seen enough “easy” pours ruined because some lad thought adding a splash of water would make the mix more workable. It ruins the water-to-cement ratio and kills the strength. If your repair mix is too stiff, use a plasticiser, don’t turn it into soup.
- Respect the joints. If you’re repairing a slab that has existing expansion or control joints, you better make sure your repair doesn’t bridge them. If you pour a solid block of repair material right across an existing movement joint, the slab is going to find the next weakest point to snap, and it’ll be right next to your “fix.”
The Long View on Concrete
Look, if you’ve followed what I’ve said, you know that repairing concrete isn’t about finding a fancy sealant or a quick-drying putty to hide the evidence. It’s about the grunt work that happens out of sight. You’ve got to address the sub-base stability first, ensure your expansion joints are actually doing their job, and stop trying to patch a structural failure with a cosmetic fix. If you don’t fix the reason the ground moved or why the mix was compromised, you’re just painting over a crack and waiting for it to happen all over again. You can spend all day smoothing out a surface, but if the foundation underneath is rubbish, you’re just wasting your time and your money.
At the end of the day, I want you to take pride in the work that nobody sees. A job well done isn’t measured by how shiny the finish looks on a Sunday afternoon; it’s measured by whether that slab is still sitting level ten years from now when the weather turns foul. Don’t be the bloke who takes the shortcut just to get home early. Do the prep, respect the curing times, and build it to last. There’s a massive amount of satisfaction in knowing that when people walk over your work, they aren’t walking on a ticking time bomb, but on something solid and honest.
Frequently Asked Questions
If I’ve already patched the crack and it’s coming back in the same spot, is the sub-base completely shot or can I still save the slab?
If that crack is reappearing, stop throwing money at more filler. You aren’t fixing a crack; you’re witnessing a symptom. If the patch fails, the movement is coming from underneath. It means your sub-base is either settling, washing out, or was never compacted properly to begin with. You can try to stabilize it by injecting resins or underpinning, but if the ground is still shifting, no amount of high-strength mortar will save that slab.
How do I know if I’m dealing with a simple surface spall or if the whole foundation is actually shifting underneath me?
Listen, if it’s just a bit of surface spalling—where the top layer flakes off like old skin—you’re likely looking at poor curing or too much air in the mix. That’s a cosmetic headache. But if that crack is wider than a tenner, or if it’s running deep and straight, stop right there. If the crack is moving, your sub-base is moving. A surface chip is a nuisance; a shifting foundation is a structural failure.
When should I stop trying to fix it myself and admit that the entire pour needs to be ripped out and redone?
Look, there’s a point where you stop being a repairman and start being a fool. If the slab is heaving because the sub-base wasn’t compacted, or if you see spiderwebbing across the whole surface from a mix that was watered down to hell, stop. You can patch a crack, but you can’t patch a foundation that’s lost its integrity. If the structural bones are gone, rip it out. Better to pay for a redo now than a collapse later.