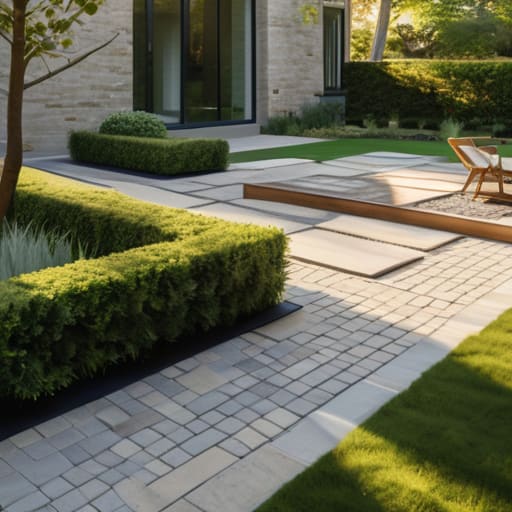
I remember standing on a driveway in Surrey back in ’08, watching a lad lay down some expensive, high-end Indian sandstone like he was tiling a kitchen backsplash. He was so proud of the pattern, but I wasn’t looking at the stone; I was looking at the mess of soft, uncompacted soil underneath. I told him then, and I’ll tell you now, that if you think a complete guide to paving is just about picking the right colour or the prettiest slab, you’ve already lost the battle. You can buy the most expensive materials on the market, but if your sub-base is rubbish, that patio is going to be a tripping hazard within two seasons.
I’m not here to sell you on fancy patterns or aesthetic trends that won’t last the winter. In this guide, I’m going to strip away the nonsense and show you how a job is actually won or lost in the dirt. We’re going to talk about the grit, the compaction, and the drainage—the stuff that actually keeps your ground level. This is my no-nonsense approach to making sure your hardstanding stays put, from the moment you break ground until the final sweep.
Table of Contents
Guide Overview
Tools & Supplies
- Shovel for excavating soil and leveling
- Plate Compactor for stabilizing the base
- Rubber Mallet for setting pavers without damage
- Spirit Level for ensuring a flat surface
- Pavers (Quantity based on square footage)
- Crushed Stone/Sub-base (Quantity based on depth)
- Bedding Sand (Quantity based on depth)
- Polymeric Sand (Quantity for joint filling)
Step-by-Step Instructions
- 1. Before you even think about looking at a catalogue of pretty stones or paving slabs, you need to get your hands in the dirt. You start by digging out the area to a depth that accounts for your sub-base, your bedding layer, and the thickness of the paving itself. If you’re too shallow, you’re asking for trouble. I’ve seen too many lads try to skim a thin layer of sand over hard ground and then wonder why the whole lot heaves like a bad back come winter. Dig deep, clear out the organic muck, and make sure you’ve got a clean, firm bottom.
- 2. Now, this is where most people start cutting corners, and it’s where I start judging. You need to lay down a proper sub-base—usually MOT Type 1—and you need to compact it. I don’t care if you’re using a hand rammer or a heavy vibrating plate; that base needs to be rock solid. You should be compacting it in layers, not just dumping six inches of stone in and hoping for the best. If that sub-base isn’t tight and level, your paving will eventually find its own level, and it won’t be the level you wanted.
- 3. Once the base is set, you need to establish your falls. This is the most important bit of geometry you’ll ever do on a job. You aren’t building a swimming pool; you’re building a surface that needs to shed water. You want a slight gradient—usually a 1 in 60 rule—to ensure water runs away from the house and into a drain or a soakaway. If you ignore the slope of the land here, you’ll be dealing with puddles and damp rising up your walls before the first year is out.
- 4. Next comes the bedding layer. Depending on what you’re laying, this is either a sharp sand/cement mix or a specialized mortar. Don’t you dare try to use standard building sand for a wet mix; it’s too fine and it’ll shrink and crack like an old dry riverbed. You want a consistent, workable mix that you can spread to a precise depth. I always tell my boys: don’t chase the level by adding more mortar later; get the bed right the first time or don’t bother.
- 5. When you start laying the actual paving, work from your established datum point and keep a string line tight. You’re looking for consistency in the joints and the height. If you’re using natural stone, remember it’s got its own character, but don’t let that be an excuse for a wobbly surface. Tap them down gently with a rubber mallet—too hard and you’ll crack a good slab, too soft and you won’t bed it into the mortar properly.
- 6. Once the slabs are down and the level is checked, it’s time for the joints. Whether you’re using a traditional pointing mortar or a modern resin-based jointing compound, it has to be done right. If you’re pointing, make sure you don’t leave gaps that can collect water. If water gets into a crack and freezes, it’ll pop those slabs right out of the ground like a cork from a bottle.
- 7. The final step isn’t the finishing touch; it’s the most critical for the long haul: curing and cleaning. If you’ve used a cement-based mortar, you can’t just leave it to bake in the sun or get lashed by a sudden downpour. You need to manage the moisture. Keep it out of the direct midday sun if you can, and don’t let it dry too fast. A job isn’t finished when the last stone is laid; it’s finished when the chemistry has settled and the surface is stable.
Sub Base Preparation Techniques Why the Foundation Is Everything
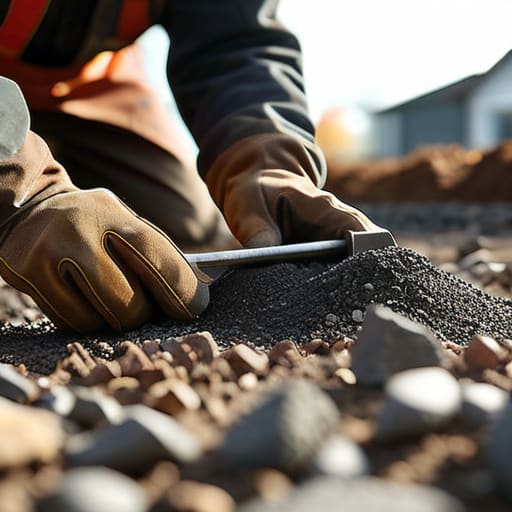
Listen, I’ve seen more beautiful patios sink into the mud than I’ve seen decent weather in November. You can spend a fortune on premium driveway paving materials, but if you’re just throwing them onto a bit of compacted dirt, you’re essentially building on quicksand. The real work—the stuff that actually keeps your stones level ten years from now—is the sub-base preparation techniques you use before the first stone even touches the ground. I’m talking about digging out the organic matter, getting your MOT Type 1 down, and making sure it’s layered thick enough to actually handle the load.
Don’t let anyone tell you a thin layer of sand is enough to support a heavy vehicle. If you skip the heavy-duty compaction, you’re asking for trouble. You need to focus on paver leveling and compaction at every single stage. If the sub-base isn’t rock-solid and perfectly even, your stones will shift, your joints will widen, and you’ll be back here calling me in two years to ask why your expensive new patio looks like a mountain range. Get the foundation right, or don’t bother starting.
Paver Leveling and Compaction Winning the Battle Before the Pour
Once you’ve finished your sub-base preparation techniques and you think you’re ready to lay the stones, hold your horses. This is where most lads start getting sloppy because they think the heavy lifting is done. It isn’t. If your bedding layer isn’t perfectly even, or if you’re trying to compensate for a wonky base by piling on extra sand, you’re just building a house of cards. You need to get your screeding right the first time; if you’re constantly chasing levels as you go, you’re going to end up with a wavy mess that’ll be a nightmare to fix once the weight of a car hits it.
When it comes to paver leveling and compaction, remember that the vibration is your best friend and your worst enemy. You use the plate compactor to lock everything in, but if you don’t use a rubber mat, you’ll crack your expensive driveway paving materials before the job is even half done. I’ve seen too many young ones skip the careful, methodical passes, thinking they can just smash it all down at the end. Don’t be that person. Real success comes from steady, even pressure that settles the stone into the bed without shifting the perimeter.
The Three Things They Won't Tell You in the Sales Brochure
- Stop obsessing over the colour of the stone and start looking at the aggregate size in your sub-base; if you’ve got gaps too big or material that’s too fine, you’re just building a very expensive way to sink into the mud.
- Watch the water like a hawk—if a driver shows up and starts dumping extra water into the mix to make it “workable” for the lads, tell him to stop, because you’re basically just pouring weak, watered-down grey soup that’ll crumble in two seasons.
- Don’t go skimping on your expansion joints just because they’re a nuisance to lay; a slab without proper joints is just a ticking time bomb waiting for the first frost to snap it in half.
- Learn to read the weather before you sign the delivery note, because if you’re pouring in direct, blistering sun without a plan to cure it, you’ll bake the moisture out too fast and end up with a surface as brittle as a biscuit.
- Check your levels twice and pour once—I’ve seen more jobs ruined by a lad with a spirit level who was too lazy to check the fall of the ground than I have by bad concrete, and that’s saying something.
Don't Let the Pretty Finish Fool You
Look, if you’ve followed what I’ve said here, you know that a successful pave isn’t about how much you spend on the top layer or how much you polish the finish. It’s about the grit and the grunt work you did three days before the first stone even touched the ground. You’ve got to respect the sub-base, you cannot skimp on the compaction, and you absolutely cannot let someone convince you that adding extra water to a mix makes it easier to spread. If you get the foundation solid and the levels precise, the rest of the job is just following the sequence. If you skip the hard bits, you aren’t paving; you’re just setting a timer on a future failure.
At the end of the day, there’s a real satisfaction in standing back and looking at a job that’s done right. Not just a job that looks good for the handover photos, but a job that’s going to be sitting there, rock solid, ten years from now when the weather has tried its best to tear it apart. Don’t be in such a rush to see the end result that you neglect the start. Do the prep, respect the materials, and build it to last, not just to finish. That’s the difference between a contractor and a man who actually knows his trade.
Frequently Asked Questions
I’ve got a bit of clay in my soil; how much extra sub-base do I actually need to stop the whole lot from sinking in two years?
Clay is a nightmare because it breathes; it swells when it’s wet and shrinks when it’s dry. If you try to build on it like it’s sand, you’ll be ripping up cracked pavers in twenty-four months. Don’t just add a few inches of MOT Type 1 and hope for the best. You need to dig out deeper—aim for at least 150mm to 200mm of compacted sub-base—and make sure you’ve got a proper geotextile membrane down first to stop that clay from migrating up into your clean stone.
If I can't get a professional compaction ram, is it worth even bothering, or am I just wasting my money on the pavers?
Listen, if you’re planning on using a hand tamper and a prayer, you’re just buying expensive decorations for a future sinkhole. You can spend a fortune on premium pavers, but if that sub-base isn’t compacted to a solid, unified mass, they’ll be shifting and rocking within six months. If you can’t rent a proper plate compactor, don’t bother starting. Save your money and wait until you can do the job right.
How do I know when the ground is actually ready for the first layer, or am I just guessing based on how it looks?
If you’re guessing based on how it looks, you’ve already lost. I’ve seen lads look at a bed of MOT Type 1 and say, “Looks solid enough,” right before the whole lot shifts under a load. You don’t guess; you test. Get a heavy compaction rammer on it. If it bounces, it’s not ready. If you can still leave a deep footprint in it, you’re just playing in the dirt. It needs to feel like stone, not soil.



