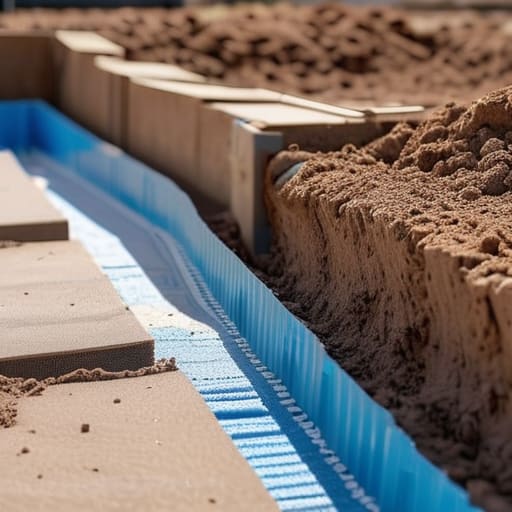
I remember standing on a job site in ’94, watching a young lad toss rigid foam boards onto a muddy sub-base like he was laying down a cheap carpet. He thought he was being efficient, but I could see the gaps, the overlaps, and the way the boards were buckling under his boots. Most people think the real work starts when the concrete truck pulls up, but they’re dead wrong. They spend a fortune on high-spec mixes only to ruin the whole thermal setup because they don’t understand how insulation is placed under slabs with any real precision. If that board isn’t snug, flat, and protected, you aren’t building a floor; you’re just building a future problem.
I’m not here to give you a lecture from a textbook or some fancy architectural diagram that doesn’t account for real-world grit. I’m going to tell you exactly how it’s done when you want a slab that stays warm and, more importantly, stays solid. We’ll talk about the sub-base prep, the importance of those tight joints, and the mistakes that turn a professional pour into a costly nightmare.
Table of Contents
Subgrade Preparation for Insulation Setting the Stage for Success
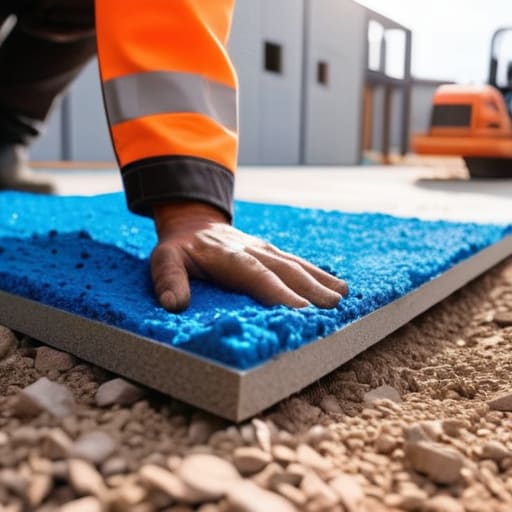
Before you even think about unrolling a single sheet of foam, you need to look at what’s underneath. I’ve seen lads try to lay expensive rigid foam insulation installation right over a subgrade that’s nothing but loose, uneven rubble and soft spots. That’s a recipe for disaster. If your ground isn’t compacted to a solid, level finish, that insulation is going to flex when the weight of the concrete hits it. Once that foam shifts or settles unevenly, your slab is going to crack, and no amount of expensive mix will save you from a structural failure.
You need to treat your subgrade preparation for insulation like it’s the most important part of the job, because it is. I want to see a clean, firm surface—usually a well-compacted MOT Type 1—that’s been rolled flat. If there are any sharp stones or debris sticking up, they’ll puncture your vapor barrier or even snap the foam boards. You’re building a thermal barrier for concrete slabs, not a layer of gravel. Get the ground right, get it dead level, and only then should you even think about touching the insulation.
Rigid Foam Insulation Installation More Than Just Laying Boards
Now, once you’ve got your subgrade sorted and your damp-proof membrane down, you’re looking at the actual rigid foam insulation installation. Most lads think you just roll the boards out like a carpet and call it a day, but that’s a rookie mistake. If those boards aren’t tight, you’re asking for trouble. You need to make sure they are butt-jointed perfectly or taped up so there isn’t a single gap for heat to escape or for the concrete to settle into. I’ve seen too many jobs where the boards shifted during the pour because nobody bothered to secure them, and suddenly your thermal barrier for concrete slabs is nothing more than a collection of disconnected pieces of polystyrene.
You also can’t ignore the edges. It’s easy to focus on the middle of the floor, but if you skip the edge insulation details, you’re basically throwing your money down the drain. The heat will just bleed out through the perimeter. I always tell my boys: treat those edges with as much respect as the center. If you don’t get the perimeter wrapped tight, you might as well be pouring on bare dirt.
Five Things That’ll Save Your Slab (And Your Sanity)
- Watch your joints. If you’re laying down rigid foam, don’t leave gaps big enough to swallow a pencil. If the concrete flows into a gap between boards, you’ve got a thermal bridge and a potential weak spot. Tape those edges tight or butt them up so close you can’t see daylight.
- Don’t let the wind do the work for you. I’ve seen lads try to lay boards on a gusty day and end up with a mess of foam flying across the site. If that insulation isn’t pinned down or weighed off immediately, it’ll shift. A shifted board means a slab that isn’t sitting on what it thinks it’s sitting on.
- Check your moisture barrier before the foam goes down. You can have the best insulation in the world, but if you haven’t got a proper damp-proof membrane underneath it, you’re just insulating a damp mess. The membrane needs to be continuous and tucked right up against your edges.
- Mind the penetrations. Every time a plumber or an electrician runs a pipe through that insulation, they’re creating a hole in your thermal envelope. Don’t just let them shove a pipe through a gap; you need to seal it properly so the heat doesn’t just leak straight out the bottom.
- Level the sub-base first, or don’t bother. If your sub-base is lumpy or has sharp stones sticking up, they’ll puncture your membrane or even crack your insulation when the weight of the wet concrete hits it. I won’t even look at the insulation until I know the ground underneath is as flat as a pancake.
The Final Word Before the Trucks Arrive
At the end of the day, getting insulation under a slab isn’t about ticking a box on a spec sheet; it’s about making sure that heat stays where it belongs and the slab doesn’t become a thermal bridge. You’ve got to get that subgrade dead level, ensure your vapour barrier is tucked tight without any pinpricks, and make sure those rigid boards are butted up so close you couldn’t slip a blade between them. If you skimp on the prep or let the wind catch those boards before the pour, you’re just building a future problem for someone else to fix. Remember, once that wet concrete hits the boards, there’s no going back to fix a gap or a tear in the membrane.
I’ve spent forty-three years watching lads try to rush the “invisible” parts of a job because they were too eager to get to the actual pouring. They think the magic happens when the vibrator is running, but I’ll tell you straight: the magic happens in the quiet hours of preparation. Do the job right, respect the sequence, and don’t let laziness dictate your structural integrity. When you walk away from a site and know that everything underneath that slab is solid, you can sleep easy knowing that the concrete is just doing what it was designed to do.
Frequently Asked Questions
What happens if the sub-base isn't perfectly level before I start laying the boards?
If you try to lay boards over a wonky sub-base, you’re asking for trouble. You’ll end up with “bridging,” where the insulation is hovering over a hollow spot. When that heavy concrete hits, it’ll snap those boards or, worse, crack the slab right above them because the load isn’t even. You can’t just hope for the best; you either compact that sub-base until it’s dead level or you sand it out. No shortcuts.
How do I stop the insulation from shifting or floating when the concrete starts being poured?
You can’t just lay those boards down and hope for the best. The moment that wet concrete hits, it’s going to try and hunt for any gap or lift those boards like a raft. You’ve got to pin them. I always used heavy-duty plastic sheeting over the top to keep the moisture in and the boards down, then used plenty of heavy weights or even small amounts of mortar to tack the edges. If it’s moving, it’s failing.
Is there a risk of the insulation crushing if I've got heavy machinery or a big concrete truck driving over it?
Listen, if you’re planning on driving a heavy mixer or a digger straight over unreinforced foam, you’re asking for a disaster. You’ll crush those boards, create hollow spots, and your slab will crack before it’s even set. If you’ve got heavy plant traffic, you don’t just use any old polystyrene; you use high-compressive strength boards and make sure your sub-base is dead level. Don’t let a shortcut today become a sinkhole tomorrow.