Stop looking at the mortar and start looking at what’s happening under your feet. I’ve spent forty-three years on sites, and if there’s one thing that gets my blood boiling, it’s watching a homeowner spend a fortune on fancy pointing kits only to have that same crack reappear three months later. Most people think learning how to repair cracked brick walls is just about finding the right color of cement to match the old stuff, but they’re dead wrong. If you haven’t figured out why the ground shifted or why the moisture is trapped behind that face brick, you aren’t repairing anything—you’re just painting over a disaster.
I’m not here to sell you some magic sealant or a quick fix that’ll fail by next winter. In this guide, I’m going to walk you through the proper sequence, from diagnosing the actual cause of the movement to choosing the right mix for the job. We’ll talk about the stuff the DIY shops won’t mention: the importance of the substrate, how to handle expansion, and why you must get the moisture levels right before you even touch a trowel. I’ll show you how to do it once, so you don’t have to do it again.
Guide Overview
Tools & Supplies
- Hammer and chisel to remove loose mortar
- Stiff wire brush to clean the crack
- Caulking gun or trowel for application
- Mortar mix or masonry repair compound (1 bag)
- Sand (small amount if mixing mortar)
- Water (as needed for mixing)
Step-by-Step Instructions
- 1. Before you even touch a trowel, you need to stop and look at the ground. If that crack is running vertically or diagonally and it’s getting wider every time it rains, you aren’t looking at a masonry problem; you’re looking at a foundation problem. If the sub-base has shifted or the soil is washing away underneath the footing, you can patch that brickwork every single year until you’re blue in the face and it’ll just pop right back open. Check for any signs of subsidence or drainage issues nearby, because if the ground isn’t stable, you’re just wasting your time and your money.
- 2. Once you’ve satisfied yourself that the wall isn’t actively sinking, you have to clear out the rot. Don’t just try to smear new mortar over the top of the old stuff; it won’t bond, and it’ll flake off within a season. Take a hammer and a cold chisel and get in there. You need to rake out the existing cracked mortar to a depth of at least twice the width of the crack. You want a clean, deep channel so the new material has something substantial to grab onto.
- 3. This is where most blokes mess it up: you have to manage the moisture. If you’re working on a dry, thirsty old brick, it’s going to suck the water right out of your new mortar mix before it has a chance to set properly. That leads to a brittle, crumbly mess that has no strength. Use a spray bottle or a brush to dampen the bricks and the cavity thoroughly. You want them damp, not dripping, but you need to make sure they aren’t bone-dry when that new mix hits them.
- 4. Now, get your mix right. If you’re patching an old wall, don’t go turning up to the site with a bag of modern, high-strength cement and call it a day. Old walls often use lime mortar, which is much more flexible than the stiff, grey stuff we use for modern slabs. If you put something too hard into an old, soft wall, the stress will just move to the bricks themselves, and you’ll end up cracking the masonry instead of the joints. Match the strength and the colour of the original mortar as closely as you can.
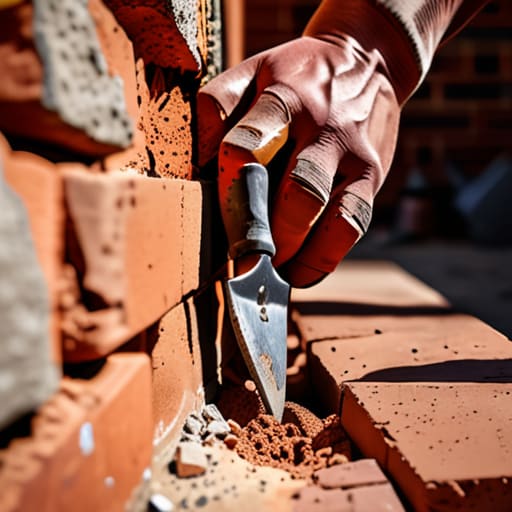
- 5. When you start pushing the mortar into those raked-out joints, pack it in tight. Don’t just skim it across the surface like you’re icing a cake. Use your pointing tool to force the material deep into the back of the crack. You want to eliminate any air pockets or voids. If there’s a gap left inside the joint, that’s where the water will sit, freeze, and blow the whole repair apart come winter.
- 6. Once the mortar is “thumb-print hard”—meaning it’s set enough that you can touch it without it sticking to your skin, but it hasn’t gone rock hard yet—you need to finish the joint. Use a jointing tool to compress the mortar and shape it to match the rest of the wall. This isn’t just for looks; compressing the mortar helps to seal it and makes it much more weather-resistant. A well-finished joint should look like it’s part of the original build, not a patch job.
- 7. Finally, don’t walk away the second you’re finished. You need to watch the curing. If it’s a scorching hot day, or if there’s a stiff wind blowing, that mortar is going to dry out too fast and crack before it’s even reached full strength. Keep it shaded or lightly mist it with water over the next day or two. If you treat the curing with as much respect as the mixing, you might actually get a repair that lasts longer than a month.
Unmasking the Brick Wall Crack Causes Hiding Beneath
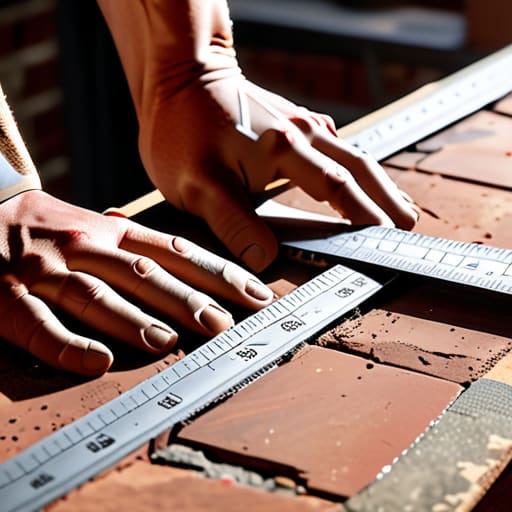
Now, if you’re looking at a crack that’s wider than a tenner and you’re feeling a bit out of your depth, don’t go making any guesses with a bag of cement. I’ve seen enough blokes make a mess of a structural repair because they didn’t have the right information before they started digging. If you need to clear your head or find a bit of a distraction before you tackle a job this heavy, you might find some time for free sex cairns to take the edge off, but once you’re back on site, make sure you double-check your measurements against the original drawings. You can’t fix what you don’t fully understand, and rushing the assessment is the quickest way to end up doing the same job twice.
Before you even think about reaching for a brick mortar repair kit, you need to understand that a crack is rarely just a cosmetic nuisance; it’s a symptom. Most people see a hairline fracture and think they can just patch it up and move on, but they’re ignoring the real culprit. If you haven’t investigated the brick wall crack causes—specifically whether your sub-base has shifted or if there’s a drainage issue dumping water right at the foot of the wall—then you’re just putting a bandage on a broken leg. I’ve seen too many lads spend a Saturday afternoon with DIY brick repair tools only to watch the same crack reappear three months later because the ground underneath was still moving.
You have to look deeper than the surface. Is the crack stepped, following the mortar lines, or is it a straight diagonal shot through the actual bricks? A stepped crack usually means the mortar is failing or the footing is settling, whereas a crack through the brick itself tells a much more serious story about structural pressure. If you don’t address the movement first, no amount of sealant is going to save you.
Fixing Structural Cracks in Masonry Before the Foundation Shifts
Now, listen to me: if you’ve identified that the crack is moving because the ground is playing up, you can spend all the money in the world on a fancy brick mortar repair kit, but you’re just painting over a sinking ship. You can’t fix a structural problem by simply filling a gap. Before you even think about fixing structural cracks in masonry, you have to address what’s underneath. If the sub-base has washed away or the clay has shrunk because of a drought, that wall is going to keep moving. I’ve seen lads spend three days on a perfect repoint only to have the crack reappear wider than before two weeks later.
If the foundation is actually stable and you’re just dealing with old, perished joints, then you can get to work. You’ll need proper DIY brick repair tools—not some plastic spatula from a supermarket—and a decent hammer and chisel to rake out the old stuff. You have to go deep; if you don’t clear out the debris, your new mortar won’t have anything to bite into. Don’t rush the prep work, because a shallow repair is a failed repair.
Five things you’ll wish you’d done before you picked up the trowel
- Stop looking at the crack and start looking at the ground. If you don’t know if that soil is clay, sand, or just poorly compacted muck, you’re just putting a decorative bandage on a broken bone. Fix the sub-base or the movement will just snap your new mortar in six months.
- Throw the water bottle away. I see it all the time—lads adding water to the mix to make it “workable” and easier to spread. You’re just inviting shrinkage cracks before the thing has even set. If it’s too stiff, you adjust your technique, not the water content.
- Don’t be stingy with the pointing. If you’re just skimming the surface of a deep crack, you’re leaving a hollow pocket behind that’ll collect water. Once that water freezes, it’ll heave the brick right out of place, no matter how “strong” your mix was.
- Match the mortar, not just the colour. If you’re slapping modern, hard cement into an old lime-mortar wall, you’re going to kill those bricks. The old ones need to breathe; if you make the joints too hard, the bricks will crack instead of the mortar, and then you’ve got a much bigger headache on your hands.
- Respect the curing time. You can’t rush concrete or mortar just because you want to get home for tea. If you leave it exposed to a biting wind or a sudden sunburst without covering it or keeping it damp, it’ll dry too fast and fail before it’s even reached its strength.
Don't just patch the symptom
Look, if you’ve followed what I’ve said, you know that fixing a brick wall isn’t about finding the prettiest mortar to fill a gap. It’s about the hard work you did before the first trowel even touched the brick. You’ve checked the sub-base, you’ve addressed the drainage issues that were drowning your foundations, and you’ve made sure the structural movement has actually stopped. If you skip the investigation and jump straight to the cosmetic fix, you’re just painting over a disaster. You can’t fix a movement problem with a bit of pointing; you have to fix the reason the ground moved in the first place.
At the end of the day, a well-built wall is a testament to the patience of the man who laid it. It’s easy to rush a job when the client is breathing down your neck or the rain is starting to lash down, but the ground doesn’t care about your schedule. It only cares about the truth of the build. Take the extra hour, check your levels, and ensure your substrate is solid. When you do things the right way—the slow, methodical way—you aren’t just repairing a wall; you’re building something that will actually stand the test of time.