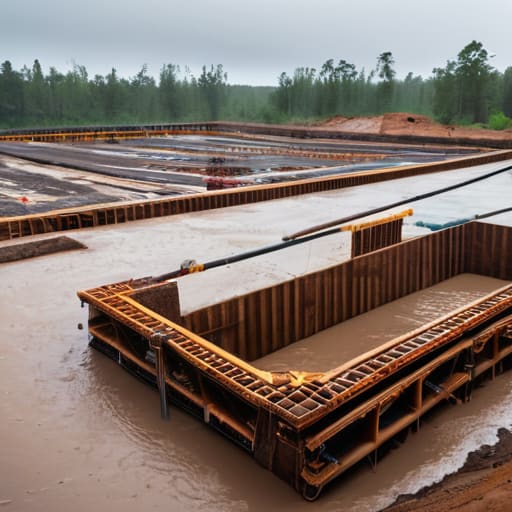
I was standing in a damp, half-finished cellar in Surrey about ten years ago, watching a lad slap a thick layer of expensive liquid membrane onto a wall that hadn’t even been properly cleaned. He looked at me like I was an old fool, thinking he was doing a proper job, but I could already see the future: a weeping wall and a ruined floor. Most people think how basements are waterproofed is all about finding the fanciest, most expensive chemical coating you can find at the trade counter. They treat it like a magic paint that can fix a bad build, but that’s a bloody lie.
I’m not here to sell you on high-tech miracles or fancy products that won’t matter in five years. I’m going to tell you the truth about what actually keeps the water out—and it usually happens long before the waterproofing specialist even shows up on site. We’re going to talk about drainage, hydrostatic pressure, and why your sub-base is the only thing standing between a dry room and a swamp. I’ll show you how it’s actually done, the way we did it when we didn’t have a thousand shiny brochures to hide behind.
Table of Contents
The Subterranean Water Management You Always Skip
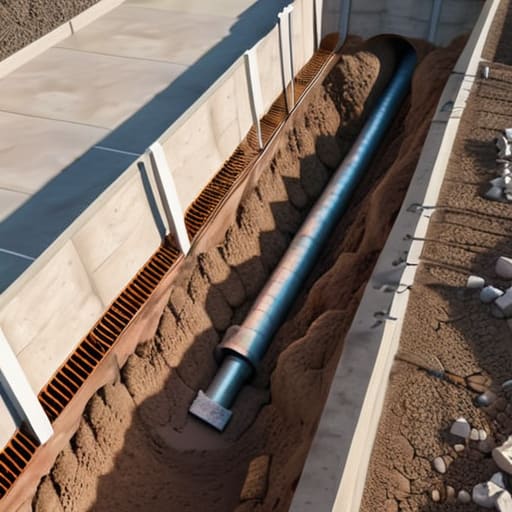
Everyone wants to talk about the fancy membranes and the liquid coatings they can slap on the walls once the concrete is up, but they’re looking at the symptom, not the cause. If you aren’t thinking about subterranean water management before you even break ground, you’re just planning to mop a floor for the next twenty years. Most of the lads I worked with would jump straight to the waterproofing membrane application, thinking that a thick enough layer of plastic would stop the world. It won’t. If you have water building up against your foundation walls because you didn’t manage the site drainage or the gravel surround, that water is looking for a way in.
That’s where you run into hydrostatic pressure, and that’s a beast you don’t want to fight once the slab is set. It’s the weight of the water in the soil pushing against your structure, trying to force its way through every microscopic pore in the concrete. You can use all the internal damp proofing techniques in the book, but if you haven’t addressed the external pressure first, you’re just fighting a losing battle. You have to move the water away from the footprint of the build, or you’re just building a very expensive swimming pool.
External vs Internal Waterproofing Choosing the Right Battle
Now, once you’ve sorted your drainage and your ground is actually ready, you’re faced with the big debate: external vs internal waterproofing. Most lads will try to sell you on the internal stuff because it’s easier—you just crawl into the dark with a drill and some chemicals. But listen to me: internal damp proofing techniques are essentially just a way of managing a failure that’s already happened. You’re essentially putting a bandage on a wound. If you can get to the outside of that wall, you do it there. You want to stop the water before it ever touches the concrete, not try to catch it once it’s already decided to move in.
Applying a waterproofing membrane application to the external face is the only way to truly tackle hydrostatic pressure prevention. When the ground gets saturated, that water is pushing against your walls with everything it’s got. If you only treat the inside, you’re just fighting a losing battle against that pressure. I’ve seen too many “fixed” basements that end up weeping again in two years because they ignored the outside. If you can’t get to the exterior, you’d better ensure your sump pump installation importance isn’t being overlooked, because you’re going to be managing water, not stopping it.
Five Things That Actually Stop the Damp (Before the Concrete Sets)
- Stop obsessing over the membrane and start looking at the drainage. You can slap the most expensive waterproof coating on a wall, but if your French drains are clogged with silt or weren’t even installed right, that water pressure is just going to find a way through the joints.
- Watch the lads with the hose. I’ve seen more basement failures caused by a driver adding a splash of water to a stiff mix to make it “flow better” than by actual structural flaws. If you thin out that mix to save your back, you’re just opening up a highway for moisture to travel through the capillaries.
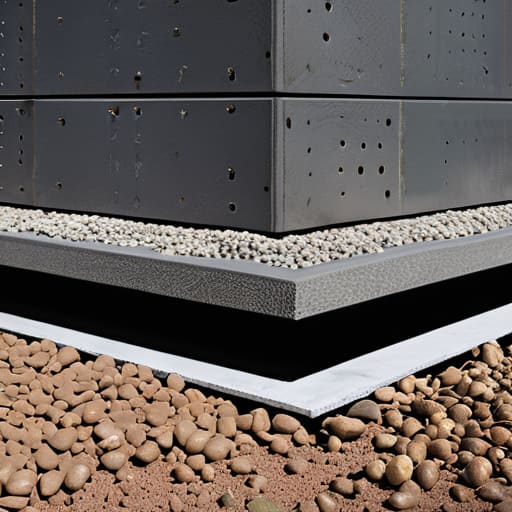
- The corners are where the battle is won or lost. A flat wall is easy, but the junction where the floor meets the wall is a magnet for hydrostatic pressure. If you aren’t using a proper waterbar or a thick, continuous fillet in that corner, you’re just building a very expensive bathtub that’s destined to leak.
- Don’t treat the sub-base like an afterthought. If you’re pouring a basement slab on top of soft, uncompacted ground, you’re asking for settlement cracks. Once that slab shifts even a fraction, your waterproofing membrane gets stretched or torn, and it doesn’t matter how much sealant you used—the water’s coming in.
- Respect the curing time. People are always in a rush to get the next trade in, but if you strip the formwork too early or let the concrete dry out too fast in the wind, you get micro-cracking. Those tiny cracks might look nothing from the surface, but they’re wide enough for groundwater to start its work.
The Hard Truth About Staying Dry
At the end of the day, waterproofing a basement isn’t about finding a magic chemical or a fancy membrane that promises the moon; it’s about respect for the physics of the ground. You can spend a fortune on the most expensive external tanking system on the market, but if you’ve ignored the drainage behind the walls or failed to manage the hydrostatic pressure from a poorly compacted sub-base, you’re just decorating a sieve. Whether you decide on a Type A barrier or go for a full Type C internal cavity system, remember that the goal is to control the water, not just hide it. If you don’t get the sequence of the build right—from the gravel beds up to the final seal—you’re just waiting for the first heavy rain to prove you wrong.
I’ve spent forty-three years watching people try to cut corners on the things they can’t see, and it never ends well. They think because the concrete looks smooth and the walls look clean, the job is done. But a basement is a living, breathing part of the earth, and the earth always wins if you don’t prepare for it. Don’t be the person who tries to fix a leak after the finish is on; be the person who builds it to last by doing the dirty, invisible work correctly the first time. Get your sub-base right, manage your drainage, and for heaven’s sake, don’t let them add water to the mix just to make the pour go faster.
Frequently Asked Questions
If I’ve already got a damp basement, is it worth trying to fix it from the inside, or am I just putting a plaster bandage on a broken leg?
Look, if you’re asking that, you already know the answer. Treating a damp basement from the inside is exactly like putting a plaster bandage on a broken leg. You can slap on all the tanking slurry and waterproof render you want, but you aren’t stopping the water; you’re just giving it a place to hide behind your new finish. Until you deal with the pressure from the outside, that dampness is just waiting to blow your patch right off the wall.
Does it actually matter what kind of aggregate I put in the drainage layer around the footing, or is any crushed stone good enough?
Listen, if you think any old bag of rubble will do, you’re asking for a headache in five years. You need clean, angular aggregate—not that rounded river stone that rolls around like marbles. Rounded stone doesn’t lock together; it shifts, and when it shifts, your drainage layer collapses and chokes. You want something like 20mm clean crushed stone. It creates the voids needed for water to actually move instead of sitting there waiting to find a crack in your footing.
How do I know if the contractor actually installed the membrane correctly before they bury it under six inches of concrete and a foot of soil?
You don’t “know” after it’s buried; you verify it before the pour. If they aren’t showing you the laps, the seam tape, and the penetrations, they’re hiding something. I always tell my lads: if I can’t walk the membrane and see every single puncture or poorly taped joint, the truck doesn’t move. Ask for a photographic log of the membrane before the concrete hits it, and if they grumble, they’re likely cutting corners.