I’ve lost count of how many times I’ve stood on a site, watching a crew wait impatiently for the transit mixer to roll in, thinking the real work is just about the pour. They think they’re building a floor, but they’re actually just gambling. Most people think understanding how ground bearing slabs are constructed is all about the mix design or getting a smooth finish with a power float, but they’ve got it dead wrong. I’ve spent forty-three years seeing “perfect” slabs snap in half because someone got lazy with the hardcore or didn’t bother to compact the sub-base properly. You can buy the most expensive concrete on the market, but if your ground prep is rubbish, that slab is nothing more than expensive gravel waiting to shift.
I’m not here to give you a textbook lecture or some glossy brochure version of construction. I’m going to tell you how it actually works when the weather turns sour and the site manager is breathing down your neck to move faster. We’re going to look at the real sequence—the stuff that happens before the first drop of wet concrete hits the ground. I’ll show you why the sub-base, the curing, and the joints are the only things that actually matter if you want a slab that stays put.
Table of Contents
Sub Base Preparation for Slabs Where the Real Battle Begins
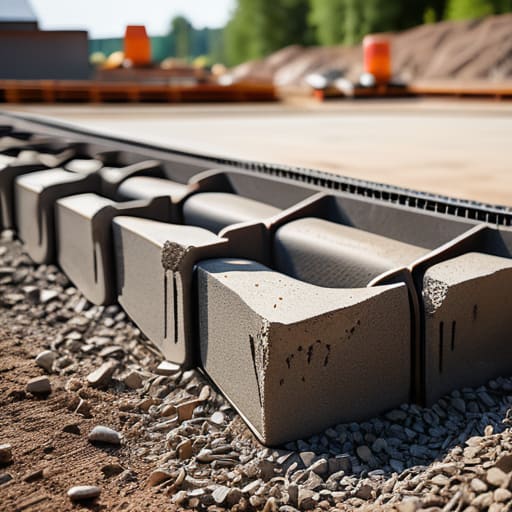
You can have the most expensive, high-spec mix delivered on a spreader truck, but if you’ve botched the sub-base preparation for slabs, you’re just pouring money into a future crack. I’ve seen it a thousand times: a lad thinks he’s done his job because the ground looks level, but he hasn’t checked the compaction or the moisture content. If that sub-base isn’t rock-solid and uniform, the slab will settle unevenly. Once that happens, it doesn’t matter how much mesh you throw in; you’ve already lost the battle.
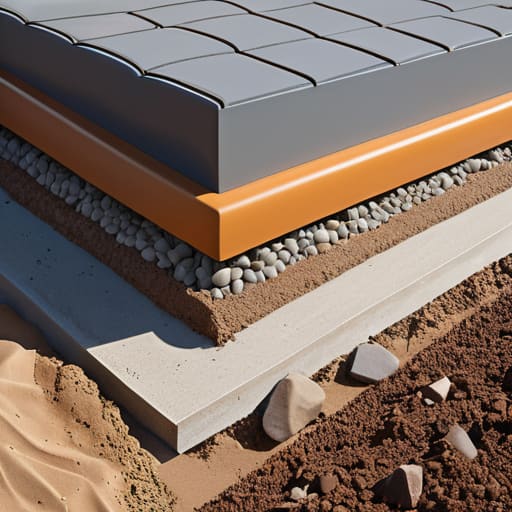
Before the first drop of wet mix hits the ground, you need to be obsessing over the layers underneath. You’ve got your MOT Type 1, you’ve got your compaction, and then you’ve got your vapor barrier installation to worry about. If that DPM isn’t laid perfectly without any punctures or wrinkles, you’re inviting dampness to travel straight up through the floor. It’s the tedious, muddy work that nobody wants to film for a “satisfying” video, but it’s exactly what maintains the structural integrity of ground slabs for the next fifty years.
Vapor Barrier Installation the Layer Everyone Skips
Now, once you’ve finally got that sub-base sorted and compacted, most lads think they’re ready to call the ready-mix. They aren’t. You’re missing the skin of the operation: the vapor barrier installation. I’ve seen too many sites where the foreman treats the polythene like an afterthought, just some scrap plastic tossed over the hardcore to keep the mud off. If you’re lazy with the membrane, you’re basically inviting dampness to climb straight up through your floor for the next twenty years.
You need to treat that barrier like it’s part of the structural integrity of ground slabs. It’s not just about keeping the moisture out; it’s about ensuring that when you start your reinforced concrete slab layers, the mix doesn’t lose its water too fast into the ground below. If that sub-base sucks the moisture out of your wet concrete before it can properly hydrate, you’ll end up with a brittle, dusty mess. Seal every single lap and tape every seam like your life depends on it, because once that concrete is down, you won’t get a second chance to fix a puncture.
Five Things That’ll Save Your Slab (And Your Reputation)
- Don’t let the lads play chemist with the truck. I’ve seen it a thousand times—the driver’s running late, the mix looks a bit stiff, and someone thinks they’re being helpful by adding a hose-full of water to make it easier to spread. You aren’t making it easier; you’re just killing the strength. You add water, you ruin the water-cement ratio, and you’re basically guaranteeing a weak, dusty slab that’ll crumble under a heavy load.
- Watch the weather like a hawk, not just the forecast. If you’re pouring in the midday sun and there’s a breeze, that surface is going to dry out way faster than the middle of the slab. That’s how you get those nasty shrinkage cracks. You need to have your curing compound or your polythene ready to go the second you finish the screed. If the surface dries before the crystals have set, you’ve lost the battle.
- Get your joints right, and don’t be stingy with them. A slab is going to move—it’s physics, not an opinion. If you don’t cut your contraction joints deep enough or if you space them too far apart because you’re trying to save time, the concrete is going to pick its own path to crack. And trust me, the concrete’s path is never going to be as straight or as neat as the one you planned.
- Check your reinforcement before the first shovel hits the mix. Whether it’s mesh or rebar, it doesn’t do a lick of good if it’s sitting on the bottom of the excavation or bundled up in the middle of the pour. It needs to be positioned precisely in that top third of the slab to actually do its job. Use the spacers—proper ones, not bits of broken brick—and make sure they aren’t being kicked around by the lads as they pour.
- Don’t rush the finish. I see it all the time: the crew is tired, it’s getting late, and they want to get home, so they stop the power float a bit too early. If you don’t get that surface closed up properly, you’re leaving the door wide open for scaling and surface wear. You finish it when it’s ready, not when you’re ready to go to the pub.
Don't Blame the Mix
Look, if you’ve followed what I’ve said so far, you know a ground bearing slab isn’t just about ordering a load of C35 and spreading it out. It’s a sequence. You can’t rush the sub-base compaction, you can’t treat the vapor barrier like an afterthought, and you certainly shouldn’t be tempted to add water to the truck just because the lads are struggling with the slump. If you get the ground right and keep that moisture controlled, the concrete will do exactly what it’s supposed to do. But if you skip the prep to save a few hours or a few quid, you aren’t saving money—you’re just scheduling a future repair that’ll cost you three times as much.
At the end of the day, I want you to take pride in the stuff people won’t see. When the warehouse floor is finished and the heavy machinery is rolling over it, nobody is going to crawl around on their hands and knees to inspect your sub-base or your membrane. They’ll just see a flat, solid surface. But you’ll know that the slab is solid because you did the hard, invisible work correctly. Do it right the first time, respect the physics of the ground, and you won’t be the one getting a phone call about a crack in six months’ time.
Frequently Asked Questions
How do I know if my sub-base is actually compacted enough, or am I just guessing?
If you’re guessing, you’ve already lost. I’ve seen lads walk over a base and say, “Feels solid to me,” right before a slab sinks two inches in six months. Don’t trust your boots. You use a penetrometer if you want to be scientific, but on a real site, I look for the bounce. If the plate compactor is jumping or the ground feels “spongy” under the weight, it’s not done. If it doesn’t resist a heavy tread, it’s not ready.
When exactly do I start cutting the control joints so I'm not chasing cracks that have already appeared?
Look, if you wait until the next morning, you’re already too late. You’ll be chasing cracks that have already spidered across the slab because you let the concrete decide where it wanted to go. You need to get in there as soon as the surface is hard enough to walk on without leaving a footprint, but before it sets firm. Usually, that’s within six to eighteen hours. Get the saw out early, or you’ll be paying for it later.
What’s the right way to handle the curing process if the weather turns hot or windy right after the pour?
If the wind picks up or the sun starts beating down right after you’ve finished, you’re in a race against evaporation. If that surface moisture vanishes too fast, the top dries and shrinks while the bottom is still wet—that’s how you get those nasty spider cracks. Don’t just walk away. Get your curing compound on it immediately, or better yet, cover it with polythene or damp hessian. Keep it moist, keep it covered, and don’t let the weather steal your finish.