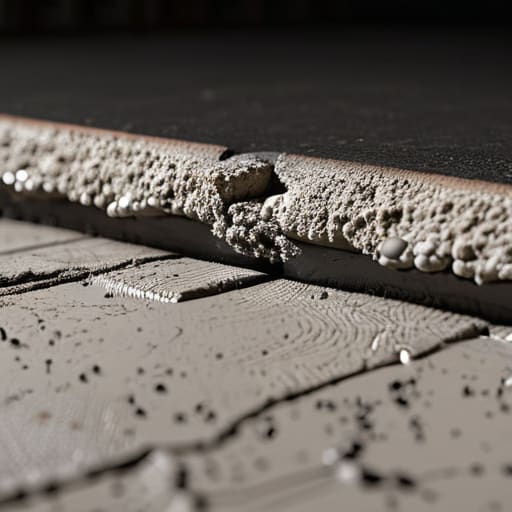
I remember standing on a driveway in Surrey back in ’98, watching a lad pour a fresh slab directly onto old, dusty concrete like he was spreading jam on toast. He thought because the surface looked “clean enough,” he was golden. Two months later, I was called back to see that new concrete had delaminated so badly you could peel it up with a screwdriver. People spend thousands on high-spec mixes and fancy additives, but they completely ignore the bond, thinking they can skip the basics. They don’t realize that understanding how slurry priming prevents failure isn’t some academic theory—it’s the difference between a slab that lasts forty years and one that flakes off like old paint before the first frost hits.
I’m not here to give you a lecture or sell you a specific brand of chemical. I’ve spent forty-three years watching good pours go wrong because someone got lazy in the final hour. In this post, I’m going to tell you exactly how to prep that surface so the new stuff actually bites. We’ll skip the marketing fluff and get straight to the grit and the mechanics of a proper bond, because if you don’t get the interface right, you’re just pouring money into a crack waiting to happen.
Table of Contents
Concrete Substrate Preparation Winning the Battle Before the Pour
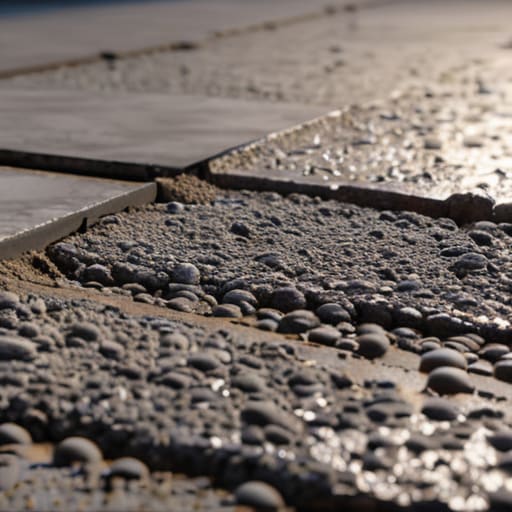
Listen, you can buy the most expensive, high-spec mix in the country, but if you’re pouring it onto a surface that hasn’t been properly prepped, you’re just throwing money into a hole. Most lads think once the old slab is swept clean, the job is done. That’s a mistake. You need to be looking at the surface porosity and adhesion of that old concrete like it’s your own mortgage. If the surface is too smooth, too dusty, or has that slick, laitance-heavy finish, your new pour isn’t going to “sit” on it; it’s just going to float on top.
That’s where the real work happens. Proper concrete substrate preparation means you aren’t just cleaning; you’re opening up the face of the material. I’ve seen too many sites where they skip the mechanical prep and try to bridge the gap with a thin layer of grout. Don’t do it. You need to ensure that when the new material hits, it actually bites into the old. If you don’t get that mechanical key and the right surface profile, you aren’t building a floor—you’re just laying a carpet of wet stone that’s waiting to peel off.
Cementitious Slurry Application Fixing the Surface Porosity and Adhesion Is
Now, once you’ve got the surface cleaned and the dust sucked up, you’re looking at the actual physics of the bond. You can’t just slap new concrete onto an old, thirsty slab and expect them to shake hands. If that old surface is too porous, it’ll suck the moisture right out of your new mix before it’s even had a chance to set properly. That’s how you end up with a weak, brittle layer that sits there like a scab. You need a proper cementitious slurry application to act as the glue. I’m talking about a thick, creamy mix—not a watery soup—that fills those microscopic pores and creates a bridge between the old and the new.
This is where you win or lose the battle for interfacial bond strength. If you get the consistency right, the slurry penetrates the surface and creates a unified mass. If you get it wrong—if you let it dry out too much or add too much water—you aren’t building a solid floor; you’re just laying a thin sheet of disappointment on top of a dead substrate. Do it right, and the two layers become one. Do it wrong, and you’ll be back here in a year watching the top layer peel away like old wallpaper.
Five Ways You’ll Save Your Own Skin with Proper Priming
- Don’t let the old substrate drink the moisture out of your new mix. If that base is bone-dry and thirsty, it’ll suck the life out of your new concrete before it’s even set, leaving you with a weak, dusty surface that’ll flake off the moment someone walks on it.
- Watch the timing like a hawk. You need to get that new pour down while the slurry is still “wet-on-wet.” If you let that primer set up and turn into a hard, dry crust before the concrete hits it, you might as well have just poured it onto a sheet of plastic—it won’t bond, and it won’t hold.
- Stop treating slurry like paint. You aren’t trying to make it look pretty; you’re trying to create a chemical bridge. If you’re spreading it too thin just to save a bit of cement, you’re creating gaps in that bridge, and that’s exactly where the delamination starts.
- Check your weather before you even think about opening the bags. If it’s a baking hot day and you’re priming an exposed slab, that slurry is going to flash-dry in minutes. You can’t fight physics, so if the conditions are wrong, don’t bother starting the clock.
- Cleanliness isn’t optional. I’ve seen lads try to prime right over dust, old oil, or loose grit because they were in a rush to get the truck unloaded. I don’t care how much slurry you use; if there’s junk between the base and the primer, you’ve already lost the battle.
The Bottom Line on Slurry Priming
At the end of the day, slurry priming isn’t some optional extra or a bit of fancy paperwork for the client; it is the literal glue that holds your work together. We’ve talked about why you can’t just pour fresh concrete onto a dry, thirsty, or dusty old slab and expect it to behave. If you haven’t sorted your substrate, addressed the porosity, and applied that cementitious bond coat correctly, you aren’t building a structure—you’re just laying down a ticking time bomb. You can buy the most expensive, high-spec mix in the country, but if that interface fails, the concrete itself won’t save you. It’s about closing that gap between the old and the new so they act as one single, solid mass.
I’ve spent forty-three years watching lads try to save twenty minutes by skipping the prep work, only to spend twenty days coming back to fix the cracks they caused. It’s a hard lesson to learn, but it’s one that will save your reputation and your wallet. Don’t be the person who treats the pour like it’s the most important part of the job. Respect the preparation, respect the chemistry, and do the job right the first time. When you get that bond right, you can walk away from a site knowing that slab isn’t going anywhere, no matter what the weather does.
Frequently Asked Questions
What happens if the slurry dries out too fast on a hot day before I've even got the new concrete down?
If that slurry starts looking like dusty, dried-out skin before the truck’s even unloaded, you’ve lost the battle. You can’t pour onto a dry slurry; it’ll just suck the moisture out of your new mix, leaving you with a cold joint that’ll crack faster than you can blink. If it’s drying too quick, you haven’t prepped the surface right or you’re fighting the sun. Stop, clean it off, and start again.
Can I just use a bit of watered-down cement instead of a proper bonding agent and call it a day?
You can, if you fancy watching your new slab peel off like old wallpaper in six months. I’ve seen it a hundred times. Some lad thinks a bucket of grey water and a bit of cement dust will do the trick to save a few quid. It won’t. You’re just making a weak, watery mess that won’t actually bite into the substrate. Use a proper bonding agent or don’t bother pouring at all.
How do I know if my old substrate is actually clean enough to bond, or if I'm just priming over rubbish?
Look, I’ve seen lads prime right over a layer of dust and old oil, thinking they’re being clever. You aren’t priming; you’re just making a mess. Grab a stiff brush and a pressure washer. If you can scrape up grit with your boot or if water beads up like it’s on a waxed car, that substrate is useless. If the water doesn’t soak in and darken the surface, your slurry won’t stick either. Clean it properly or don’t bother.



