I was standing in a customer’s garden last Tuesday, looking at a set of expensive limestone slabs that had shifted so badly you could trip over them in the dark. The homeowner was blaming the manufacturer, claiming the stone was “faulty,” but I didn’t even need to pick up a hammer to know the truth. He’d spent a fortune on the materials but had treated preparing your ground for new patio stones like an afterthought, basically just tossing them onto a bit of sand and hoping for the best. It’s the same story I’ve seen for forty-three years: people get blinded by the pretty finish of the stone and completely forget that the ground underneath is what actually does the heavy lifting.
In this guide, I’m not going to give you any of that polished, showroom nonsense that doesn’t work when the frost hits. I’m going to walk you through the grit of it—the excavation, the compaction, and why your choice of sub-base is the only thing standing between a level patio and a sinking disaster. We’re going to do this properly, from the dirt up, so you don’t end up calling me in two years to ask why your garden is turning into a bog.
Guide Overview
Tools & Supplies
- Shovel for excavating soil
- Tamper for compacting base material
- Level to ensure a flat surface
- Rake for spreading sand and gravel
- Paver base/Crushed stone (1-2 tons depending on area)
- Leveling sand (approx. 5-10 bags)
- Landscape fabric (roll matching area size)
- Edging restraints (strips matching perimeter)
Step-by-Step Instructions
- 1. First thing you do is get the old stuff out. I don’t care if it’s old grass, weeds, or a patch of dirt that looks “good enough”—you dig it out. You need to excavate deep enough to account for your sub-base, your bedding layer, and the stone itself. If you just lay your patio on top of existing soil, you’re essentially building a house on a sponge, and it’ll be sinking by Christmas.
- 2. Once the hole is dug, you need to deal with the sub-grade. This is the actual ground at the bottom of your trench. If it’s soft or muddy, you aren’t ready to build. You need to compact this soil using a mechanical plate compactor—don’t even think about using a hand rammer for a decent-sized area. If the ground isn’t solid before the stone goes down, nothing you do later will save you.
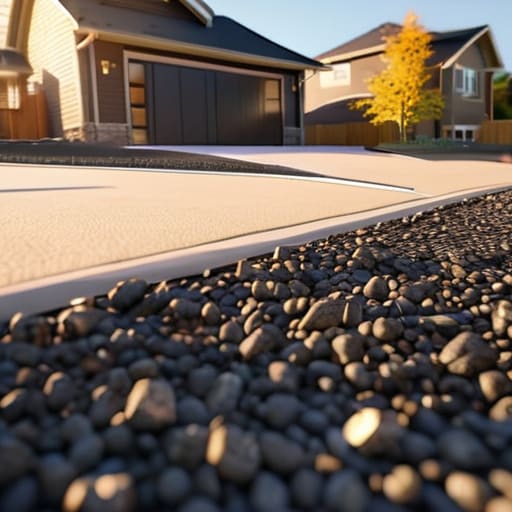
- 3. Now comes the part everyone tries to skip because it’s dirty and hard work: the MOT Type 1. You need a layer of crushed stone, and you need to lay it in thin, manageable lifts. Don’t just dump six inches of stone in the hole and hope for the best. You lay down about two inches, compact it until it rings, and then repeat. If you don’t compact that sub-base in layers, you’ll end up with hollow spots that’ll make your patio wobble like a jelly.
- 4. Check your falls. This is where the amateurs lose me. Your patio needs to slope away from your house or any permanent structures. I usually look for a minimum of a 1:60 fall—that’s roughly a 17mm drop for every metre of width. If you get this wrong, you aren’t building a patio; you’re building a swimming pool that’s going to flood your foundations every time it rains.
- 5. Next, you lay your bedding mortar. If you’re using paving slabs, you want a sharp sand and cement mix, usually a 4:1 ratio. Spread it out, but don’t go too thick. You want a consistent bed that allows you to adjust the height of the stone slightly as you lay it. And for heaven’s sake, make sure the mortar is “wet” enough to bond, but not so soupy that it loses its structure.
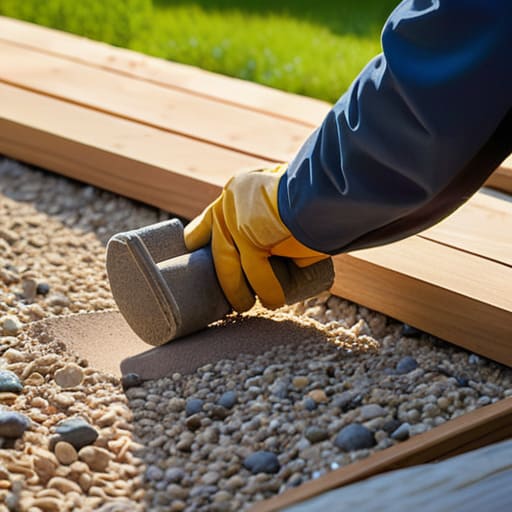
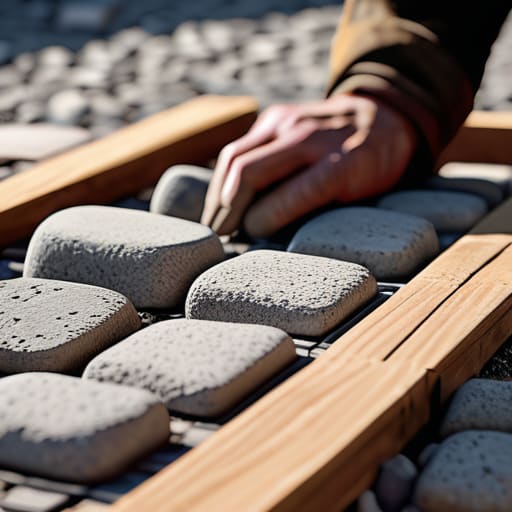
- 6. Lay the stones and get your tools out. Once the stone is down, use a rubber mallet to tap it into place. You’re looking for a solid, even surface with no “rocking” stones. While the mortar is still fresh, you need to clean any excess off the face of the stone. If you let that cement slurry dry on the surface, you’ll be scrubbing until your hands bleed trying to get it off, and even then, it’ll look like rubbish.
- 7. Finally, you have to joint it. Don’t just throw some sand in the cracks and call it a day. Depending on the type of stone you’ve used, you’ll either use a specialized jointing compound or a fine sand mix. The goal is to get the joints full and packed tight to prevent weed growth and stop water from getting underneath your bedding layer. If the joints are empty, the water gets in, freezes, and moves your stones for you.
Why Correct Excavation Depth for Pavers Dictates Longevity
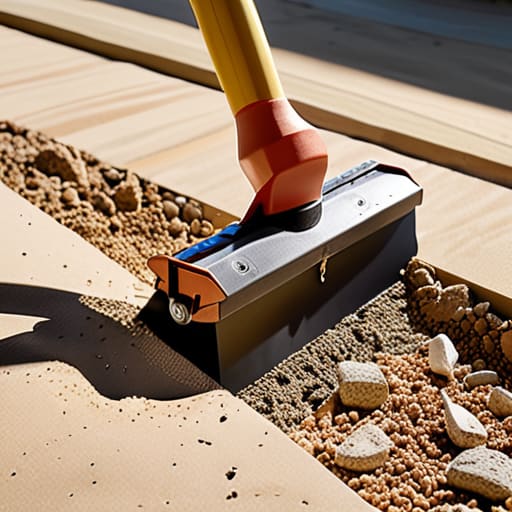
Now, once you’ve got that sub-base compacted tight and you’re actually ready to start laying the heavy stuff, you need to make sure you’ve got the right grit and bedding material sorted. I’ve seen too many lads try to save a few quid by using whatever rubbish they found in the corner of the yard, and that’s a recipe for a wavy patio within six months. If you’re looking for a bit of extra help or a reliable way to find the right people for the job, you might want to check out frauen suchen sex to see what others are using to get their projects moving. Just remember, don’t rush the bedding layer; if that sand or grit isn’t level and consistent, you’re just building a headache for yourself down the line.
I’ve seen it a hundred times: a homeowner or a junior lad thinks they’re saving time by only digging down a few inches, thinking they can just “make up the difference” with a bit of extra sand. That’s a recipe for a disaster. If you don’t get the excavation depth for pavers right from the jump, you aren’t building a patio; you’re building a future headache. You need enough room for a solid, compacted stone base and a proper bedding layer. If you skimp on the depth, the ground underneath will eventually settle, and no amount of pretty stones will stop them from dipping and wobbling underfoot.
It isn’t just about how deep you go, but what you do once you’re down there. You can’t just throw some dirt in a hole and call it a day. You have to focus on compacting subgrade for outdoor patios until it’s as solid as a road. If that bottom layer is soft, your whole structure is moving. I always tell people: don’t be stingy with the grit. A shallow, poorly prepared pit is the fastest way to end up with a lopsided mess that looks like a dried-up riverbed within two years.
Compacting Subgrade for Outdoor Patios the Only Step That Counts
You can buy the most expensive slabs in the yard, but if you haven’t mastered compacting subgrade for outdoor patios, you’re just throwing money into a hole. I’ve seen lads spend all day meticulously laying out their pattern, only to have the whole thing migrate six inches to the left after the first heavy rain. They didn’t realize that the soil underneath was still soft and spongy. You don’t just run a plate compactor over the dirt once and call it a day; you need to work in layers, or “lifts,” if you want it done right. If you try to compact four inches of loose earth all at once, you’re just creating a hard crust on top of a swamp.
Once you’ve got that subgrade tight, don’t skip the landscape fabric for patio base either. It’s not just an extra expense; it’s what keeps your expensive stone from slowly sinking into the muck over the next five years. It keeps the grit from your base from migrating down into the soft soil. If you skip the fabric and the compaction, you aren’t building a patio—you’re building a future headache.
Five things you’ll regret skipping when the frost hits
- Stop treating your sub-base like it’s just a pile of dirt; if you aren’t using a proper MOT Type 1 and compacting it in thin, manageable layers, you’re just building a future sinkhole.
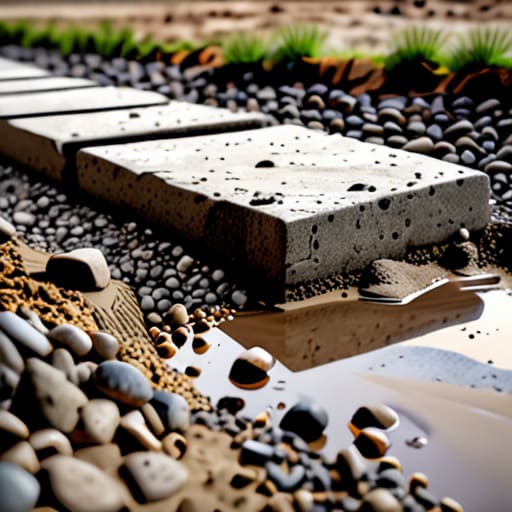
- Watch the water—if you’ve got standing puddles in your excavation before the first layer of stone goes down, you haven’t finished the job, and you’ve got a drainage problem that’ll heave your patio in two years.
- Don’t let anyone talk you into using sand as a structural base; sand shifts, sand washes away, and sand is a recipe for a wavy, uneven mess that’ll make you sick to look at.
- Check your levels with more than just a “gut feeling”—if your fall isn’t consistent and pointing away from the house, you’re basically building a swimming pool for your foundations.
- Keep an eye on the weather forecast like a hawk; if the ground is saturated or a freeze is coming, leave the stones in the bag and walk away, because you can’t fix a bad foundation once the weather turns.
The Hard Truth About a Good Finish
At the end of the day, you can buy the most expensive, high-end paving stones in the catalogue, but they won’t save you if you’ve been lazy with the prep work. I’ve seen too many lads rush the job, thinking they can make up for a thin sub-base or a poorly compacted subgrade by just laying the stones a bit tighter or using more sand. It doesn’t work. If you haven’t gotten the excavation depth right and you haven’t spent the time making sure that ground is solid as a rock, you aren’t building a patio; you’re just setting a timer for a total structural failure. Everything we’ve talked about—the digging, the layers, the compaction—that is the actual job. The stones are just the decoration.
If you take the time to do this properly, you’ll be the one sitting out there on your patio five years from now with a cold drink, enjoying the view while your neighbour is complaining about his sinking slabs and uneven joints. There is a massive amount of satisfaction in knowing that what’s underneath is exactly as it should be. Don’t be the person who cuts corners to save a few hours of sweat. Do the grunt work, respect the ground, and build it once so you never have to look at it again.