You can spend all day watching YouTube videos on how to finish a concrete slab, but most of those lads wouldn’t know a good screed from a hole in the ground. They’ll show you the shiny, polished end result, but they won’t tell you that the real work—the stuff that actually determines if that surface stays flat or starts spider-webbing by next Tuesday—happens long before the power trowel ever touches the mix. I’ve spent forty-three years watching men ruin perfectly good pours because they were too busy chasing a smooth look and not paying attention to the bleed water. If you start working that surface while it’s still weeping, you aren’t finishing it; you’re just sealing the failure right into the top layer.
I’m not here to give you some textbook lecture or a list of fancy tools you don’t need. I’m going to tell you exactly when to step in, when to back off, and how to read the concrete like a book so you aren’t fighting the weather. We’ll cover the timing, the tools, and the critical mistakes that turn a professional job into a headache you’ll be paying for years.
Table of Contents
Guide Overview
Tools & Supplies
- Bull float for leveling large areas
- Hand trowel for smoothing edges
- Edging tool for rounded borders
- Magnesium float for smoothing surface
- Broom for textured finish
- Concrete sealer 1 gallon
- Curing compound 1 gallon
- Concrete patch kit 1 small tub
Step-by-Step Instructions
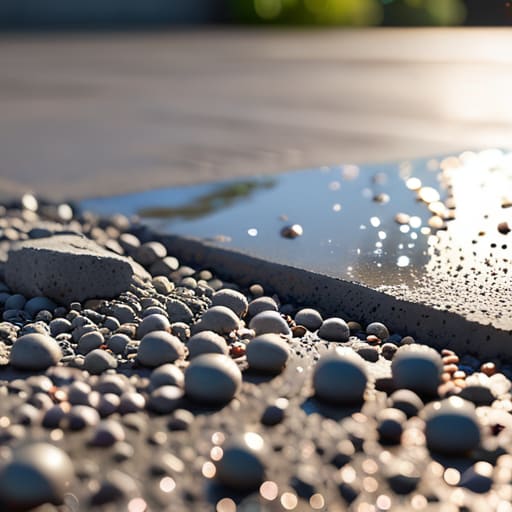
- 1. First thing you need to understand is that you don’t just start trowelling the moment the mud hits the ground. You wait. You wait for the bleed water to disappear. If you see those little pools of water sitting on top of the surface, leave it alone. If you try to work that water back into the slab, you’re just asking for a dusty, weak surface that’ll flake off like a bad sunburn in six months. You wait until the surface looks dull and uniformly damp, not wet.
- 2. Once that water has bled off, you get your bull float out. This isn’t about making it pretty; it’s about getting the heavy aggregate down and bringing the “cream” to the top. You want to push that float firmly to flatten out the ridges left by the screed. If you’re too light with it, you’ll end up with a surface that’s all pebbles and no paste, and that’s a recipe for a disaster you’ll be fixing with a grinder later.
- 3. Now, you’ve got to keep a sharp eye on the weather. If the sun is beating down or there’s a stiff breeze, that surface is going to dry faster than you can move. If it starts to stiffen up too quickly, don’t go grabbing the hose to “loosen it up.” I’ve seen more slabs ruined by a lad adding water to the top than by anything else. If it’s getting too hard, you work faster, you don’t add moisture.
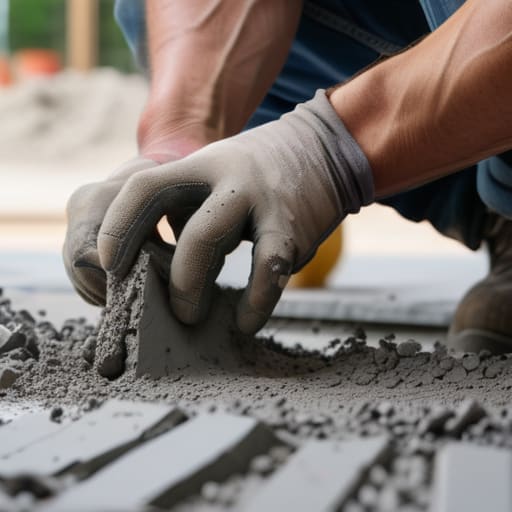
- 4. After the bull float has done its job and the slab is stable, it’s time for the power trowel or the hand float to get the finish right. This is where you actually start smoothing out the micro-imperfections. You’re looking for a surface that’s level and tight. If you’re doing a driveway, you want a bit of texture; if it’s a garage floor, you want it smooth, but don’t over-trowel it to the point where you’ve sealed the pores shut completely.
- 5. Once you’ve got the smoothness you’re after, you need to think about the joints. Don’t wait until the slab is hard to decide where the cracks are going to happen. You need to cut your control joints while the concrete is still “green”—meaning it’s set enough to hold a shape but hasn’t reached full strength. You want to cut about a quarter of the way through the depth. If you miss this window, you aren’t controlling the crack, you’re just watching it happen wherever it feels like.
- 6. The final, and most ignored, step is the curing. The second you’re done with the tools, you need to protect that surface. Whether you use a curing compound or just cover it with plastic sheeting, you have to keep the moisture locked inside the slab. Concrete doesn’t “dry”—it cures through a chemical reaction. If you let it dry out too fast because you were too lazy to lay a tarp, you’ve just wasted the entire pour.
The Concrete Screeding Process Winning the Battle Before the Trowel
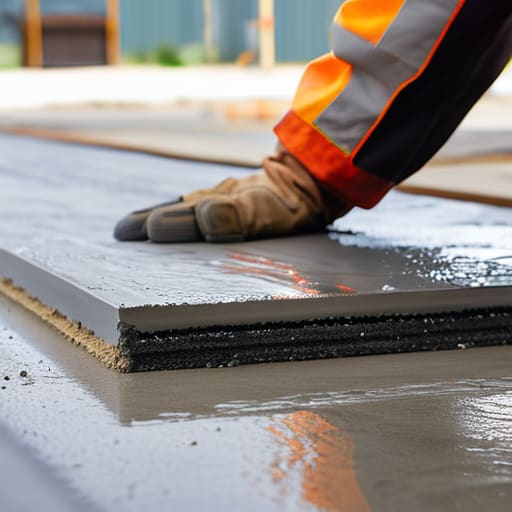
Listen, everyone gets obsessed with the final look, but if you haven’t mastered the screeding, you’re just fighting a losing battle against physics. The concrete screeding process isn’t just about dragging a straight edge across the top to make it level; it’s about managing the pressure and the slump as you move. If you’re rushing it or trying to compensate for a wonky sub-base by pulling more mud into the low spots, you’re asking for trouble. You need to strike it off with enough authority to consolidate the mix without bleeding all the fines to the surface.
Once that level is set, you need to understand the difference between your tools. I see too many lads reach for a hand trowel while the mix is still too wet, and they end up creating a nightmare of surface tension. You should be using a bull float vs hand trowel approach: use the float early to push down the aggregate and bring the paste up, then leave the fine work for later. If you try to force a smooth concrete surface finish before the bleed water has even had a chance to disappear, you’re just trapping moisture under a skin, and that’s how you get scaling later on.
Bull Float vs Hand Trowel Choosing the Right Tool for the Mud
Now, listen. Once you’ve got that screed level and the surface looks decent, you’re going to be tempted to grab a hand trowel and start working immediately. Don’t. That is the fastest way to trap bleed water under the surface, and if you do that, you’re just asking for scaling and dusting later. This is where the debate of bull float vs hand trowel actually matters. You use the bull float early—while the concrete is still “wet” and forgiving—to push down the aggregate and bring that creamy paste to the top. If you try to use a hand trowel too soon, you’ll just be fighting the mud and tearing up the surface you just worked so hard to level.
The bull float is about getting the heavy lifting done and leveling out the texture. You’re not looking for a mirror finish yet; you’re just setting the stage. Save the hand trowel for when the slab has stiffened up enough to hold its shape, but before it’s too late to move. If you time it right, you’ll get a smooth concrete surface finish that actually lasts. If you rush it, you’ll spend the next six months explaining to a customer why their driveway looks like a dried-up riverbed.
The Three Things You’ll Mess Up While You’re Busy Looking at the Surface
- Stop chasing the bleed water. I’ve seen enough greenhorns try to trowel over that thin film of water sitting on top of the wet concrete, and all they’re doing is trapping moisture under the surface. You wait until that water disappears and the slab looks dull; if you work it while it’s shiny and wet, you’re asking for scaling and dusting later.
- Watch the weather like a hawk, not just the forecast. If the sun is beating down or there’s a stiff breeze, that surface is going to dry out and crack while the middle is still soup. You need to be ready to get your curing compound or plastic down the second you’re done, or the air will steal your moisture before the concrete even has a chance to set.
- Don’t get greedy with the power trowel. It’s tempting to keep spinning that machine to get a mirror finish, but if you go too early or push too hard, you’ll pull the cream right off the top and leave nothing but weak, sandy grit. You finish for strength and durability, not just to impress the homeowner with a shine.
- Mind your joints or prepare to see cracks. A slab without properly cut control joints is just a ticking time bomb. You can do the best finish in the world, but if you haven’t planned where that concrete is going to move, it’ll find its own way through your beautiful surface, and it won’t be in a straight line.
- Keep your tools clean and your timing tight. A trowel with dried bits of old concrete on it is just a tool for scratching up a fresh pour. You work in a rhythm—once the concrete starts to stiffen, you can’t stop for a tea break or a chat, because once that window closes, you’re stuck with whatever mess you’ve made.
The Job Isn't Done When the Truck Leaves
Look, if you’ve followed what I’m saying, you know that finishing a slab isn’t just about making the surface look pretty for the client. It’s a sequence. You can’t rush the bull float, and you sure as hell shouldn’t be reaching for the steel trowel while there’s still bleed water sitting on top like a lake. If you ignore the sub-base or try to fight the weather, no amount of fancy tool work is going to save you from a cracked, dusty mess in six months. You have to respect the timing of the set and understand that the work you do in those first few critical hours determines whether that slab stands for decades or becomes a liability.
At the end of the day, there’s a massive difference between someone who just “pours concrete” and someone who actually builds a foundation. One of those people is just moving mud around, and the other is creating something permanent. I’ve spent forty-three years watching lads try to cut corners to get home early, only to spend their next Monday fixing the disasters they created. Do it right, follow the sequence, and don’t let the pressure of the clock make you skip the fundamentals. When you walk away from a finished slab that’s level, dense, and properly cured, you’ll know you didn’t just finish a job—you did it right.
Frequently Asked Questions
I’ve seen lads adding a hoseful of water to the mix to make it easier to spread—how much is too much before I've ruined the strength?
If I see a hose near a fresh pour, my blood pressure spikes. You aren’t making it “easier”; you’re just washing the cement away from the aggregate. That water creates tiny voids as it evaporates, leaving you with a slab that looks smooth but has the structural integrity of a digestive biscuit. One hoseful is too many. If it’s too stiff to move, use a plasticizer, not a garden hose. Don’t ruin a pour for the sake of a bit of sweat.
How do I know if the slab is actually ready for the power trowel, or am I going to tear the surface if I go too early?
You don’t use your eyes for this; you use your knuckles. Walk out there and tap the surface. If it feels like wet sponge or leaves a deep indentation when you press it, stay back. You’re looking for that moment when the bleed water has vanished and the surface feels firm, like damp sand. If you go too early, you’ll just churn the cream into a slurry and ruin the whole lot. Wait for the stiffness.
If the weather turns and it starts pouring rain right after I've finished the screed, am I completely stuffed?
Are you stuffed? Depends on if you’ve got a plan or if you’re just standing there watching it happen. If the screed is level and the surface hasn’t been worked yet, you might just have a bit of extra water to bleed out later. But if you’ve already started trowelling and the heavens open, you’re in trouble. That rain will wash the paste right out of the top, leaving you with a dusty, weak mess.