I was standing on a site in Essex back in ’98, watching a lad try to settle a massive slab by just running a light plate compactor over a surface that hadn’t seen a proper vibrator in its life. He thought he was doing a grand job because the top looked smooth, but I could see the air pockets forming like a sponge underneath. Most people think compaction is just about shaking things up until they look flat, but if you don’t understand how to compact concrete properly, you aren’t building a foundation—you’re building a future headache. You can buy the most expensive mix in the country, but if you haven’t chased out those voids, that slab is going to crack like a biscuit the first time a heavy load rolls over it.
I’m not here to give you some textbook lecture or a list of fancy machinery you can’t afford. I’m going to tell you exactly what I learned over forty-three years of pouring slabs in the rain, the heat, and the wind. We’re going to talk about the real mechanics of density, from the depth of your passes to the exact moment you know you’ve gone too far. I’ll show you how to spot the signs of a hollow pour before it’s too late, so you can stop wasting money and start pouring something that actually lasts.
Table of Contents
Guide Overview
Tools & Supplies
- Bull float [Used to level and smooth the surface]
- Hand tamper [Used for small areas or edges]
- Vibrator [Electric tool for removing air pockets in large pours]
- Screed [Long straightedge for leveling]
- Concrete mix [As required by project volume]
- Water [As required by mix ratio]
- Release agent [To prevent sticking to tools]
Step-by-Step Instructions
- 1. Before you even think about touching the concrete, you need to sort out the ground. I’ve seen more cracks in finished slabs than I care to count, and nine times out of ten, it’s because the sub-base wasn’t compacted properly. You need to get your plate compactor out and hit that MOT Type 1 until it’s rock hard. If you can walk across it and leave a footprint, you’ve already failed.
- 2. Once the ground is solid, get your shuttering up and check your levels. I don’t care how good your mix is; if your forms are bowing or your levels are off, the concrete will find the path of least resistance. Make sure those forms are sturdy and braced well enough to take the weight of the wet stuff without moving an inch.
- 3. When the truck finally arrives and you start the pour, don’t just dump it in a pile and hope for the best. You need to work in layers, or “lifts” as we used to call them. If you’re pouring a thick slab, don’t try to do it all at once; spread it out so you can actually get the vibration through the whole depth.
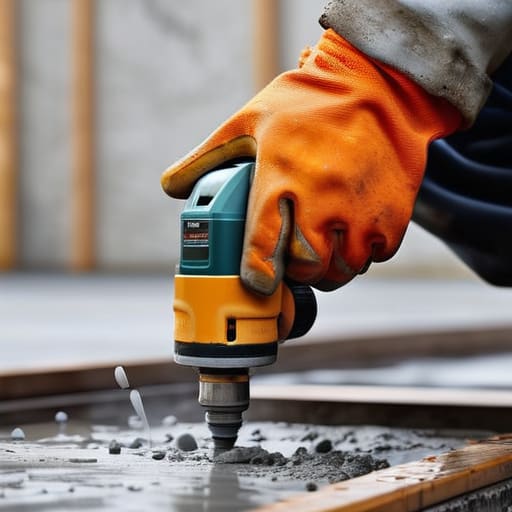
- 4. This is where most lads get lazy, and it’s where the air pockets hide. Get your poker vibrator in there, but for heaven’s sake, don’t over-vibrate. You want to see the surface go smooth and the air bubbles stop rising, but if you keep going until the mix looks like soup, you’re just pulling all the heavy aggregate to the bottom and leaving the watery cream on top.
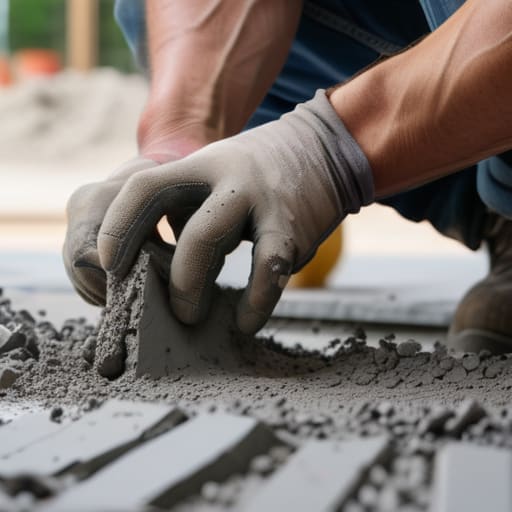
- 5. If you’re working on a smaller area or a thinner patio, you might be using a shovel or a rake to move the material, but you still need to “consolidate” it. Use the tool to push the concrete into the corners and against the shuttering. If you see a gap where the concrete isn’t hugging the form, that’s a future weak spot waiting to happen.
- 6. Once the bulk of the work is done and the surface is leveled, you need to watch the clock. You can’t start your final screeding or floating while the mix is still “active” and moving around too much. You have to wait until the bleed water has disappeared and the surface is just firm enough to support your weight without leaving a deep mark.
- 7. Finally, once you’ve got it level and the surface is set, don’t go chasing perfection by adding water to the top to make it easier to trowel. That’s the fastest way to ruin the surface finish and cause dusting later on. If it’s too stiff, you use a bit of magnesium float or a power trowel, but never use water to mask a difficult mix.
Internal vs External Vibration the Fight Against Structural Voids
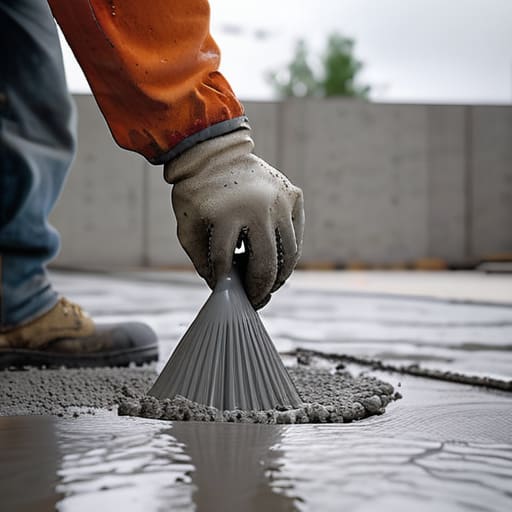
Now, don’t go thinking a bit of wiggling with a poker is enough. When we talk about internal vs external vibration, you’ve got to understand that they aren’t just different tools; they serve different masters. I’ve seen too many lads try to use a surface vibrator to do a poker’s job, and all they end up doing is bringing the fines to the top and leaving a mess. If you’re pouring something substantial, you need that internal poker deep in the mix, moving through the wet mass to ensure you’re actually avoiding structural voids. You want to see that concrete “settle” and the surface go shiny—that’s the signal that the air has been chased out.
But don’t get cocky once the big holes are gone. If you’re working on a larger slab or something with a bit of spread, external vibrators can help tidy up the edges where the poker can’t reach. The trick is balance. If you over-vibrate, you’re just bleeding the strength out of the mix by separating the aggregate from the paste. It’s a fine line between proper concrete consolidation methods and turning your expensive slab into a bowl of watery soup. Watch the movement, not the clock.
Preventing Concrete Air Pockets Before the Finishing Crew Arrives
You can have the best crew in the county, but if you aren’t watching the aggregate move, you’re just decorating a disaster. Most lads think that once the vibrator has done its job, the hard part is over. They’re wrong. You need to be looking for those tell-tale signs of trapped air—little bubbles or “honeycombing” creeping up near the shuttering—before the finishing crew even thinks about bringing a screed near the surface. Preventing concrete air pockets isn’t just about the machine; it’s about the rhythm. If you pull the poker out too fast, you create a crater; if you leave it in too long, you cause segregation where the heavy stone sinks and the cream rises.
I’ve seen too many jobs where the boys were so rushed to get the surface smooth that they ignored the proper concrete consolidation methods required deep in the mix. If you don’t consolidate the edges and the corners where the reinforcement sits, you’re essentially inviting structural voids to settle in. Once that concrete starts to set, those pockets are there for good, hidden under a pretty finish. You have to ensure the mix is tight and the vibration is even before you even consider the final smoothing.
Five Ways You’re Likely Messing Up Your Compaction
- Stop treating the vibrator like a magic wand. You aren’t there to stir the mix; you’re there to shake the air out. If you’re just moving the poker around like you’re stirring a pot of soup, you’re doing nothing but creating more trouble. You insert it vertically, let it sink into the layer, and pull it out slow—real slow—to let the surface settle.
- Watch your layers, for heaven’s sake. If you’ve got a deep pour and you think you can just jam a poker into the bottom and call it a day, you’re dreaming. You work in lifts. If you don’t compact each layer properly before the next one goes on top, you’ll end up with a “cold joint” that looks like a fault line and acts like one too.
- Don’t go chasing the water. I’ve seen too many lads see a bit of slurry rising to the top and think they’ve done a perfect job. If you over-vibrate and start pulling the cream to the surface, you’re separating the stones from the paste. You’ll end up with a slab that looks pretty for an hour but has the structural integrity of a biscuit.
- Listen to the machine. You’ll know when you’ve hit the sweet spot because the sound of the vibrator changes—it gets higher, more consistent. That’s the sound of the air escaping. The moment that sound changes, you move on. If you keep poking at it after the air is gone, you’re just breaking what you just fixed.
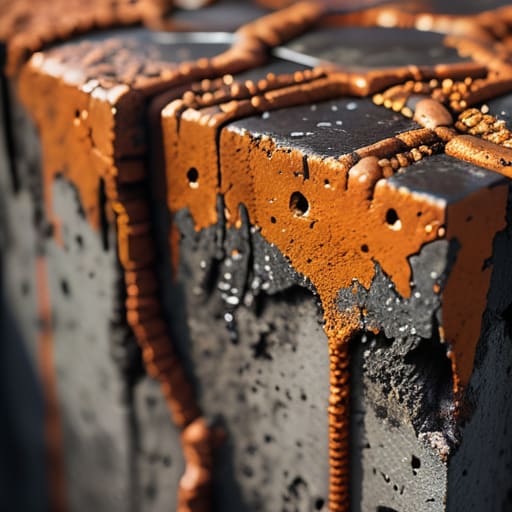
- Check your edges and corners. The middle of the slab is easy, but that’s where the trouble hides. The corners and the edges against your shuttering are where the voids love to settle. If you don’t get that vibrator right up into the corners, you’ll be looking at honeycombing once you strip the forms, and no amount of patching will make it look right.
Don't Leave It to Chance
At the end of the day, proper compaction isn’t about how much effort you put into the pour itself; it’s about the discipline you show before the first shovel hits the mix. You’ve got to get that sub-base tight, ensure your vibration is hitting those structural voids without overworking the paste, and keep a sharp eye on the consistency so nobody’s tempted to cheat with a hose when things get stiff. If you skip the prep or get lazy with the vibrator, you aren’t just saving time—you’re essentially pre-ordering a crack that’ll show up six months down the line. It’s a sequence, and if you break the sequence, the concrete will eventually break itself.
I’ve seen plenty of lads try to rush a job to get home early, only to spend their Saturday explaining to a customer why their new slab looks like a jigsaw puzzle. Don’t be that guy. Take the extra hour to do it right, even when the weather is turning or the site manager is breathing down your neck. There is a particular kind of quiet pride in walking away from a finished site, knowing that what’s underneath that surface is as solid as it can possibly be. Do the hard work now, and you won’t be coming back to fix it later.
Frequently Asked Questions
How do I know if I've over-vibrated the mix and started pulling the aggregate to the bottom?
You’ll see it in the finish. If you’ve overdone it, the surface starts looking like a slurry of cream—too smooth, too wet, and lacking any grit. It’s called segregation. You’ve essentially vibrated the heavy stone right to the bottom and left a weak, watery layer of paste sitting on top. If your slab looks like a bowl of porridge instead of a solid mass, you’ve spent too much time with the poker.
If I'm working in a tight corner or around reinforcement, what's the best way to get the air out without making a mess of the steel?
You can’t just jam the poker in there and hope for the best. If you’re hitting the steel, you’re going to shift your reinforcement or leave a honeycombed mess right where it matters most. Use a smaller, pencil-point vibrator for those tight spots. Keep the head moving, but don’t let it rest against the rebar—you want to vibrate the mix, not shake the cage. Work the edges with a shovel first to loosen things up.
How much does the slump of the concrete actually change how much vibration I need to do?
Look, the slump tells you exactly how much work you’ve got ahead of you. If you’ve got a stiff, low-slump mix, you’re going to have to work that vibrator harder and longer to get the air out. If it’s runny, you have to be careful not to overdo it, or you’ll settle the aggregate and leave you with a weak, watery top layer. Don’t let a wet mix fool you into thinking the job is done.