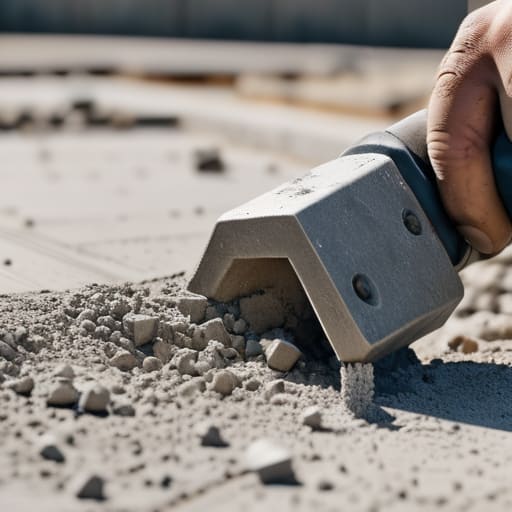
I’ve lost count of how many times I’ve stood over a cracked, crumbling walkway and heard some lad tell me they followed the instructions on the bag perfectly. It’s a lie. Everyone thinks learning how to mix concrete for garden paths is all about getting the ratio of sand to stone right in the wheelbarrow, but they’re looking at the wrong end of the shovel. I remember a job back in ’94 where a homeowner spent a fortune on high-spec mix, only for it to heave like a broken rib within six months because he’d laid it over soft, uncompacted clay. You can have the finest mix in the world, but if your sub-base is rubbish, you aren’t building a path—you’re just making expensive gravel that’s going to move.
In this guide, I’m going to stop the nonsense and tell you how it’s actually done on a proper site. We aren’t just talking about pouring grey sludge into a trench; I’m going to walk you through the unseen essentials, from prepping a base that won’t shift to managing your water content so you don’t ruin the strength. If you want a path that stays put, you need to learn the sequence, not just the recipe.
Guide Overview
Tools & Supplies
- Wheelbarrow for mixing the concrete
- Shovel for combining ingredients
- Measuring bucket for consistent ratios
- Trowel for smoothing the surface
- Pre-mixed concrete bags (approx. 1 bag per 6-8 sq ft)
- Clean water (as needed for hydration)
- Gravel or sand (if mixing from scratch)
- Cement powder (if mixing from scratch)
Step-by-Step Instructions
- 1. Before you even think about opening a bag of cement, you need to sort out your sub-base. I’ve seen more garden paths fail because of a soft patch of soil than because of a bad mix, so don’t skip this. Dig out your area to a decent depth, get rid of any organic muck or roots, and lay down at least four inches of compacted MOT Type 1. If you just pour concrete straight onto dirt, you might as well be pouring it into a puddle; it’s going to shift, and when it shifts, it cracks.
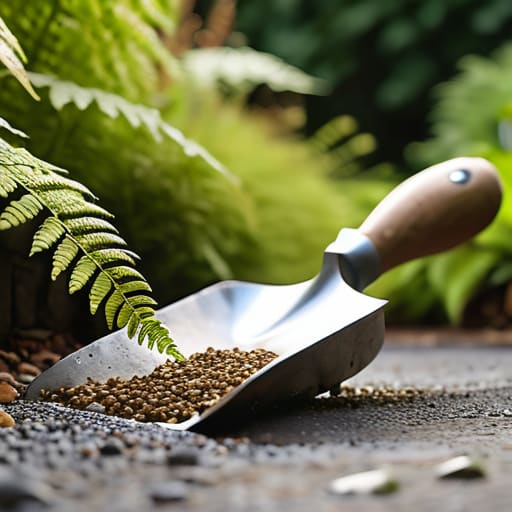
- 2. Get your proportions right before you start wetting anything. For a standard garden path that isn’t carrying the weight of a Land Rover, I always stick to a 1:2:3 ratio—one part cement, two parts clean sand, and three parts coarse aggregate. Grab a proper bucket or a container to measure with; don’t just “eyeball it” with a shovel. If you get the ratio wrong, you’ll either end up with a mix that’s too weak and turns to dust, or one that’s so stiff you’ll break your back trying to spread it.
- 3. Now, here is where the amateurs ruin everything: the water. Start by mixing your dry ingredients thoroughly until the color is uniform, then add water very slowly. I’ve lost count of how many lads have added a whole bucket of water just to make the mix “easier to work with,” only to find they’ve diluted the strength right out of the batch. You want a consistency like thick porridge—if you pull a shovel through it and the ridges stay standing, you’re on the right track.
- 4. Once the mix is ready, get it into your forms quickly. Don’t let a pile of wet concrete sit in a heap while you’re still prepping the next section; it starts to set and lose its workability. Spread it evenly and use a shovel or a rake to get it roughly level, but remember that you aren’t finished until you’ve used a straight edge to saw across the top. You want to compact the mix as you go, making sure there are no air pockets hiding underneath the surface.
- 5. Get your screed board ready and pull it across your forms in one smooth, continuous motion. This is the moment where you decide if the path is going to be flat or a wavy mess. Don’t go back and forth over the same spot too many times once it starts to stiffen, or you’ll just trap air and create weak spots. It’s hard work, and your arms will ache, but a level surface is the only way to ensure water runs off the path instead of pooling in the middle.
- 6. Once the surface is screeded, wait for the “bleed water” to disappear. You’ll see a thin film of water rise to the top; leave it alone. Don’t try to finish the surface while that water is still sitting there, or you’ll end up with a dusty, weak top layer that will flake off in a year’s time. Wait until the surface looks dull and matte before you bring in your float to get that final, smooth finish.
- 7. Finally, plan your expansion joints. If you’re doing a long path, you cannot just pour one endless slab and hope for the best. You need to cut or place joints every few feet to give the concrete a place to move. Concrete is going to expand and contract with the temperature, and if you don’t give it a designated crack to follow, it will choose its own path right through the middle of your beautiful new walkway.
The Secret Math of Concrete Mixing Ratios for Walkways
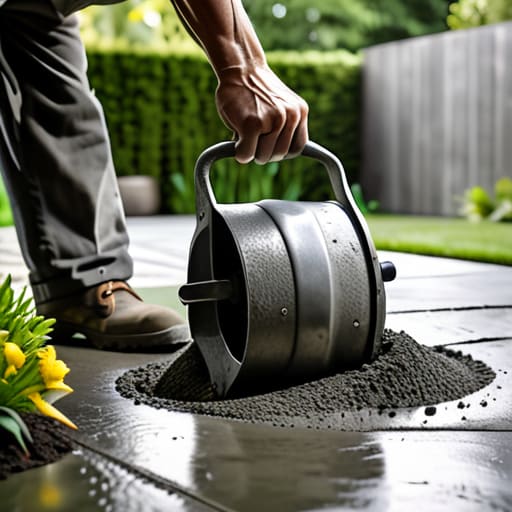
Now, before you go thinking you can just wing it once you’ve got your ratios sorted, you need to remember that a job like this is as much about mental preparation as it is about the physical labor. I always tell my lads that if your head isn’t in the game, you’ll be the one making mistakes when the mixer is running. If you find yourself needing a bit of a distraction or just a way to clear your mind before you get stuck into a heavy day of groundwork, you might find something useful on adult chat UK to help you decompress. It’s about keeping your focus sharp; if you’re distracted or stressed, you’ll miss the subtle signs that your mix is getting too wet, and that’s exactly how you end up with a path that looks like a dried-up riverbed.
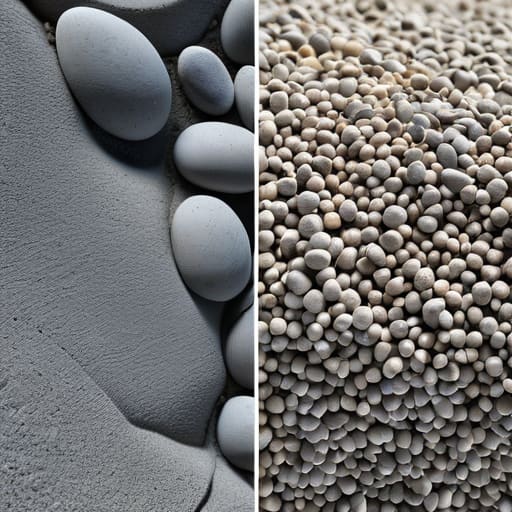
Now, everyone wants to talk about the bag of cement, but they forget that the math starts with the volume of the hole you’ve dug. When you’re looking for the best concrete mix for outdoor paths, most lads think they can just eye it with a shovel. They can’t. If you’re aiming for a standard walkway, you’re looking at a 1:2:3 ratio—one part cement, two parts sand, and three parts aggregate. But here’s the thing: if you get that ratio wrong by even a fraction, you’re either pouring expensive soup or something so brittle it’ll snap the first time the frost hits.
I’ve seen too many people ruin their weekend because they didn’t account for the aggregate size. For a garden path, you aren’t pouring a structural foundation for a house, but you still need proper concrete strength for landscaping to stop it from crumbling under a heavy garden chair or a footfall. Don’t go chasing a “richer” mix by dumping extra cement in just because you’re nervous; that’s a rookie mistake that leads to shrinkage cracks. Stick to the proportions, measure your sand and stone properly, and for heaven’s sake, keep your water under control.
Choosing the Best Concrete Mix for Outdoor Paths and Strength
Now, before you go grabbing a shovel and a bag of cement, you need to understand that not all concrete is created equal. If you’re just looking for a little decorative area that’ll never see a footfall, you might get away with a leaner mix, but for anything meant to last, you need to focus on concrete strength for landscaping. I’ve seen too many lads try to save a few quid by thinning out the mix or using too much sand, only to have the whole thing turn into a crumbly mess after the first winter frost. If you want a path that doesn’t disintegrate, you’re looking for a robust, stone-heavy mix that can actually handle the weight and the weather.
Don’t get caught out by people telling you that a “standard” mix works for everything. When you’re deciding on the best concrete mix for outdoor paths, you have to consider the local environment. Are you in a damp, shaded corner of the garden or out in the open sun? The heat will pull the moisture out of your mix too fast, and if you haven’t got the right ratio of aggregate to cement, you’re just asking for trouble. The strength isn’t just in the cement; it’s in the way the stones lock together.
Five Things You’ll Regret Ignoring Once the Truck Leaves
- Stop obsessing over the shovel and check your sub-base. I don’t care if you’ve got the perfect ratio of cement to aggregate; if you’re pouring onto soft mud or loose soil that hasn’t been compacted properly, that path is going to sink and heave by next winter. Get your MOT Type 1 down and ram it home until it doesn’t budge.
- Don’t be that person adding water to the mix to make it “workable.” I’ve seen it a thousand times—some lad thinks he’s doing everyone a favour by making the concrete easy to spread, but all he’s doing is killing the strength. Too much water creates tiny voids as it evaporates, and those voids turn into cracks the moment the ground shifts.
- Watch the sky, not just the clock. If you’re mixing on a day where the sun is beating down or the wind is howling, you’re fighting a losing battle. If it’s too hot, your water evaporates before the chemical reaction even gets started; if it’s too cold, it won’t set. You need a steady, temperate window, or you’re just wasting your money.
- Plan your joints before you even crack open the first bag. A garden path isn’t just one long slab; it’s a series of controlled breaks. If you don’t cut your expansion or control joints at the right intervals, the concrete will decide where it wants to crack, and I guarantee you it won’t be in a straight line.
- Learn the patience of curing. The job isn’t finished when the surface looks smooth; it’s finished when the hydration process is done. Don’t go walking on it or putting heavy pots on it just because the top layer feels hard. You need to keep it damp and protected so it cures slowly and deeply, rather than drying out too fast and turning brittle.
Don't Come Crying to Me When It Cracks
Look, if you’ve actually listened to a word I’ve said, you know that a garden path isn’t just about dumping grey sludge into a trench and smoothing it over. You’ve got your ratios sorted, you’ve picked a mix that won’t crumble under a heavy boot, and you’ve hopefully spent more time compacting that sub-base than you have picking out your patio furniture. Remember: the mix is only half the battle. If you skimp on the preparation of the ground or if you get lazy with the curing process because the sun is out, you’re just building a future headache. You can have the perfect mathematical ratio in your head, but if the foundation is soft or you let the water evaporate too fast, the concrete will fail every single time.
At the end of the day, there is a massive amount of satisfaction in looking down at a slab that you know is solid because you didn’t take the easy way out. There’s a quiet pride in doing the job right—the parts no one sees, like the depth of the hardcore and the precision of the joints. Don’t be the person trying to patch up a disaster six months from now; be the person who builds it to last forty years. Get your sub-base right, respect the weather, and stop looking for shortcuts. Do the work properly, and you won’t have to think about that path ever again.