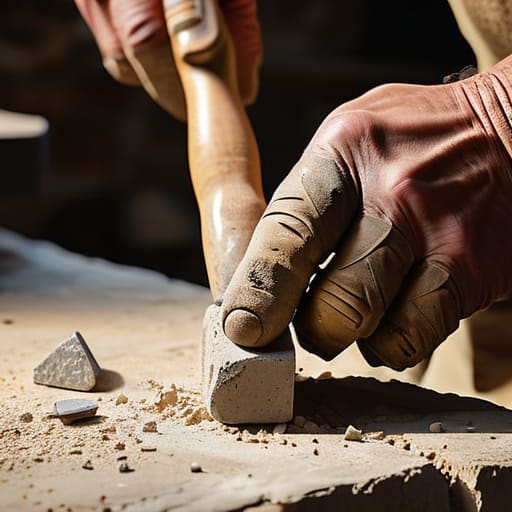
I’ve lost count of how many times I’ve stood on a job site, looking at a beautiful, expensive stone wall that’s already starting to lean or crack, and I can tell you exactly why: it wasn’t the stone. Most people think a complete guide to stone masonry should be all about picking the right color of granite or how to rake a fancy mortar joint, but they’re looking at the wrong end of the shovel. I remember a lad back in the nineties, spent a fortune on premium limestone, but he skipped the proper compaction on the footing to save a few hours. Six months later, that “masterpiece” was a crumbling mess of expensive rubble because he forgot that the ground doesn’t care how pretty your stones are.
If you’re looking for a textbook filled with flowery language and pictures of finished patios, you’ve come to the wrong place. I’m going to give you the real version—the one they don’t teach in those fancy courses. This is a complete guide to stone masonry that focuses on the grit: the sub-base stability, the correct mix ratios, and the patience required to let things cure properly. I’ll show you how to build things that actually stay put, long after the decorators and the “experts” have gone home.
Table of Contents
Guide Overview
Tools & Supplies
- Hammer and Chisel for shaping stones
- Masonry Trowel for spreading mortar
- Spirit Level for ensuring straight courses
- Jointers for finishing mortar joints
- Wheelbarrow for mixing and transporting
- Natural Stones or Flagstones (bulk amount based on area)
- Masonry Sand (multiple bags)
- Portland Cement (multiple bags)
- Gravel/Crushed Stone (for base layer)
- Geotextile Fabric (to prevent weed growth)
Step-by-Step Instructions
- 1. Before you even look at a single stone, you need to get your hands in the dirt and fix your sub-base. I’ve seen lads spend thousands on premium granite only to watch it sink two inches into the mud after the first heavy rain. You dig out the soft stuff, get your MOT Type 1 down, and you compact it until it’s rock solid. If you can’t walk across that base without feeling a bit of give, you aren’t ready to lay a single stone.
- 2. Once the ground is sorted, you have to set your levels and lines with more precision than you think is necessary. Don’t just eyeball it; the eye lies to you when the sun is in it. Use your string lines and your spirit levels to ensure your footprint is dead straight. If your foundation is off by even a fraction, that error is going to magnify as you go higher, and you’ll be fighting a crooked wall for the rest of the job.
- 3. Now comes the mixing, and this is where most people start making mistakes. Whether you’re using a lime mortar for old stone or a standard sand and cement mix, you have to watch your water ratio like a hawk. I’ve lost count of how many times I’ve seen a lad add an extra bucket of water just to make the mix “slap” easier to spread. All he’s doing is weakening the bond and ensuring that mortar will turn to dust in three years’ time.
- 4. When you start laying, you need to work from the bottom up with a focus on structural interlocking. Don’t just stack stones like you’re playing with blocks; you need to ensure the weight is distributed properly. Every stone should have a solid bearing, and you want to avoid “running joints”—that’s when your vertical gaps line up in a row. If you let a running joint happen, you’ve essentially built a row of weak points that will crack the moment the ground shifts.
- 5. As you work your way up, keep a sharp eye on your joint thickness. People get lazy and let the mortar joints get thick and uneven just to hide a poorly shaped stone. A thick joint isn’t a fix for a bad stone; it’s a structural liability. Keep those joints consistent and tight. It takes more time to trim the stone to fit the gap, but it’s the only way to ensure the wall actually holds its own weight.
- 6. Once the stones are in place, you can’t just walk away. You have to manage the curing process immediately. If it’s a hot day, the sun will suck the moisture out of your mortar before it’s even had a chance to set, leaving you with a brittle, useless mess. You need to keep it damp—either with a light spray or by covering it with damp hessian—to make sure the chemical reaction actually completes properly.
- 7. Finally, once the mortar has had enough time to stiffen, you get in there with your tools for the pointing. This isn’t just about making it look pretty for the neighbors; it’s about sealing the face of the wall. Use a tool to compress the mortar into the joint rather than just smearing it over the top. If you don’t compact that joint, water will get in, freeze, and blow your hard work apart by next winter.
Choosing the Right Types of Stone for Masonry Work
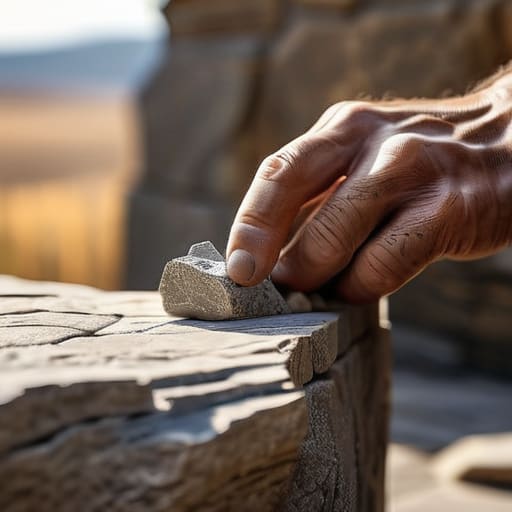
Now, listen. You can spend a fortune on the fanciest types of stone for masonry work, but if you haven’t bothered to check the density or the porosity, you’re just buying a headache. I’ve seen lads order beautiful, expensive limestone for a garden wall, only to watch it flake apart like a biscuit after one winter because they didn’t account for the freeze-thaw cycle. You need to know if the stone is going to drink up water or shed it. If you’re doing a natural stone veneer installation, you’ve got to ensure the face of that stone is actually suited for the load it’s carrying, otherwise, you’ll be back here in two years looking at a pile of debris.
Don’t get distracted by the pretty colors in the showroom, either. A stone might look grand under a spotlight, but once you get it out in the rain and start mixing your mortar mix ratios for stone, you’ll see its true character. If the stone is too soft, it’ll crumble under your tools; if it’s too hard, you’ll be breaking your back just trying to shape a single course. Pick stone that works with your skill and your environment, not just what looks good in a brochure.
Why Your Mortar Mix Ratios for Stone Determine Longevity
Listen, I’ve seen lads try to save a few quid by overloading the cement in their mix, thinking it’ll make the wall “stronger.” It’s the quickest way to ensure that wall cracks within two seasons. You aren’t just making glue; you’re creating a material that has to breathe alongside the stone. If your mortar mix ratios for stone are too heavy on the cement, the mortar becomes harder than the stone itself. When the ground shifts or the frost hits, the mortar won’t budge, so the stone takes the hit and snaps. You want a mix that’s sacrificial—strong enough to hold, but flexible enough to handle the elements.
It’s all about the balance between the lime and the sand. If you’re doing a proper job, especially with natural stone veneer installation, you need to understand that the mortar’s job is to distribute the load. If you get the ratio wrong, you aren’t building a structure; you’re just stacking expensive rocks in a bed of brittle glass. Get the mix right, and the wall will outlive you. Get it wrong, and you’ll be the one getting the phone call in five years when the face starts falling off.
The Three Things You’ll Ignore Until It’s Too Late
- Stop obsessing over the face of the stone and start looking at the dirt. If you haven’t spent the time compacting a proper sub-base and getting your MOT Type 1 level, you aren’t building a wall; you’re just stacking rocks on a sponge that’s going to shift by next winter.
- Watch the weather like a hawk, not like an afterthought. I’ve seen lads try to lay stone in a heatwave only to watch the mortar turn to dust because it dried too fast, and I’ve seen them pour in the rain only to have the mix washed out before it could set. If the conditions aren’t right, you walk off the job.
- Don’t go “water-happy” with your mix. I know it’s easier to spread a sloppy, watery mortar, and I know it makes the lads’ lives easier for ten minutes, but you’re just inviting shrinkage cracks into your work. A stiff mix is a good mix.
- Respect the joints. People treat pointing like it’s just a bit of decoration at the end, but if those joints aren’t deep enough or if you let them get saturated before they’ve cured, the whole face will eventually spall and flake off.
- Curing isn’t a suggestion, it’s the job. You wouldn’t leave a newborn out in the wind, so don’t leave your masonry to bake in the sun or freeze in the frost without protection. Keep it damp, keep it covered, and give it the time it needs to actually become one solid unit.
The Job Isn't Done Until the Dust Settles
Look, I’ve seen enough cracked walls and leaning structures to know that a pretty stone face won’t save you if you’ve been lazy. We’ve gone over the lot: picking stone that actually belongs in your climate, getting your mortar ratios spot on so they don’t crumble like biscuits, and respecting the chemistry of the mix. But if you take nothing else away from this, remember that the strength of your masonry lives in the parts you can’t see. If you skip the prep or try to rush the curing because the boss is breathing down your neck, you aren’t building; you’re just stacking expensive rocks that are destined to fail.
At the end of the day, masonry is about more than just following a blueprint or ticking boxes on a checklist. It’s about the pride you take in the work when nobody is watching—the way you compact that sub-base until it’s solid as a drum, or how you protect your joints from a sudden frost. When you do it right, your work becomes a part of the landscape itself. You aren’t just a laborer; you’re a builder of things that last. So, do it once, do it properly, and do it so that fifty years from now, someone walks past your work and doesn’t see a single hairline crack.
Frequently Asked Questions
How do I know if my sub-base is actually compacted enough to stop the stone wall from leaning in two years' time?
You don’t know by looking at it; you know by testing it. If you’re just eyeballing a layer of MOT Type 1 and calling it a day, you’re asking for a leaning wall. I always used a heavy plate compactor, but the real test is the “footprint.” If you walk across it and your boot leaves a mark, or if you can drive a heavy wheelbarrow over it without it rutting, it’s not ready. It needs to feel like stone itself.
If the weather turns cold or starts to frost right after I've laid the stones, do I need to cover the joints or just wait it out?
Wait it out? If you do that, you’re just watching your hard work turn into dust. If frost hits fresh joints, it’ll suck the moisture out before the mortar even sets, leaving you with nothing but sand and disappointment. You don’t just “wait.” You cover it. Get some heavy-duty polythene or thermal blankets over those joints immediately. Keep the heat in and the moisture steady. If it freezes before it cures, you’ve failed.
How can I tell if the stone I've bought is actually going to play nice with my mortar, or if it's going to suck the moisture out too fast and crack?
You want to know if that stone is going to drink your mortar like a man in a desert? Grab a bucket of water and give the stone a good soak. If it gulps it down instantly and stays bone-dry, you’ve got a thirsty, porous beast on your hands. That stone will suck the moisture right out of your mix before it’s even set, leaving you with a brittle, crumbly mess. You’ll need to pre-wet it properly or adjust your mix, otherwise, you’re just building a future pile of rubble.



