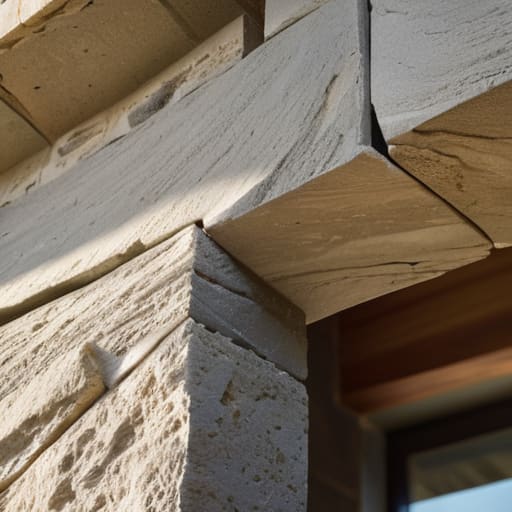
I’ve lost count of how many times I’ve stood on a site, looking at a gaping hole in a brick wall, watching some lad try to slap a pre-cast lintel into place like he’s playing with Lego. Most of the “experts” out there will give you a complete guide to lintels and openings that’s nothing but a list of fancy technical specs and manufacturer brochures that mean nothing when the ground starts to shift. They’ll talk about load-bearing capacities and material grades, but they won’t tell you that if your masonry supports aren’t level or your bedding is rubbish, that expensive piece of steel or concrete is going to fail you every single time.
I’m not here to sell you on some high-end architectural dream; I’m here to tell you how to stop things from cracking. I’m going to give you the straight truth on how to prep your openings, how to ensure your bearing is actually solid, and why the sequence of your work matters more than the brand name on the delivery note. This isn’t some textbook theory—it’s forty-three years of seeing exactly where the shortcuts lead to a nightmare.
Table of Contents
Masonry Opening Requirements Why the Void Matters More Than the Beam
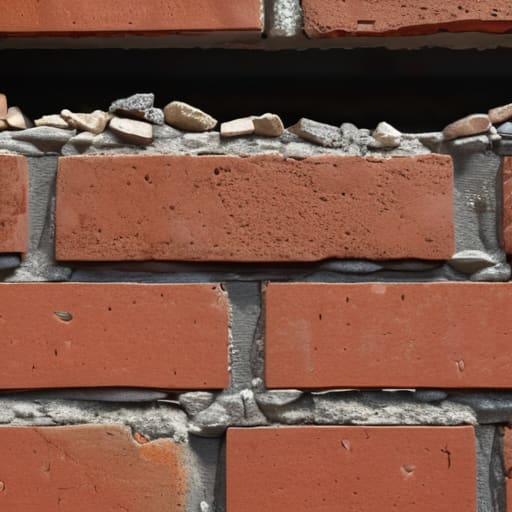
Listen, I’ve seen more cracked masonry above a window than I care to count, and nine times out of ten, it wasn’t the lintel’s fault. It was the hole itself. People get so obsessed with picking out the right lintel types and materials—arguing over steel versus concrete—that they completely neglect the cavity they’re trying to bridge. If your masonry opening requirements aren’t met because the jambs are wonky or the brickwork is settling unevenly, that expensive beam isn’t doing a lick of good. You can buy the best piece of steel in the country, but if the opening is a mess, the load won’t travel.
You have to look at the void as a structural commitment, not just a gap in the wall. The most common mistake I see is ignoring the minimum bearing length for lintels. If you haven’t provided enough solid ground on either side for that beam to actually sit on, you’re just asking for a structural failure. A lintel needs a firm, level seat to transfer the weight properly. If the opening is poorly prepared or the masonry is crumbling at the edges, you aren’t providing real structural support for windows and doors; you’re just hovering a piece of metal over a problem.
Minimum Bearing Length for Lintels Dont Cheat the Support
I’ve seen it a dozen times: a lad tries to save a few inches of steel or concrete by skimping on the overlap, thinking that as long as the lintel sits in the hole, it’s doing its job. It isn’t. You can buy the most expensive lintel types and materials on the market, but if you haven’t given it enough meat to bite into the masonry, you’re just building a ticking time bomb. You need to respect the minimum bearing length for lintels—usually 150mm on each side at the very least—because that’s where the weight actually transfers.
If you try to cheat the support, you aren’t just risking a crack; you’re compromising the entire structural load bearing capacity of the wall above. When that lintel starts to pivot or sink because it’s sitting on nothing but a thin layer of crumbling mortar, the masonry above follows suit. I don’t care how well you’ve leveled the opening; if the bearing isn’t solid and deep enough into the pier, that window or door is going to settle like a bad tooth within the first year.
Five Ways You’re Going to Screw Up Your Openings
- Stop treating the opening like a finished job just because the brickwork looks tidy. If you haven’t checked that the masonry above the lintel is actually stable and not just sitting on a pile of loose rubble, you’re building a ticking time bomb.
- Watch the weather like a hawk when you’re setting in your lintels. If you’re trying to bed them in while the frost is biting or during a downpour that turns your bedding mortar into soup, that lintel isn’t going to seat right, and you’ll be back to fix the cracks in six months.
- Don’t go adding water to your mortar mix just because it’s getting hard to spread. I’ve seen too many lads thin it out to make it “workable,” but all they’re doing is weakening the bond that holds that lintel in place. A stiff, proper mix is what keeps the weight distributed.
- Check your levels twice before the mortar even touches the brick. Once that lintel is down and the load starts coming on, you aren’t moving it again without a massive headache. If it’s even slightly out of plumb, the weight of the wall will find that weakness and exploit it.
- Never, and I mean never, assume the lintel is doing all the work. You need to look at the load coming down from above—the roof, the floor, the masonry—and make sure the opening hasn’t been cut too wide for the actual strength of the material you’re using. A lintel isn’t a magic wand; it’s a piece of engineering that needs proper math behind it.
Stop Looking at the Beam and Start Looking at the Build
At the end of the day, a lintel is just a piece of steel or concrete sitting in a hole, and it’s only as good as the masonry holding it up. If you’ve ignored the bearing length, or if you’ve let the opening settle into a soft, uncompacted sub-base, you might as well be throwing your money into a skip. You can buy the most expensive, over-engineered lintel on the market, but it won’t mean a damn thing if the surrounding masonry is uneven or if you’ve cut corners on the structural openings. Remember: the lintel carries the load, but the opening dictates the survival of the entire wall.
I’ve spent forty-three years watching lads try to fix structural cracks with a bit of filler and a prayer, only to realize the mistake was made three weeks before the first brick was even laid. Don’t be that person. Take the extra ten minutes to check your levels, verify your bearing, and ensure that the void you’re creating is actually prepared to hold what you’re putting into it. Build it right the first time, respect the sequence, and you won’t be the one getting a phone call at six in the morning because a window frame has started to bind.
Frequently Asked Questions
If my sub-base is slightly uneven, can I just shim the lintel to level it, or am I asking for a crack?
Shimming? You might as well be building on a pile of loose gravel. If that sub-base is uneven, you aren’t “leveling” anything; you’re creating a point load that’ll snap that lintel like a biscuit. A shim is a bandage on a broken leg. You fix the base first—get it compacted, get it dead level, and get it solid. If you try to cheat the support with a bit of plastic or wood, I guarantee you’ll be seeing cracks before the season’s out.
How much does the weather actually matter when I'm setting the lintel—should I be worried about frost or heavy rain affecting the masonry around it?
Listen, if you’re setting a lintel in a downpour or a frost, you’re already asking for trouble. Heavy rain turns your bedding mortar into soup, and if it washes out before it sets, that lintel isn’t sitting on anything—it’s just hovering. And frost? If that mortar freezes before it’s cured, the bond is gone. You’ll see the cracks in the masonry a year later, but the mistake happened the day you ignored the clouds.
When am I actually allowed to start loading the bricks above the opening once the lintel is in place?
Listen, I’ve seen lads try to rush the brickwork because they’re keen to get home, and that’s how you end up with a hairline fracture running straight through your new opening. You don’t just slap bricks on a fresh lintel. You wait until that concrete has reached its initial set and the lintel is actually taking the load. If you’re using precast, give it time to settle. Don’t let some rushed apprentice stack a heavy course on it before the bond is solid. Patience prevents cracks.



