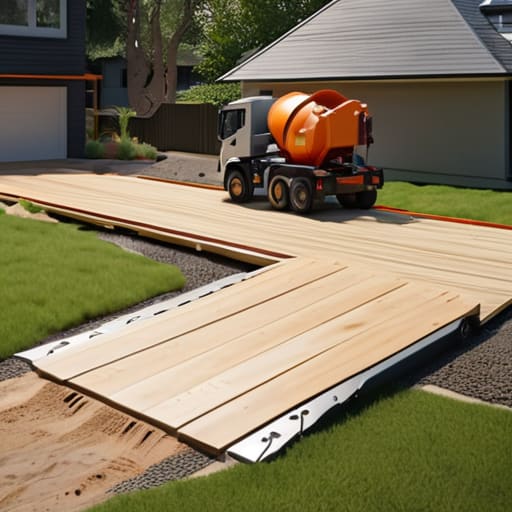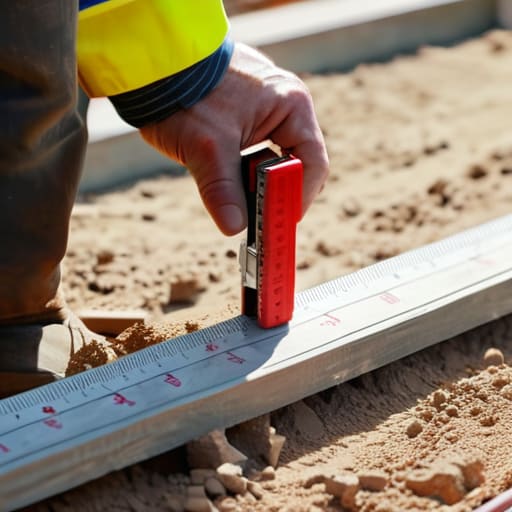
I remember standing on a site in ’94, watching a young lad pull his tapes tight and swear up and down that his corners were square, only to have the brickies walk off the job two days later because the whole footprint was skewed. People think setting out is just about sticking some pegs in the dirt and hoping for the best, but that’s how you end up with a house that looks like it’s sliding off its own foundations. If you want to learn how to set out a building accurately, you have to stop treating it like a bit of geometry and start treating it like the most critical hour of the entire build.
In this guide, I’m not going to feed you any textbook nonsense or tell you that a fancy laser level fixes a bad attitude. I’m going to show you the real-world sequence of checking your lines, verifying your diagonals, and—most importantly—making sure your ground is actually ready to hold those marks. We’ll cover the practical steps to ensure your layout stays true from the first peg to the final pour, because once that concrete is in, there are no second chances.
Table of Contents
Guide Overview
Tools & Supplies
- Tape measure (long length, 30m+)
- Batter boards (for holding string lines)
- String line (high-visibility nylon)
- Spirit level (to ensure boards are level)
- Hammer (to secure stakes)
- Line level (small level that clips to string)
- Wooden stakes (10-15 pieces)
- Timber slats (for batter boards)
- Masonry nails (1 box)
- Marking paint (1 can)
Step-by-Step Instructions
- 1. Before you even touch a tape measure, you need to clear the site of anything that’ll throw your lines off. I’ve seen lads try to set out over old rubble or uneven clumps of grass, and they’re fighting a losing battle from the start. Get it stripped back to the sub-base or the virgin ground, and make sure it’s level enough that your pegs aren’t leaning like a drunk at a wedding. If your ground isn’t clean, your measurements won’t be either.
- 2. Get your profile boards up, and get them up far enough away from the actual footprint of the build. If you put your boards too close to the edge, you’ll find yourself tripping over them or, worse, knocking them out of alignment when you’re trying to dig your trenches. You want them sturdy, driven deep, and absolutely dead level across the top. If those boards move even a fraction of an inch while you’re working, the whole building is going to be a mess.
- 3. Now, you pull your string lines between those boards to establish your primary axes. This is where most people start getting sloppy, so don’t. Use a line level or an optical level to make sure that string isn’t sagging in the middle like a clothesline in July. A sagging line is a lying line, and if you build off a sag, your corners will never be square.
- 4. Once you’ve got your lines, you need to check your diagonals. This is the old 3-4-5 method, or just measuring corner-to-corner across the entire footprint. If the two diagonal measurements don’t match to within a few millimetres, your rectangle is actually a parallelogram. I don’t care how straight your lines look to the naked eye; if those diagonals aren’t equal, you’ve got no business pouring a single drop of concrete.
- 5. After you’ve confirmed the square, you need to mark out your excavation lines or your trench widths. Don’t just eye it. Use a marking spray or a line chalk to show exactly where the diggers need to go. I always tell my boys: measure twice, mark once, because once that machine starts ripping up the earth, you aren’t getting that ground back without a massive headache and a lot of wasted time.
- 6. Finally, check your levels one last time against your datum point. If you’re building on a slope, you need to know exactly how much depth you’re losing as you move across the site. Grab a laser level if you’ve got one, but don’t trust it blindly—check it against a manual spirit level just to be sure. You want to ensure that when the concrete arrives, your finished floor level is exactly where the architect intended it to be, not wherever the ground happened to be easiest to dig.
Establishing a Site Datum Point Before the Chaos Begins
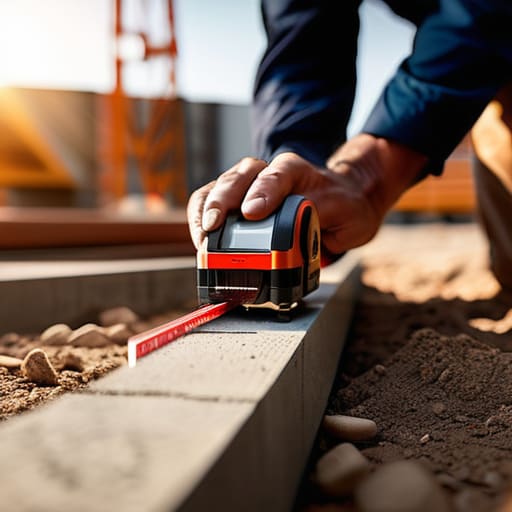
Listen, you can have the fanciest laser levels and the most expensive GPS gear on the planet, but if you haven’t spent time establishing a site datum point that actually stays put, you’re building on a lie. I’ve seen lads pin their datum to a wooden fence post or a temporary shed, only for that post to sink two inches in a week of heavy rain. Now, every single line they’ve pulled is a fantasy. You find something permanent—a manhole cover, a fixed kerb, or a structural wall—and you marry your measurements to that. If your starting point moves, your whole site layout is nothing more than expensive guesswork.
Once you’ve got that solid reference, don’t just rush into the lines. I always tell my lads to double-check the construction profile boards installation before we even think about marking building corners. Those boards are your gospel; if they aren’t driven deep and braced against the wind, they’ll shift, and you’ll be chasing your tail trying to get the building square. You don’t just set them and forget them. You check them, then you check them again.
Using a Total Station for Setting Out Without Guesswork
Now, I’ve seen plenty of lads try to manhandle a total station like it’s a piece of heavy plant, but you have to treat it with a bit of respect. If you’re using a total station for setting out, you aren’t just pushing buttons to get a pretty line on a screen; you are verifying the mathematical truth of your site. I’ve stood on sites where the surveyor swore by his readings, but the ground was so soft or the tripod legs were sinking into the muck that his “precise” points were drifting by centimeters. You never trust a single reading. You check it, you double-check it, and you make sure your instrument is sitting on something more solid than a pile of loose hardcore.
Once you’ve got your coordinates, the real work starts with marking building corners and getting those profiles right. A total station gives you the numbers, but it won’t stop a laborer from knocking a peg out of place ten minutes later. You use that precision to nail your profile boards in, and then you use your own eyes and a tape to verify that what the machine said is what the ground is actually showing you. Trust the machine, but verify with the tape.
Five Ways to Screw Up Your Lines Before the Concrete Even Arrives
- Check your pegs twice and your tape once. I’ve seen lads pull a string line and think they’re sorted, only to find out the timber peg was sitting in a soft patch of mud. If that peg moves an inch while you’re measuring, your whole building is crooked, and no amount of screeding is going to fix it later.
- Stop trusting your eyes and start trusting the levels. You might think a corner looks “about right,” but “about right” is how you end up with a slab that drains into the house instead of the gully. If you aren’t using a laser or a solid datum, you’re just guessing, and guessing is expensive.
- Clear the debris before you measure. You cannot set out an accurate line through a pile of rubble or a clump of weeds. If your tape measure isn’t laying flat on a clean, firm surface, you’re building a lie. Clear the site, then measure it.
- Double-check the diagonals. This is the one everyone skips because they’re in a rush to get the truck ordered. If your corners aren’t square, your diagonals won’t match. If those numbers don’t square up, stop everything. You don’t pour a single drop until those diagonals are identical.
- Verify your offsets. Don’t just set your lines on the actual footprint; set your profile boards back far enough that they won’t get knocked over by the lads or the machinery. If your reference points get kicked out mid-pour, you’re finished.
The Foundation of a Proper Job
At the end of the day, setting out isn’t just about sticking some pegs in the dirt and hoping for the best. It’s about respect—respect for the measurements, respect for the datum, and respect for the lads who are going to be pouring the concrete later. You’ve got your site datum locked in, your lines are checked twice, and you’ve used the right kit to make sure your corners aren’t drifting. If you’ve done the work properly, you won’t be standing there in three weeks’ time staring at a structural crack and wondering where it all went wrong. Remember, if your geometry is flawed during the set out, no amount of high-grade cement is going to save that building from its own mistakes.
I’ve seen plenty of young lads try to rush this bit because they think the real work starts when the mixer arrives. They couldn’t be more wrong. The real work is the quiet, tedious hours of checking, re-checking, and getting it right the first time. There is a massive amount of pride to be found in a site that is laid out with absolute precision. When you walk onto a job and see lines that are dead straight and levels that actually hold water, you know you’re working with professionals. Do the set out properly, stand by your measurements, and you’ll never have to go back and fix a mistake that was decided before the first truck even arrived.
Frequently Asked Questions
What do I do if my datum point gets knocked or shifted halfway through the job?
If your datum point moves, stop everything. Don’t try to “work around it” and don’t pray it’s only off by a millimetre. If that point shifts, every line you’ve pulled and every level you’ve set is now a lie. You halt the gang, you find your original reference, and you re-establish the datum from scratch. It feels like a waste of time, but it’s cheaper than pouring a slab on a foundation that’s sitting in the wrong postcode.
How can I be sure my profiles and string lines haven't sagged or moved after the first few hours of digging?
You don’t “be sure”—you check. If you’re relying on a line that’s been sitting there since breakfast, you’re asking for a nightmare. I always go back with the tape and the level every couple of hours. Check your profiles for stability; if the ground is soft, those pegs will migrate. And for heaven’s sake, don’t just eye the string. Pull it tight, check the tension, and re-verify your datum. If it’s moved, fix it now.
If I'm working on a slope, how do I keep my levels consistent without the whole layout going sideways?
You can’t just eyeball a slope and hope for the best; that’s how you end up with a foundation that looks like a staircase. You need a reliable datum and a laser level, or you’re asking for trouble. I always establish my benchmark at the highest point of the site first. Work from that fixed point down, using a calibrated level to carry your datum across the slope. If you don’t respect the grade, the concrete won’t respect you.