I remember standing on a driveway in Surrey back in ’98, watching a lad try to lay expensive granite paving while a massive drainage project was still half-dug ten feet away. He’d already finished the levels, but the moment the heavy machinery rolled back in to fix the pipes, his beautiful new patio was nothing but a heap of broken stone and mud. People think landscaping is about picking the right plants or the prettiest stone, but if you don’t understand how to sequence a landscaping job from the ground up, you’re just throwing money into a hole. You can buy the best materials in the world, but if your order of operations is rubbish, the sub-base will fail before the first flower even hits the soil.
I’m not here to give you a glossy brochure or talk about “aesthetic harmony.” I’m going to tell you how to work so you don’t have to come back and fix your own mistakes six months later. We’re going to talk about the hard stuff: getting the drainage and the heavy groundworks sorted before the “pretty” bits arrive, managing your site access, and why the order of your pours matters more than the color of your gravel.
Table of Contents
Guide Overview
Tools & Supplies
- Measuring tape for site dimensions
- Shovel for excavation and digging
- Wheelbarrow for moving debris and soil
- Level for ensuring flat surfaces
- Landscape fabric for weed suppression
- Mulch or gravel for ground cover
- Plants or shrubs for greenery
- Edging material for border definition
Step-by-Step Instructions
- 1. First thing you do—and I mean before you even think about ordering a single bag of mulch or a pallet of paving stones—is get your site clearance and excavation sorted. You can’t build a house on a swamp, and you certainly can’t lay a decent patio on top of old turf and loose topsoil. Dig out the organic matter until you hit something that won’t compress like a sponge. If you leave roots or soft soil in there, you aren’t landscaping; you’re just decorating a future sinkhole.
- 2. Once you’ve got the hole where it needs to be, you move on to the sub-base preparation. This is where most of the youngsters mess up. You need to get your MOT Type 1 or whatever aggregate you’re using laid down in compacted layers. Don’t just dump six inches of stone in and hope for the best; you need to hit it with a plate compactor until it’s solid as a rock. If that sub-base isn’t tight, nothing you do on top of it matters.
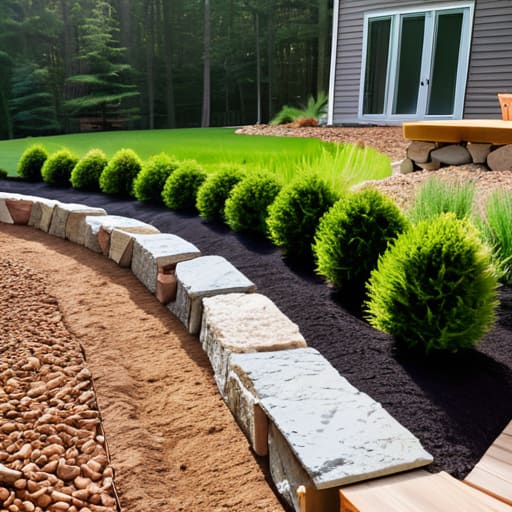
- 3. Now you tackle the hard landscaping and drainage. This is the heavy lifting. Get your retaining walls up, your edging in place, and your drainage channels installed. I’ve seen too many beautiful patios end up under two inches of standing water because someone forgot to slope the ground away from the house. If the water has nowhere to go, it’ll find its way under your slabs, and that’s when the frost starts playing havoc with your joints.
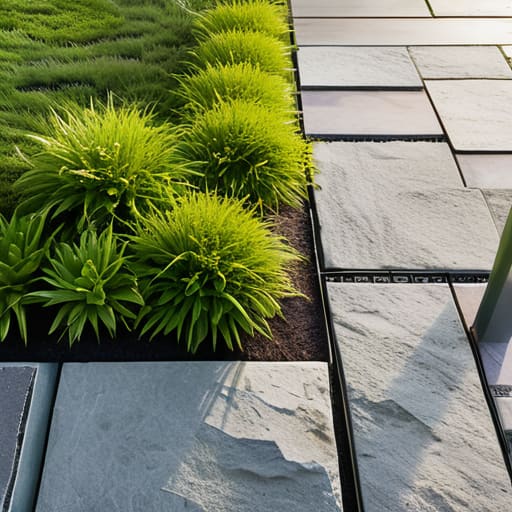
- 4. Next, you get your structural elements and paving laid. This is when the site starts looking like a garden, but keep your head on straight. Lay your stones, set your levels, and make sure your bedding mortar is the right consistency—not too wet, not too dry. This is the part people take photos of, but if you haven’t done the foundation work right in steps one and two, these stones will be rocking like a seesaw by next winter.
- 5. Once the heavy stuff is set and the mortar has had time to cure, you move to the soft landscaping. This is where you bring in the topsoil, the plants, and the turf. Since you’ve already finished the “dirty” work like digging and heavy compaction, you won’t be trampling your new flower beds or crushing your lawn with a heavy machine. It’s much easier to plant a shrub when you aren’t dodging a cement mixer to get to it.
- 6. Finally, you finish with the fine details and cleanup. This is the bit that makes the job look professional rather than just “done.” Clean the efflorescence off the stone, sweep the paths, and tidy up the edges. It’s easy to get lazy at the end of a long job, but the difference between a job that looks amateur and one that looks built to last is usually found in these last few hours of tidying.
Mastering Site Preparation Steps Before the Pretty Stuff Arrives
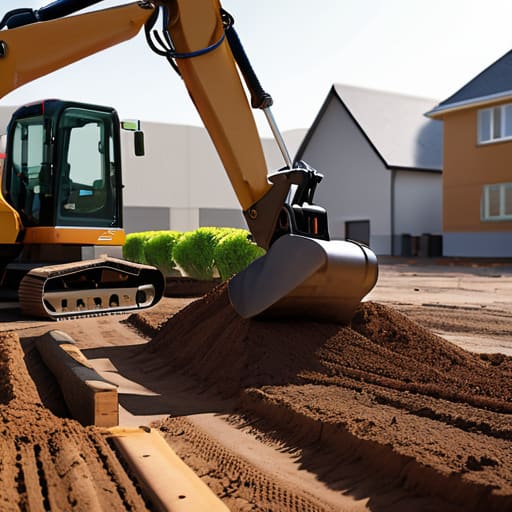
Listen, I’ve seen more beautiful gardens ruined by a rushed schedule than by bad weather. Everyone wants to talk about the flower beds and the specimen trees, but if you don’t respect the site preparation steps, you’re just building a graveyard for expensive plants. Before a single spade touches the soil for a garden bed, you need to have your heavy lifting finished. I’m talking about the muck shifting, the trenching, and the structural stuff. If you bring in the delicate shrubs while the digger is still tearing up the yard, you’re going to compact that soil so tight nothing will ever grow in it again.
You also need to get your head around the drainage and grading importance before you even think about a paving slab. I’ve spent half my career looking at cracked patios that weren’t to blame—it was the water sitting underneath them because the fall wasn’t right. Get your levels set, get your sub-base compacted until it’s rock solid, and ensure the water has somewhere to go. If you don’t get the bones of the site right, all the pretty softscape in the world won’t save you from a muddy mess come winter.
Why Drainage and Grading Importance Dictates Your Entire Workflow
Listen, if you try to figure out your hardscape installation order without first mastering the fall of the land, you’re essentially building a very expensive swimming pool in the middle of a garden. I’ve seen lads spend weeks laying beautiful paving stones only to watch them heave or sink six months later because they ignored the pitch. You don’t move to the heavy stuff until you’ve confirmed that water has a clear, unobstructed path to leave the site. If the grade isn’t set, nothing else in your landscape design workflow matters; you’re just decorating a disaster.
You have to treat drainage as the skeleton of the entire job. I always tell my boys: get the pipes and the grading sorted while the ground is still raw and easy to move. Once you start bringing in the topsoil or the delicate greenery, you’ve lost your window to fix a slope. This is why drainage and grading importance sits at the very top of my list—it dictates exactly when you can move from the heavy earthworks to the actual construction. If you mess up the flow now, you’ll be digging up your finished patio later to fix a puddle, and trust me, nobody wants to pay for that twice.
The Order of Operations: Five Rules to Stop You From Doing the Same Job Twice
- Get the heavy stuff done first. I’ve seen too many lads plant expensive shrubs only to have a mini-digger tear them up two days later because they forgot to dig the trenches for the retaining walls. Move the dirt, build the structures, and get the heavy machinery out of the way before you even look at a bag of mulch.
- Don’t touch the hardstanding until the drainage is locked in. If you’re laying a patio or a slab, you’d better be certain the fall is right and the sub-surface drainage is sitting where it belongs. If you pour your concrete and then realize the water has nowhere to go, you aren’t landscaping—you’re building a very expensive, very permanent pond.
- Sequence your utilities before the ground gets finished. There is nothing more gut-wrenching than seeing a beautiful new lawn or a freshly laid path, only to have to rip it all up because the sparky or the plumber hasn’t finished running their lines. Run your cables and pipes while the ground is still raw and messy.
- Manage your sub-base compaction in stages. You can’t just throw down a load of MOT Type 1 and hope for the best. You need to compact it in layers. If you try to do it all at once, you’ll get a hollow spot, the ground will settle, and your “perfect” level surface will look like a topographical map within six months.
- Leave the “pretty stuff” for the very end. Plants, soil conditioners, and fine gravels are the finishing touches, not the foundation. If you bring them onto a site while you’re still moving bulk aggregates or running a compactor, you’re just going to end up with muddy roots and wasted money. Work from the bottom up, and work from the heavy to the light.
Don't Build on a Lie
At the end of the day, sequencing isn’t some fancy management theory you pick up in a textbook; it’s about respect for the ground you’re standing on. If you try to rush the hard landscaping or start planting before you’ve sorted your drainage and compacted your sub-base, you aren’t building a garden—you’re just decorating a disaster. I’ve seen too many lads try to save a day’s labour by skipping the grading or pouring over soft spots, only to be back there six months later trying to figure out why their expensive paving is shifting like a sand dune. Remember, the sequence matters because the foundation dictates the finish, and you can’t fix a bad sub-base once the concrete has set or the perennials are in the ground.
If you take anything away from my forty-three years of watching slabs crack and walls lean, let it be this: do the heavy, invisible work first. People will come to your house and admire the flowers and the clean edges, but they won’t see the hours you spent getting the levels right or the meticulous way you laid your hardcore. That’s fine by me. Let them look at the “pretty stuff” while you take the satisfaction of knowing that what’s underneath is built to last. A job done right is a job you only have to do once.
Frequently Asked Questions
If I've already poured the slab and the weather turns, how do I stop the surface from cracking before the curing even starts?
If the clouds open up or the wind starts sucking the moisture out of that slab, you’ve got a race against time. Don’t just stand there watching it. If it’s too dry and hot, get some plastic sheeting down immediately to trap the moisture. If it’s raining hard, you need to cover it to stop the aggregate from washing out. Either way, keep it covered and keep it controlled. The surface shouldn’t be fighting the weather; it should be protected from it.
How much do I actually need to compact that sub-base before I can trust the finished level?
If you’re asking me that, you’re already worried, and you should be. You don’t compact until it “feels” right; you compact until the plate compactor stops bouncing and starts thumping. If you can drive a screwdriver into that sub-base with your thumb, it’s rubbish. I’ve seen lads skip the heavy roller to save an hour, only to watch a patio sink two inches once the first heavy rain hits. Compact it in layers, or don’t bother pouring at all.
At what point in the sequence should I be worrying about the drainage pipes versus the hardstanding?
You worry about the pipes long before you even think about the hardstanding. If you’re waiting until the sub-base is compacted to start laying drainage, you’ve already lost. You get those runs in, test them, and make sure they’re bedded in right while you’re still in the trenching stage. I’ve seen too many lads pour a beautiful slab only to have to jackhammer it up a month later because the drainage was an afterthought.